
OnlyTG Echo provides the function to set message content with Multi-form Messages Builder. You can use the function when setting the message content for Start Message, Auto-reply, Quick reply, etc.
Video Tutorial
step 1
Click Text.
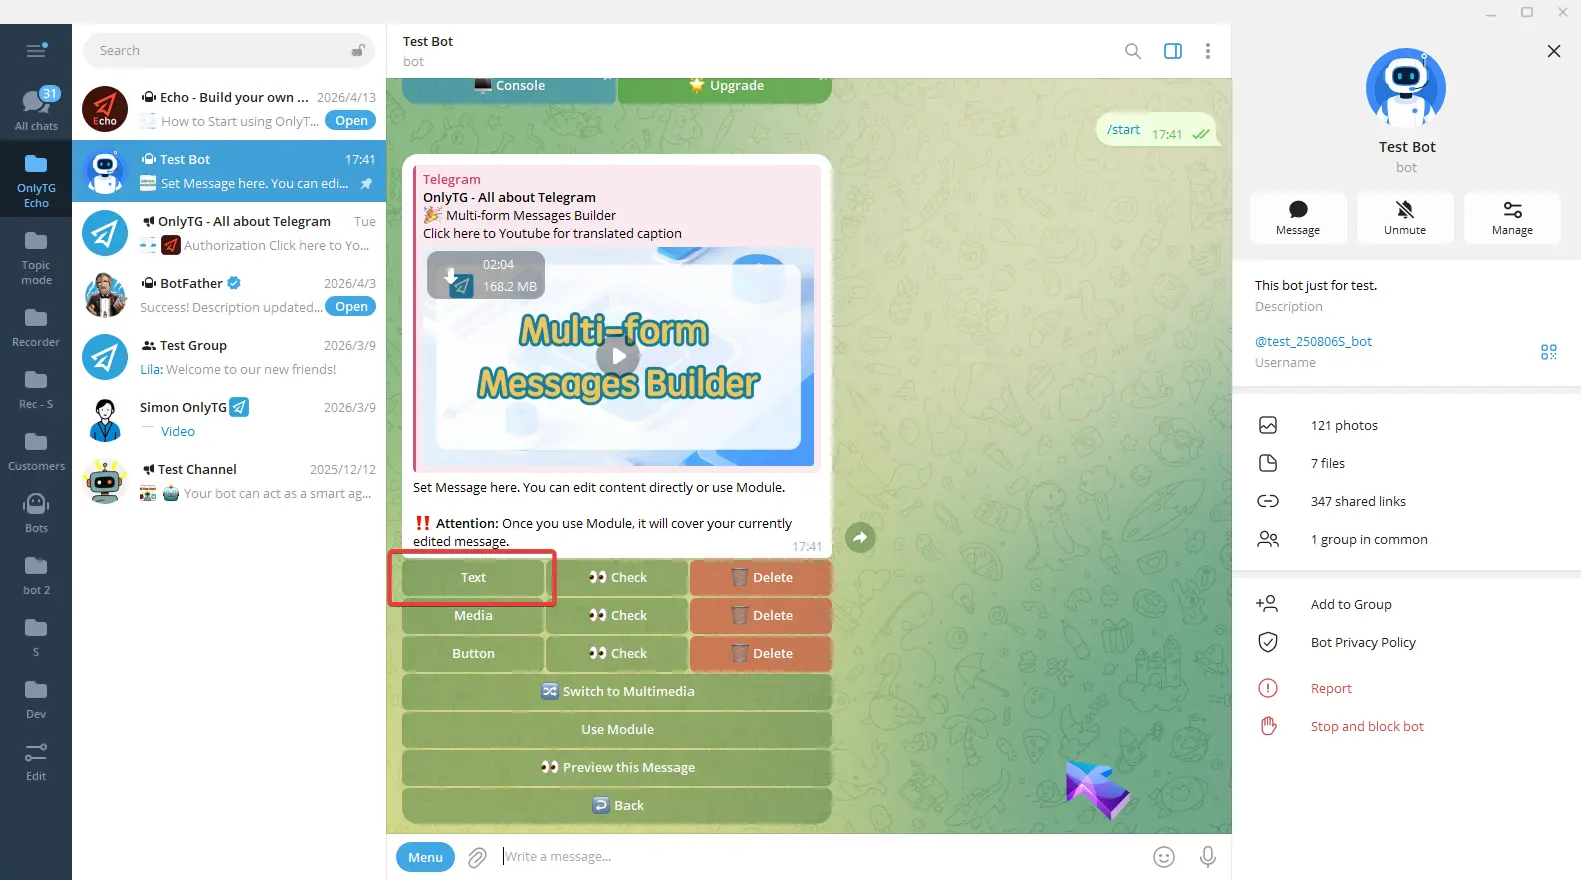
Enter your text, and send. A success message will pop up, and a checkmark next to the Text button means the setup is complete.
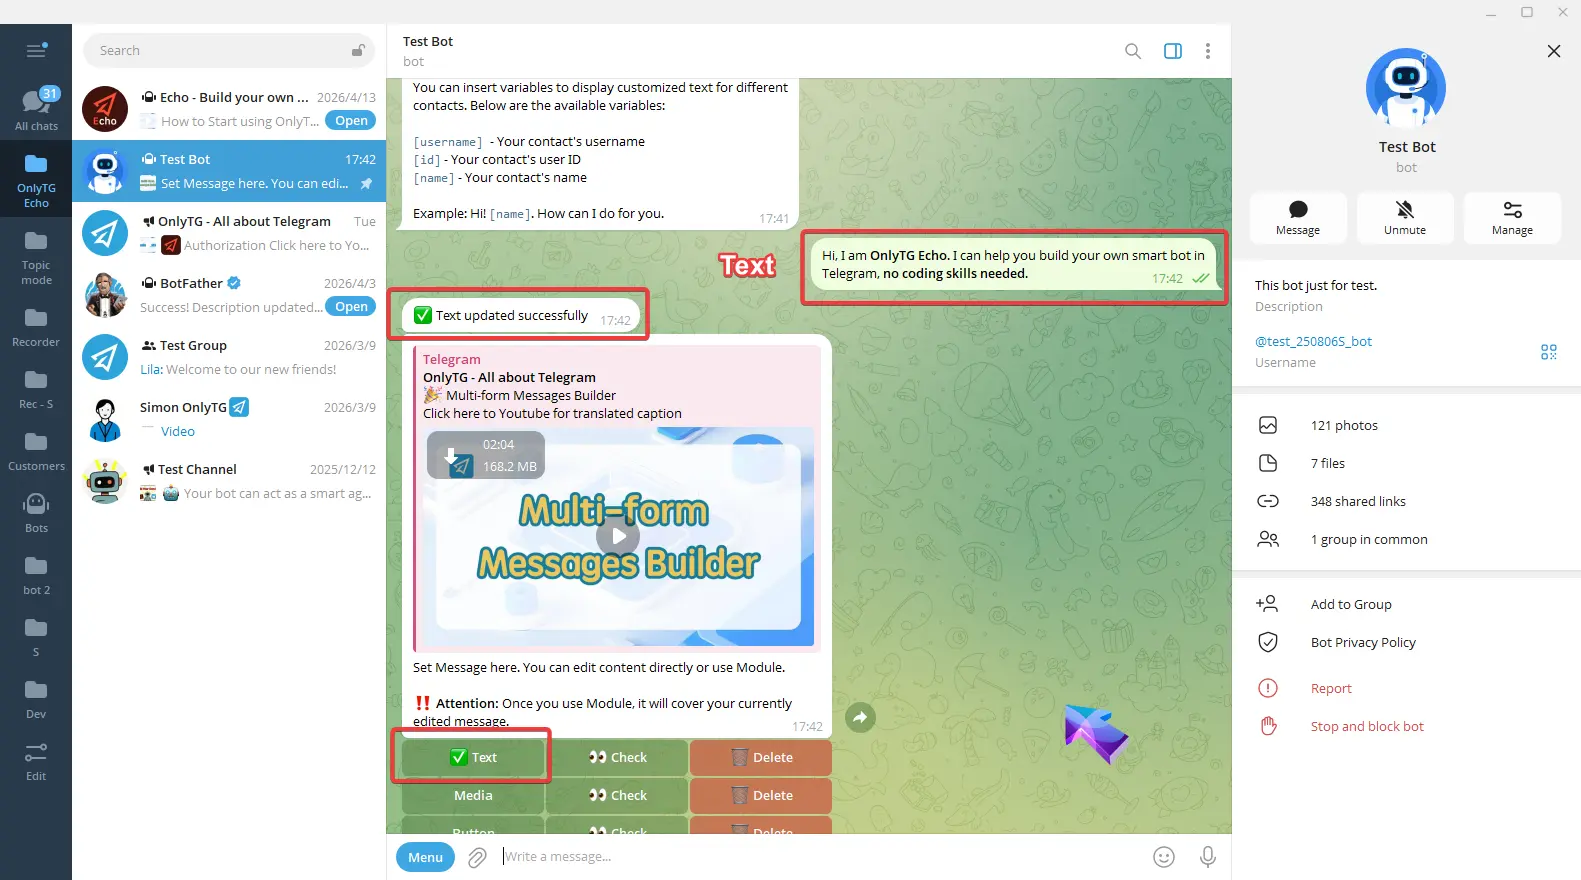
Click Media.
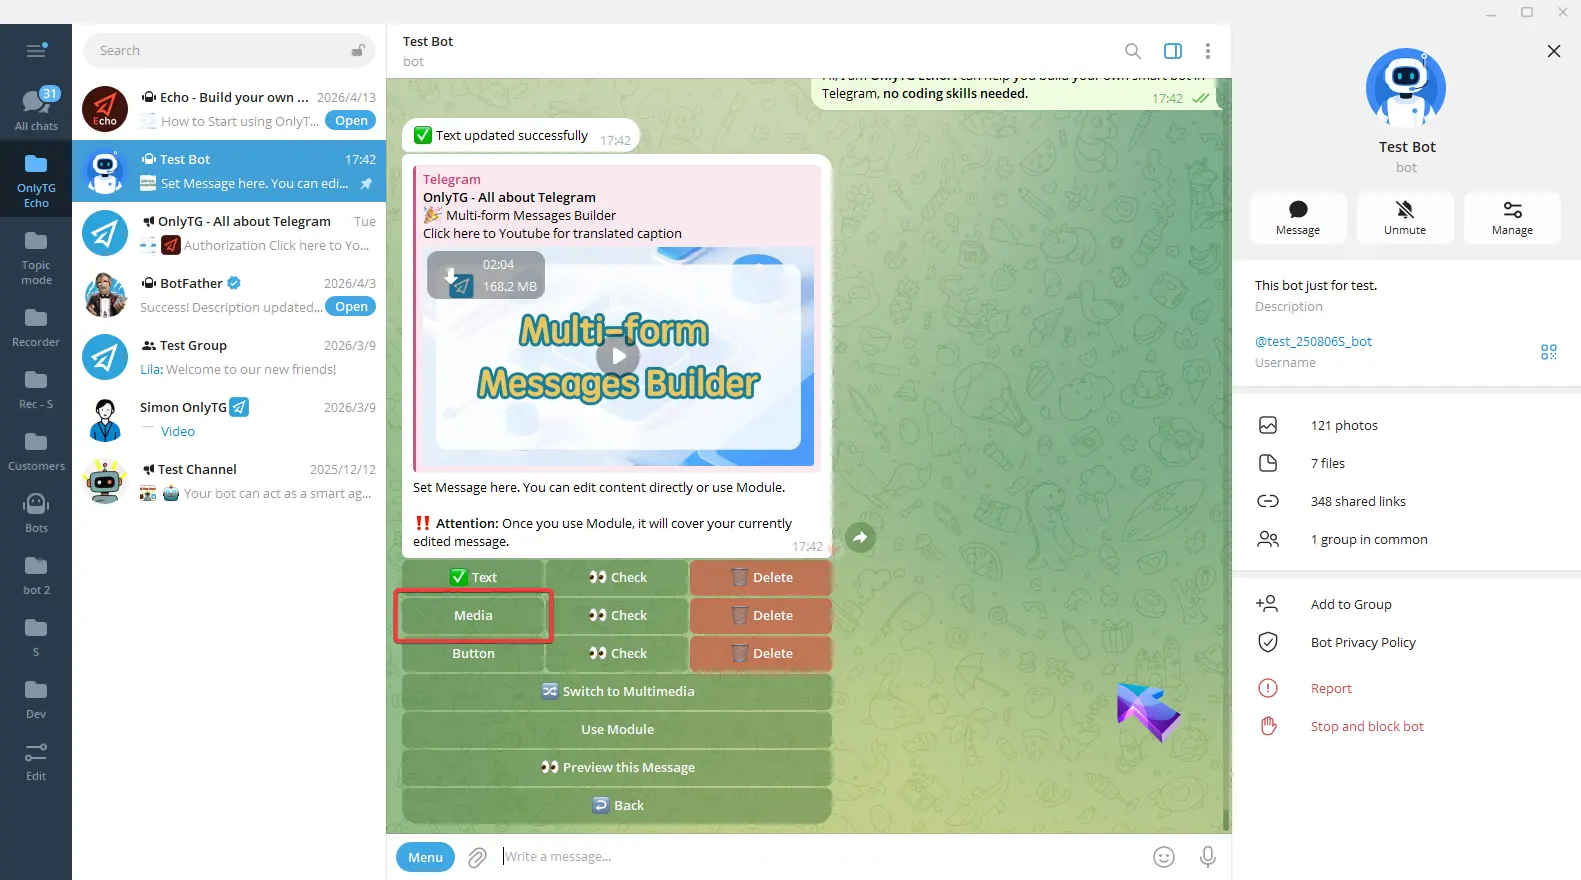
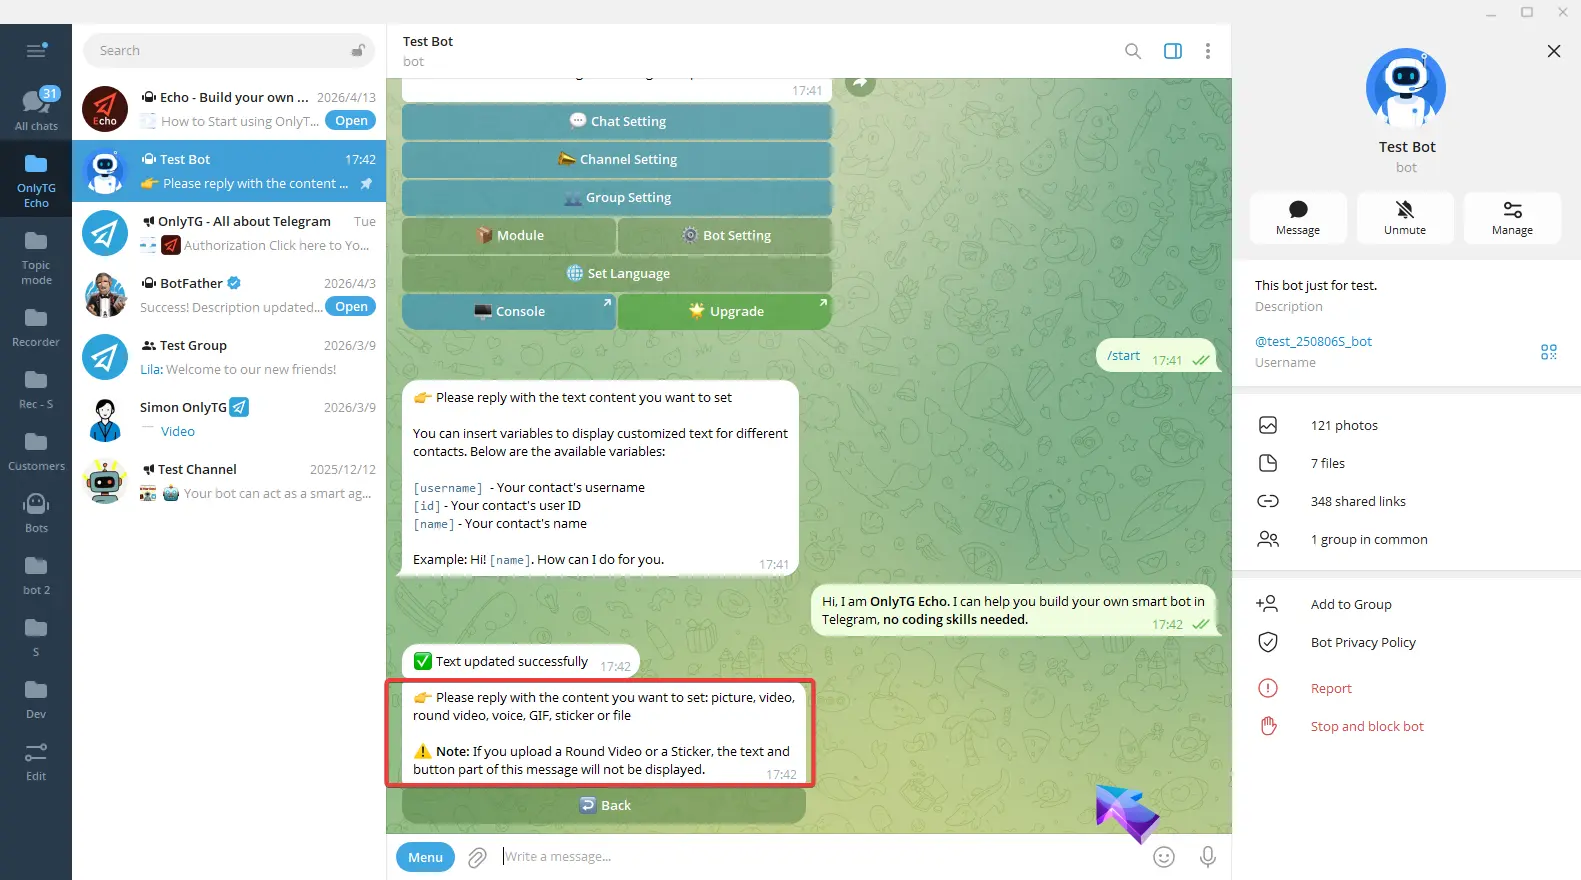
You can reply a picture, video, round video, voice, GIF, sticker or file. Please note that if you upload a Round Video or a Sticker, the text and button parts of this message will not be displayed. Media configuration is finished.
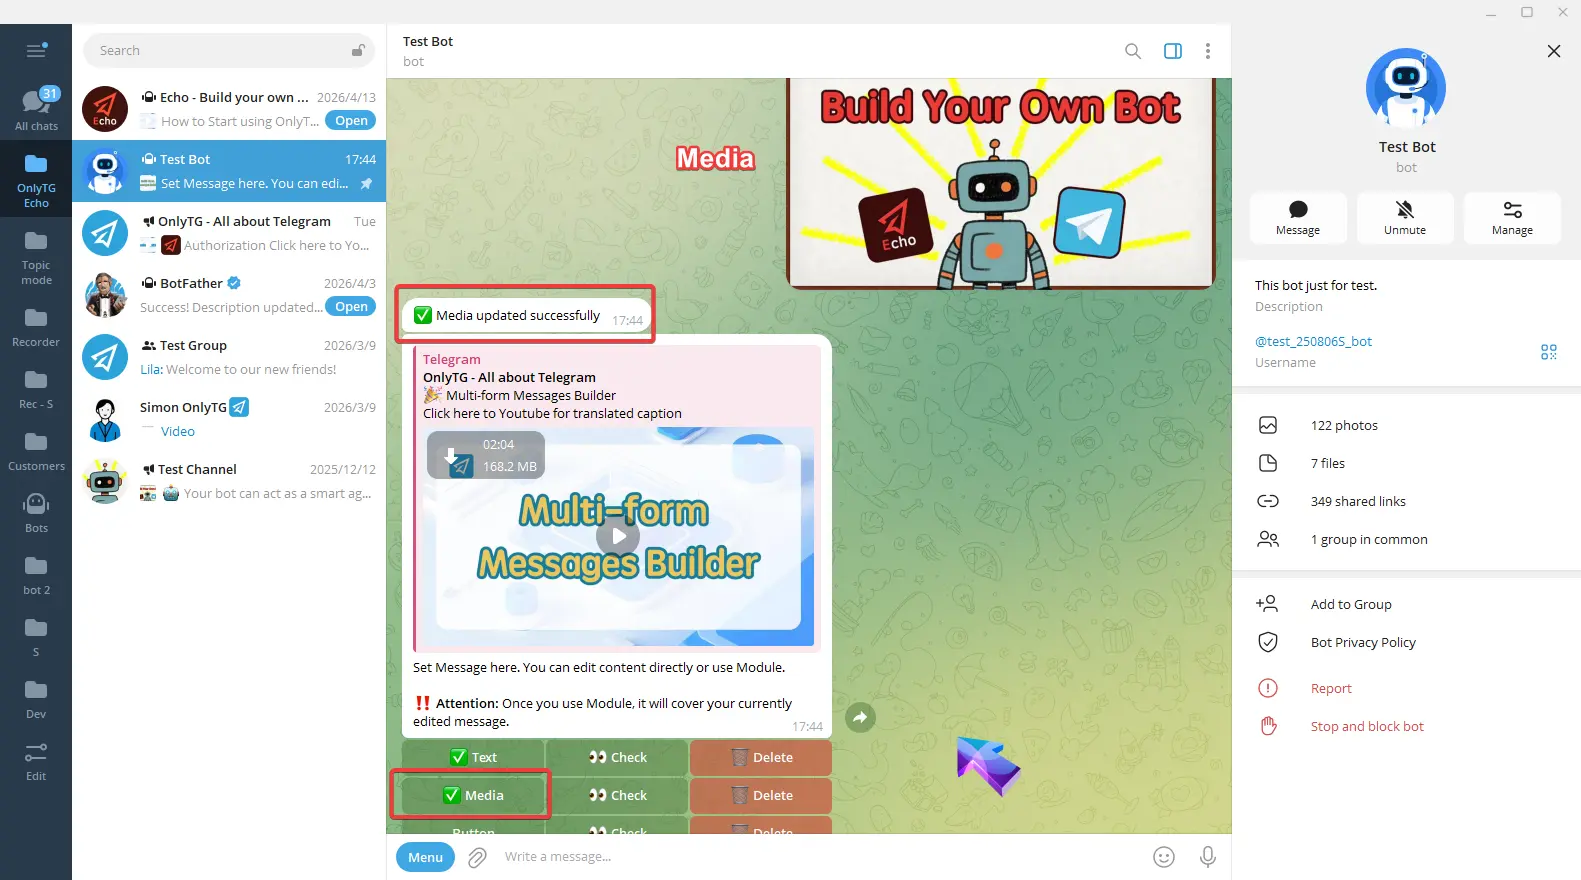
Click Button, Enter the button name and content according to the format in the prompt.
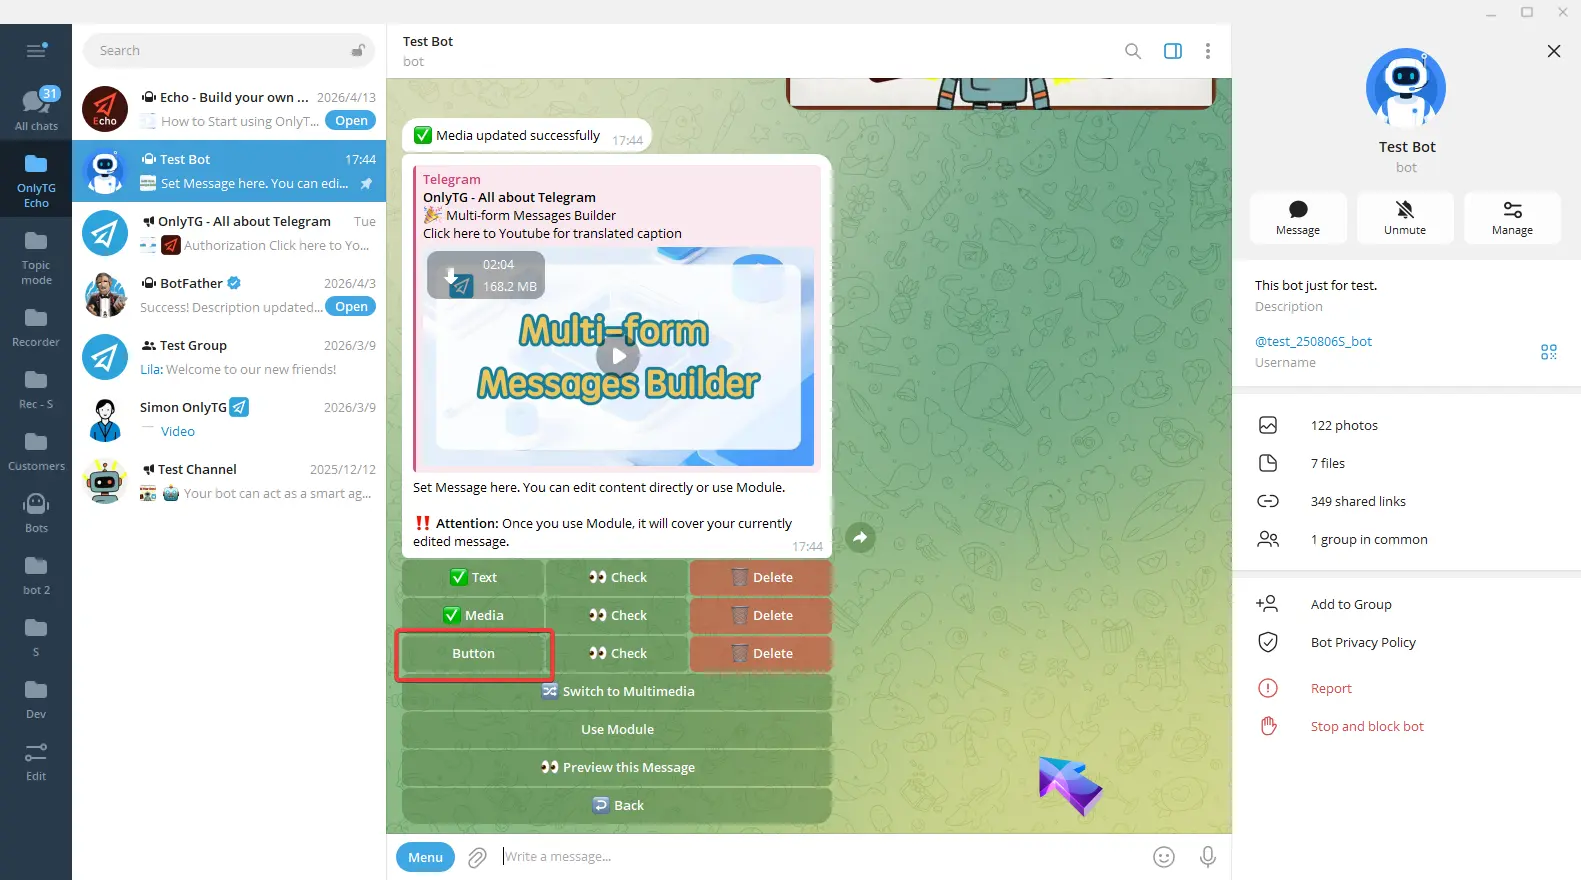
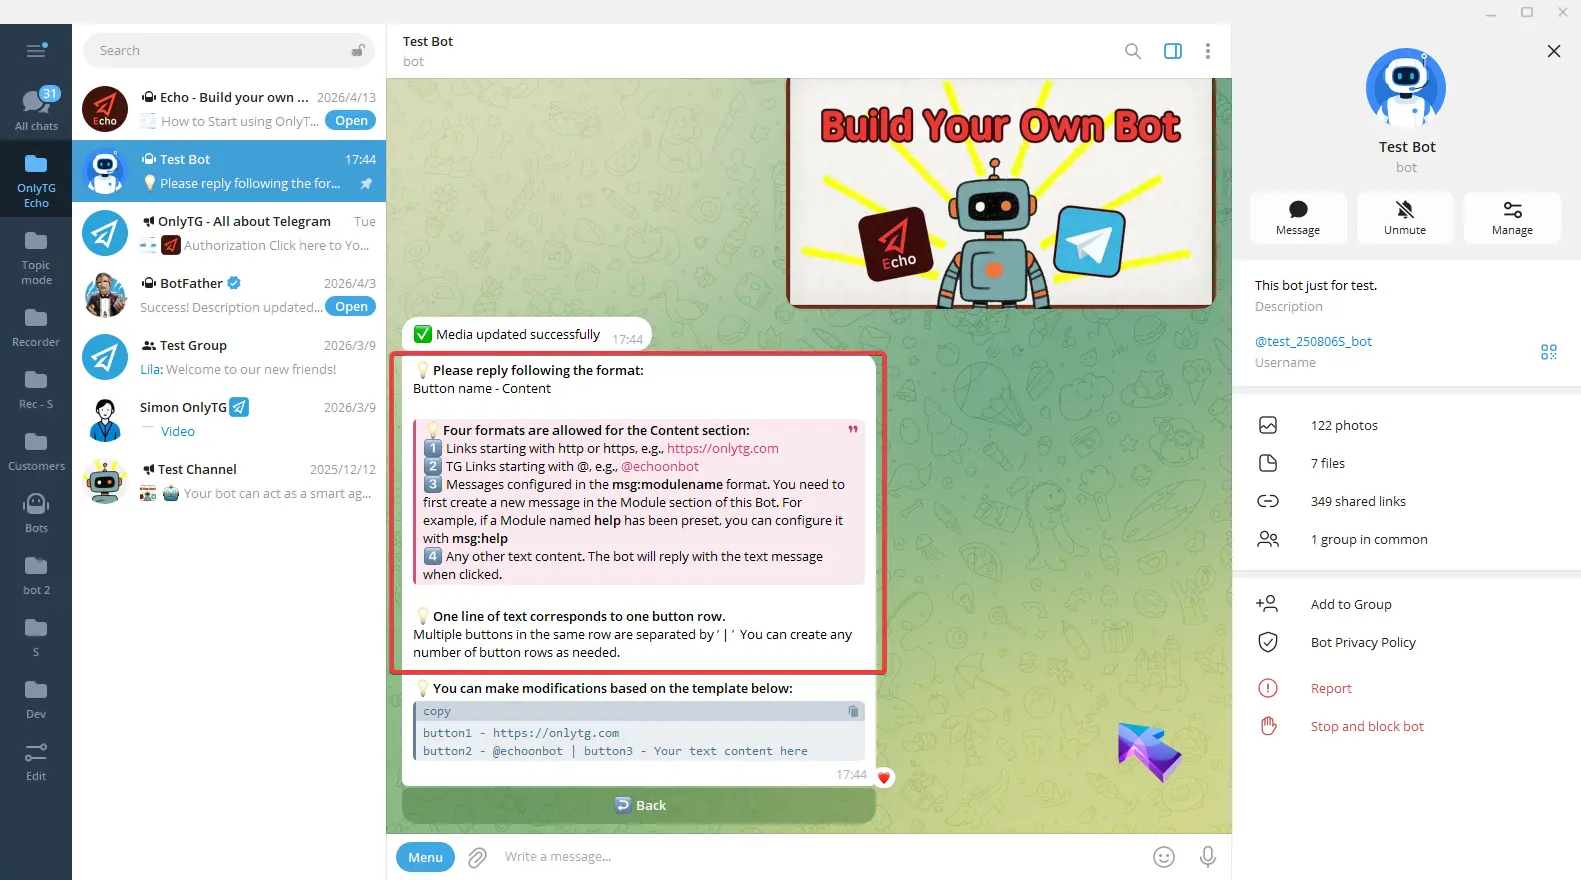
You can also copy the example to the input box and edit it.
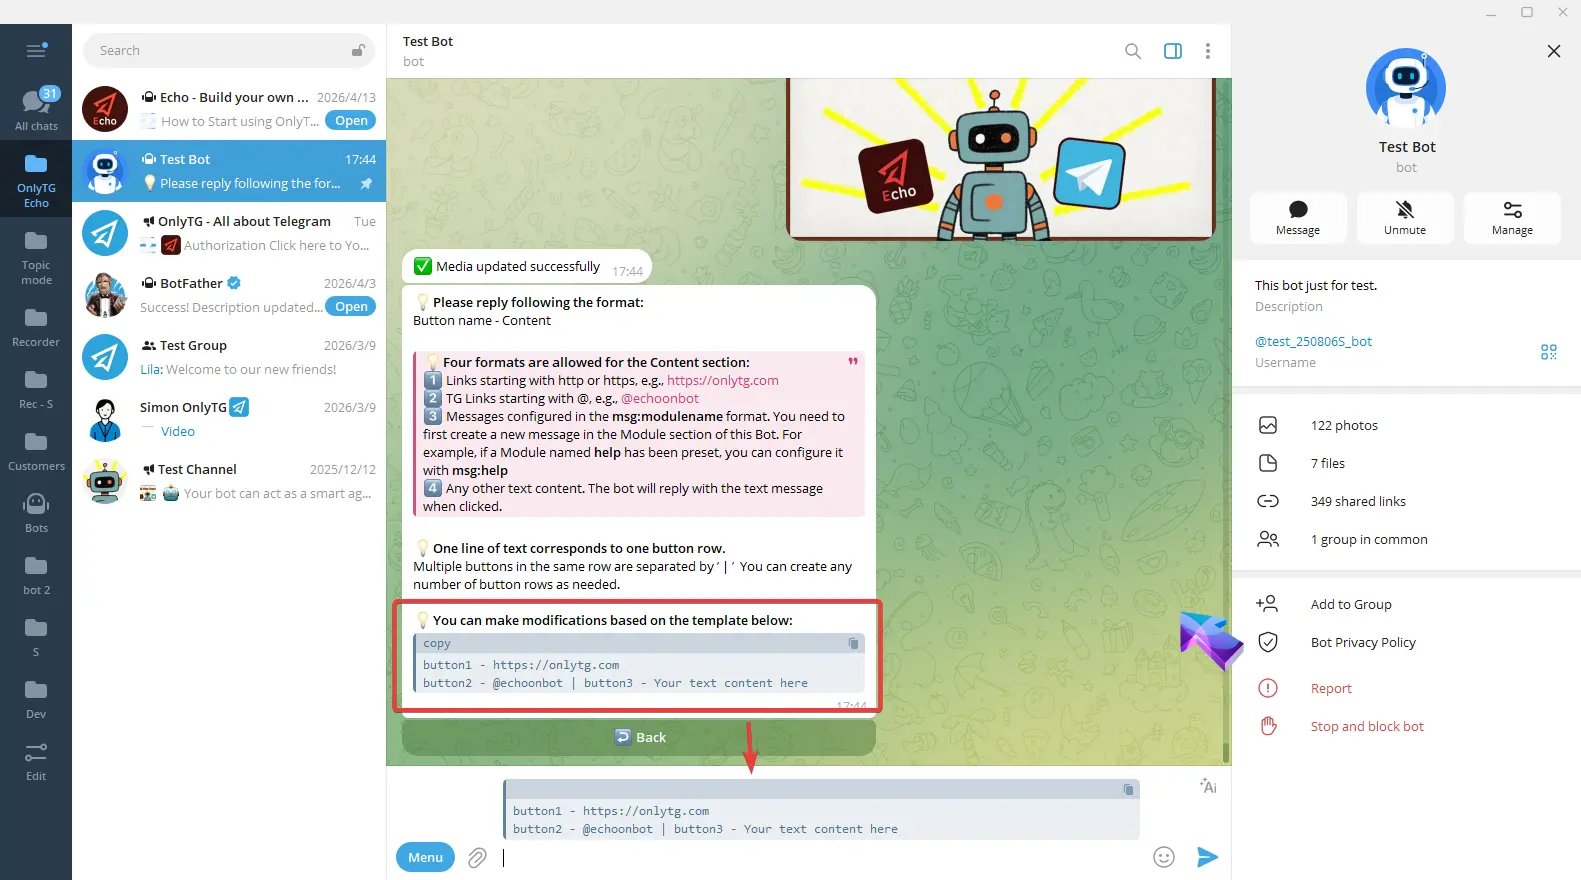
For example, this now means one button on the first row and two buttons on the second row. Then I change these button name to my preferred button name.
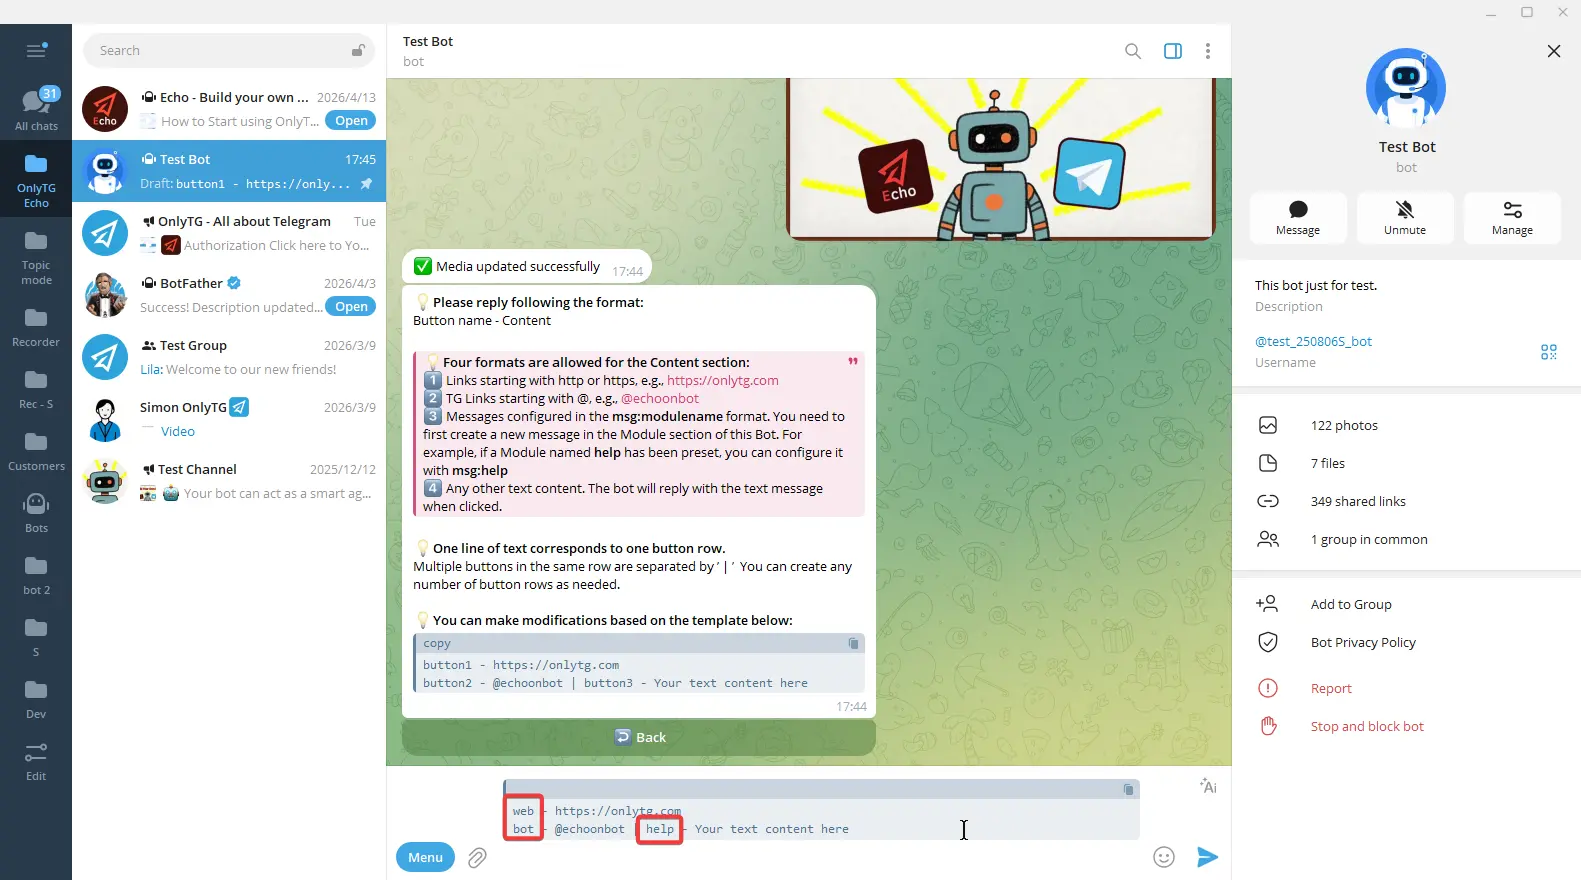
And the content can be links starting with http or https, or TG links starting with @, Or any other Text.
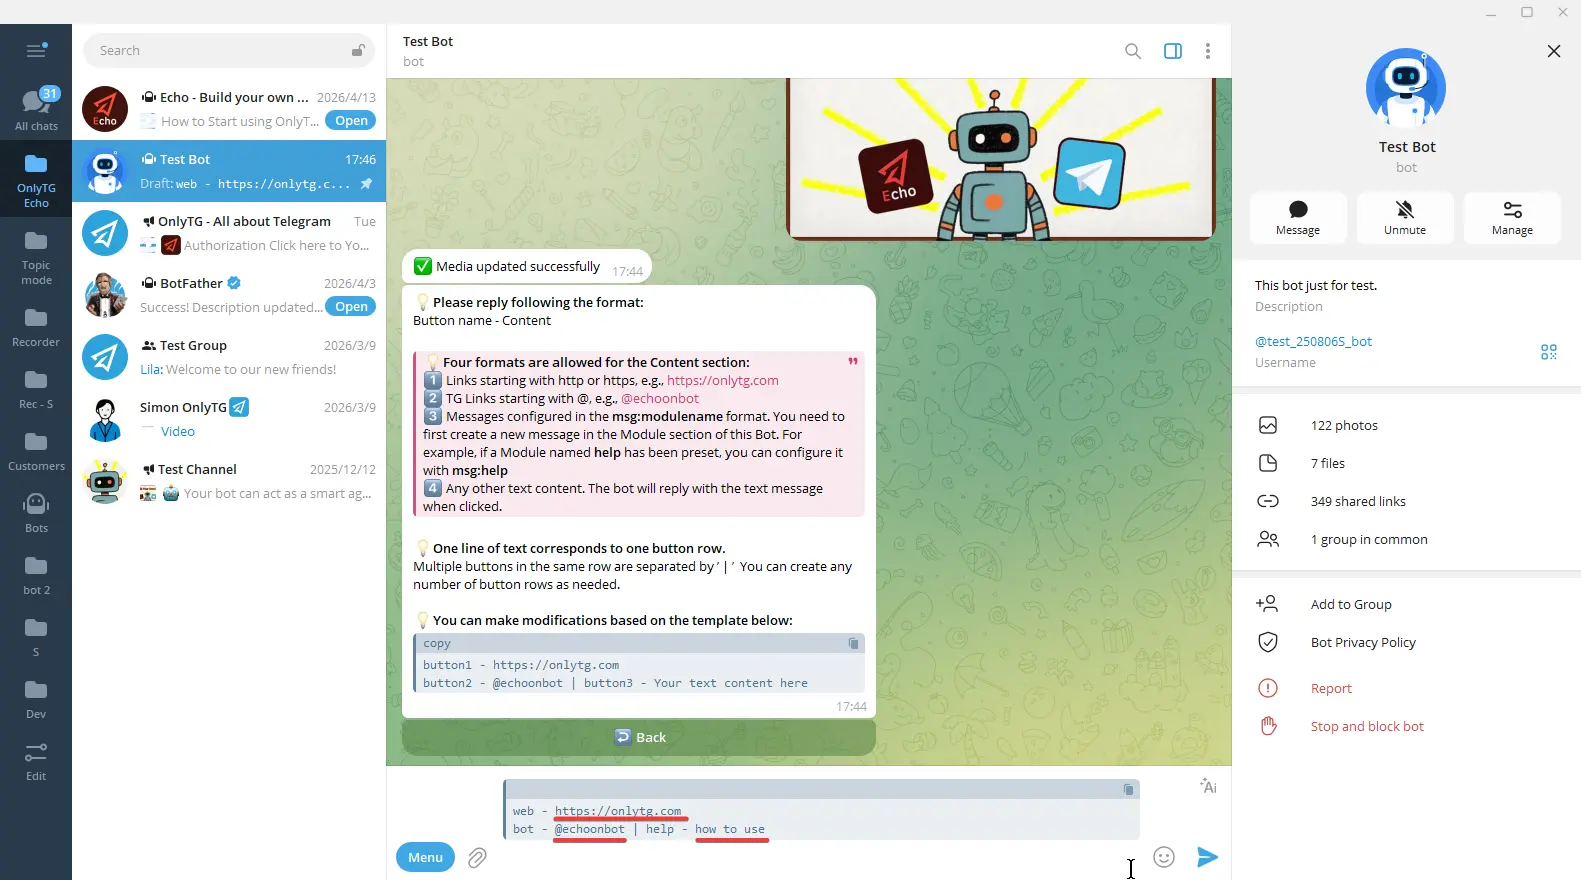
Send it after editing. The button update is successful.
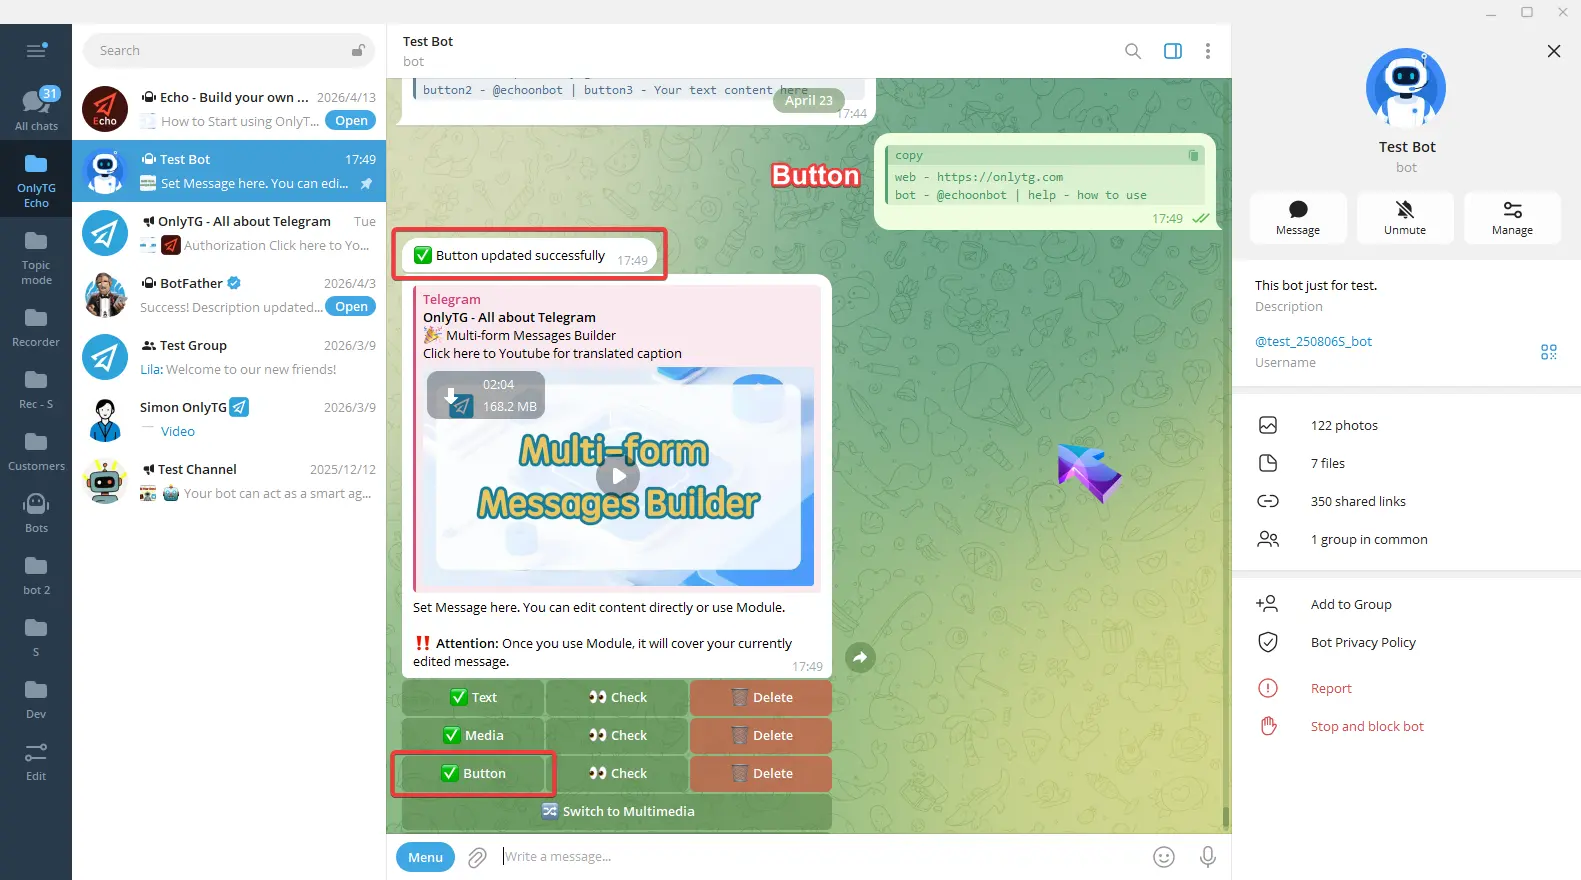
step 2
This message content is now complete. You can choose whether to use the following two options based on your needs.
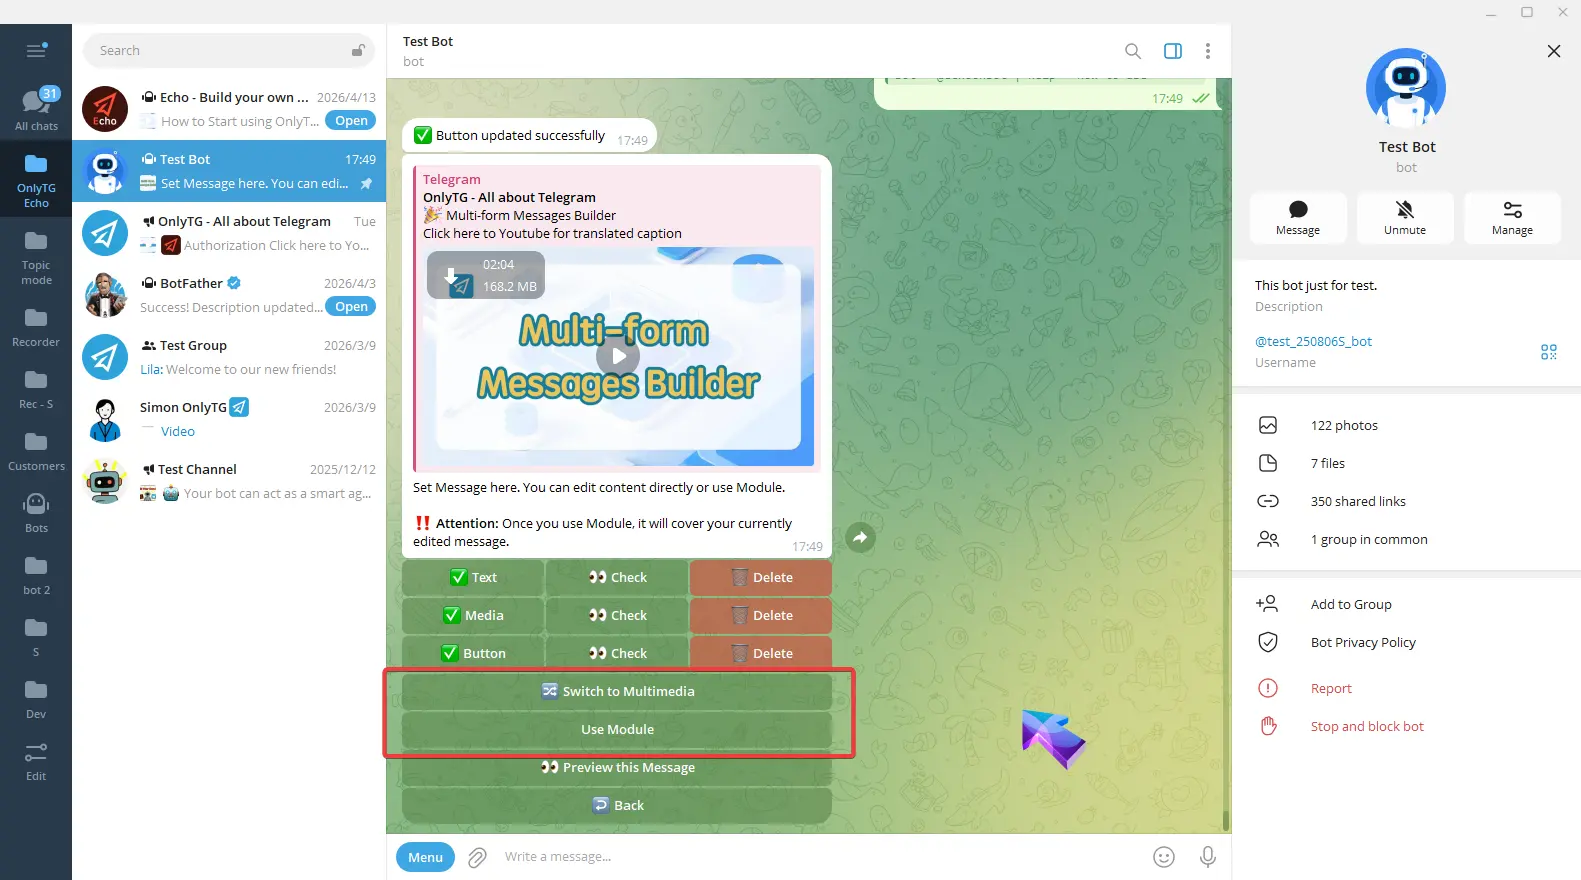
Switch to Multimedia: Convert the post to a mode which you can configure text and multiple images/videos, but files and buttons are not supported. (Click here to learn how to set multimedia messages)
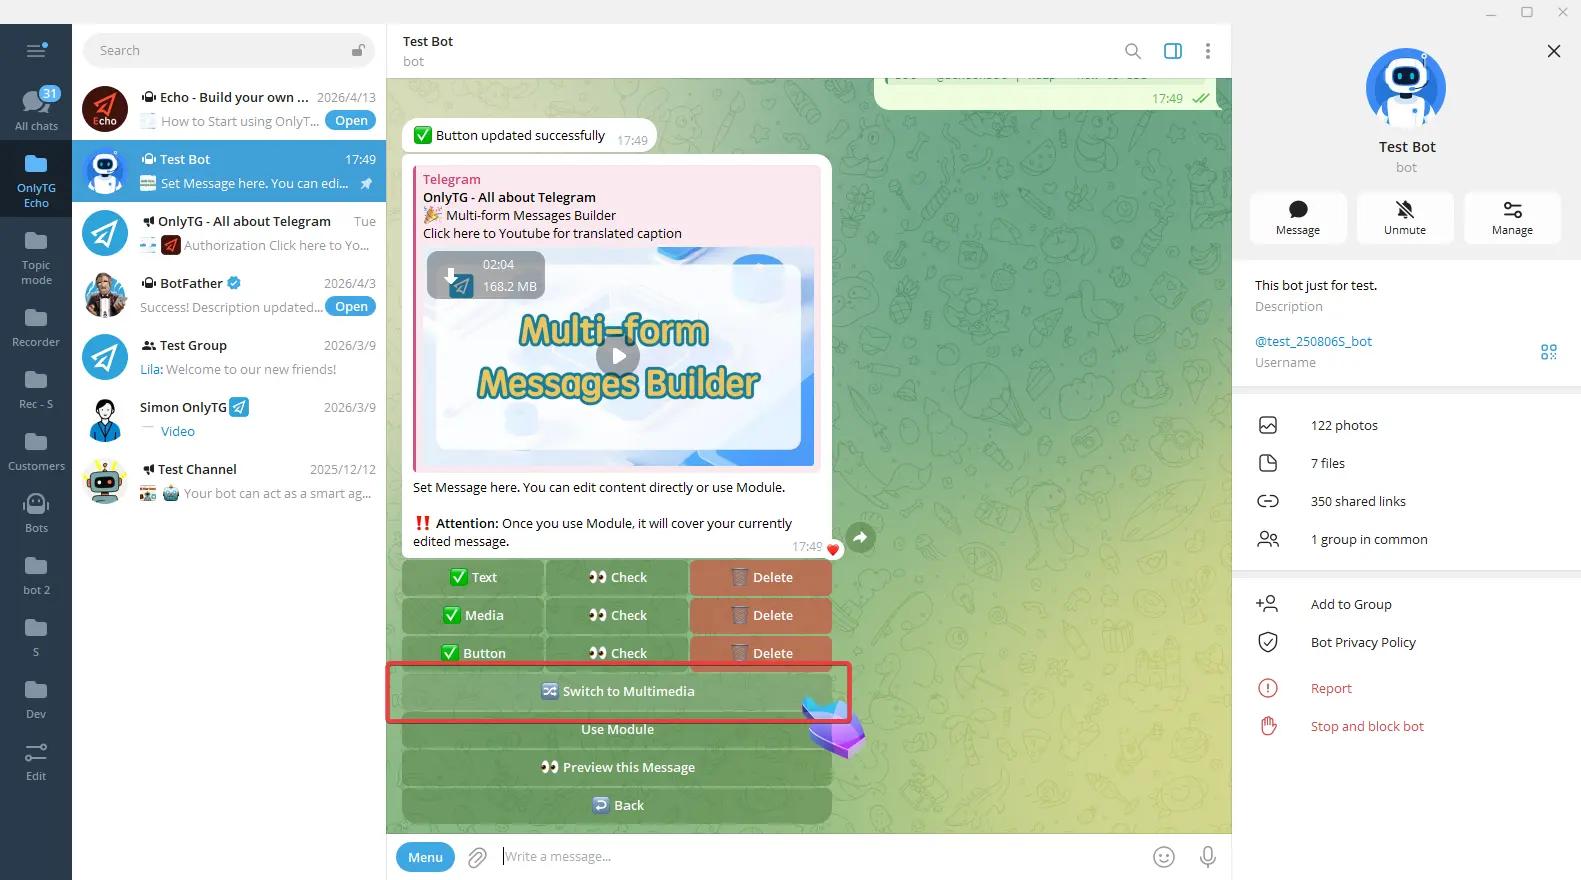
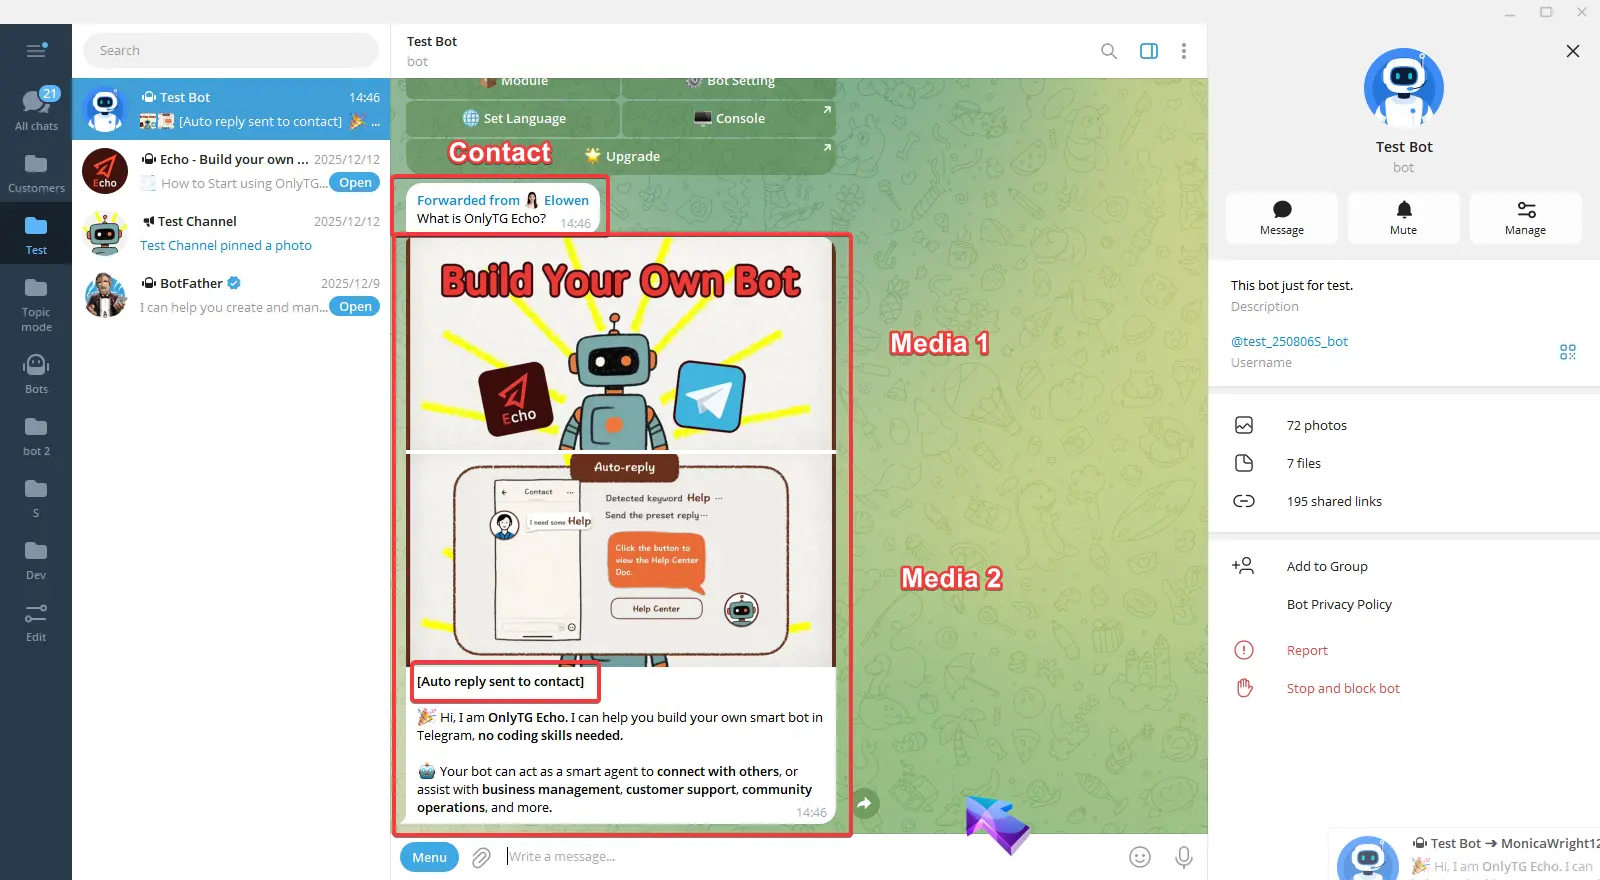
Please note that buttons cannot be added after switching to multimedia mode.
Use the Module: Directly apply pre-set Module message content. Module are preset messages content that can include text, media and buttons. If you want to use module here, you must set a module first. (Click here to more about Module.)
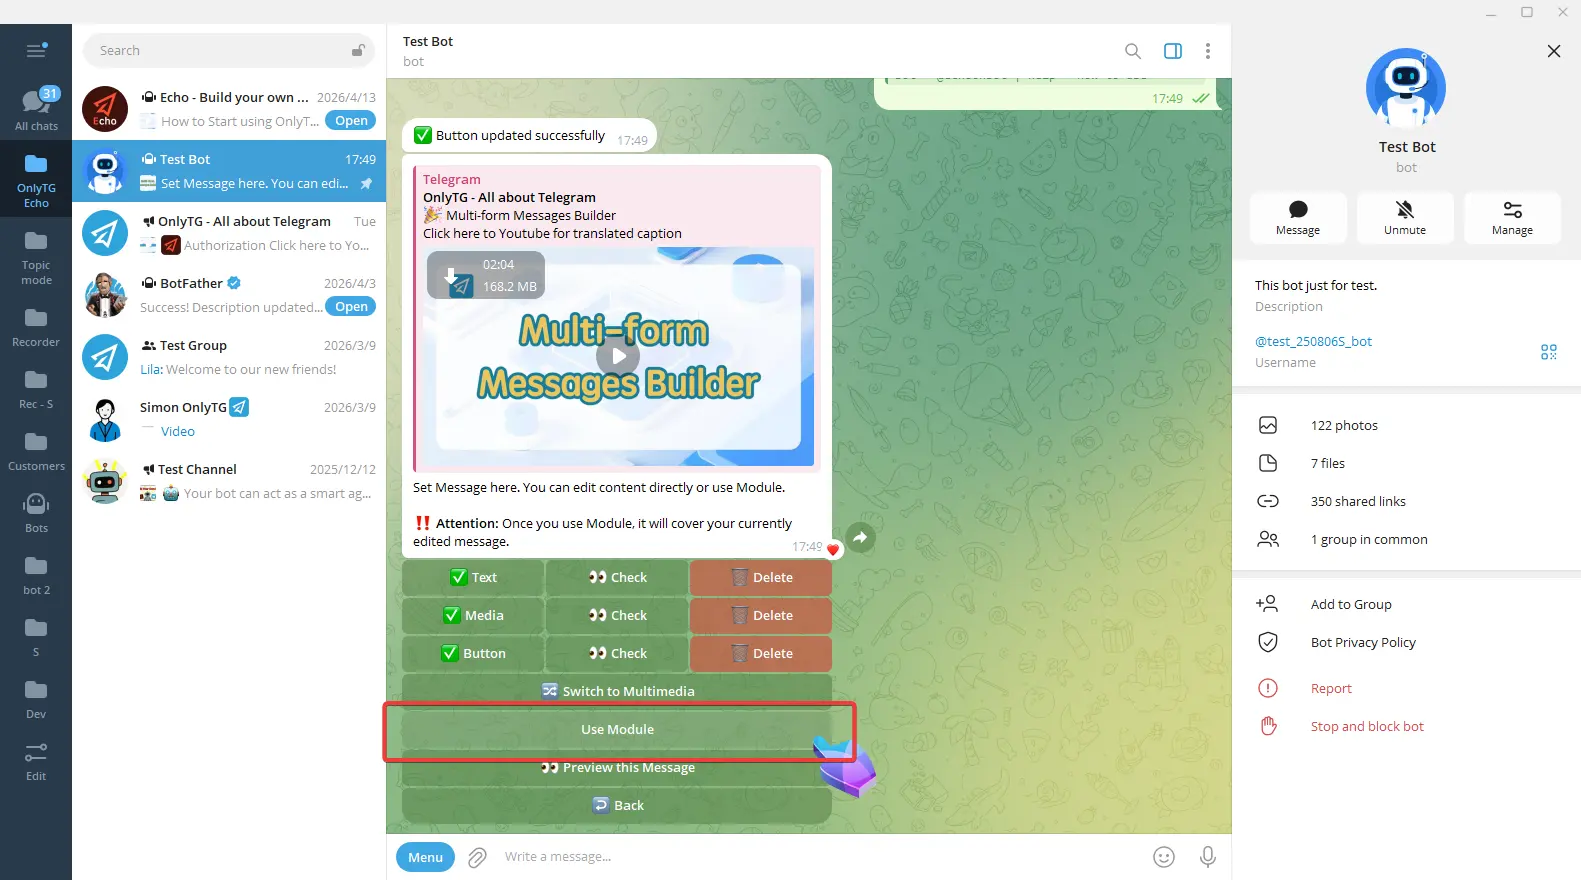
Please note that once you use Module, it will cover your currently edited message.
step 3
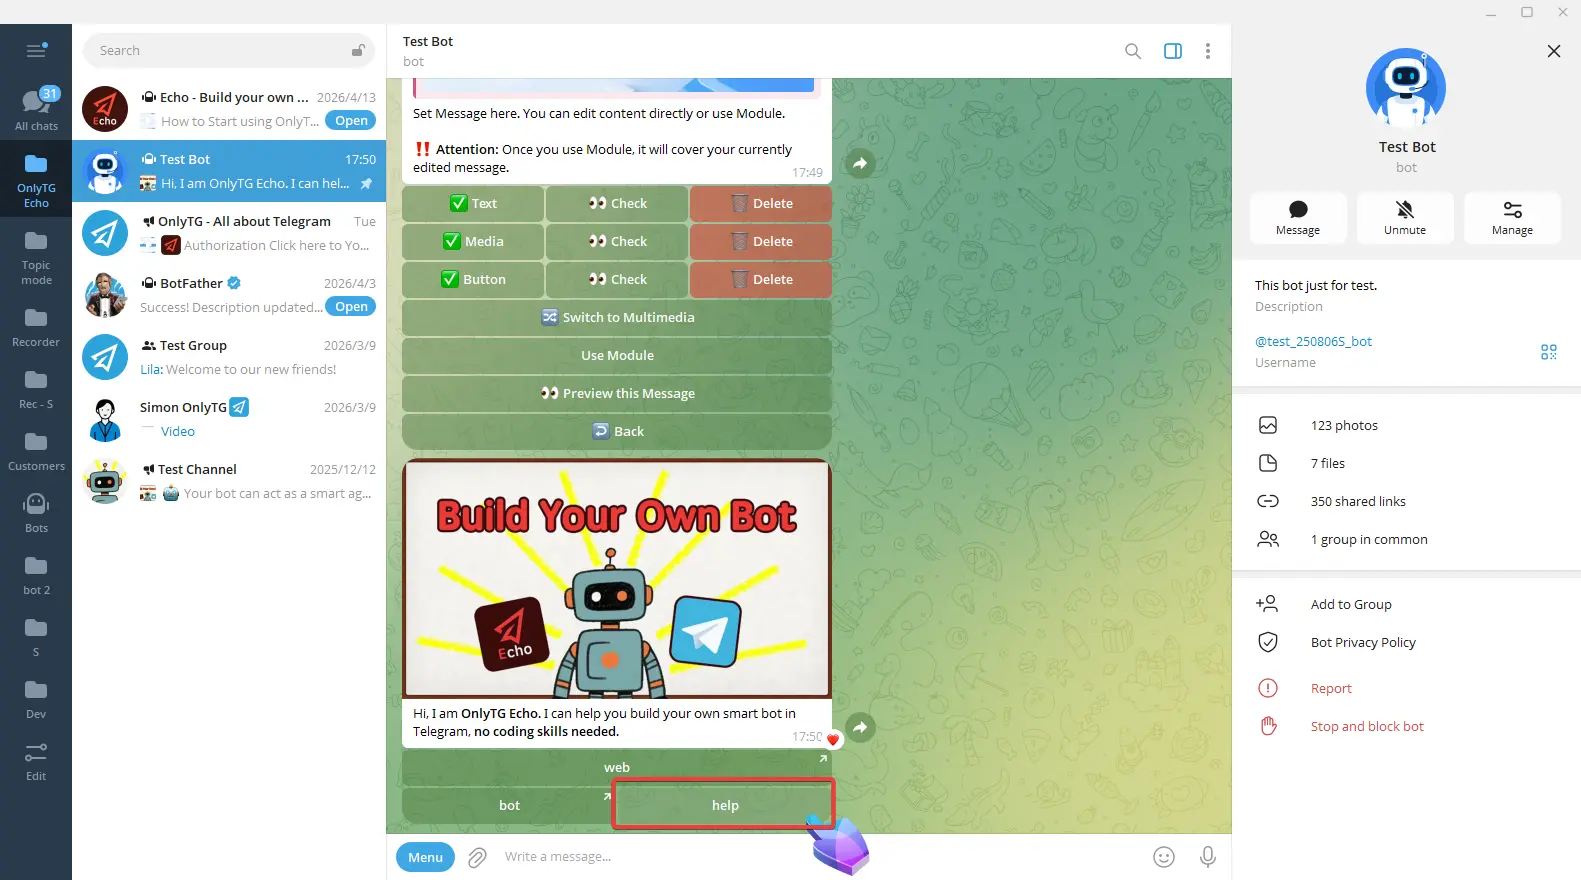
After completing all settings, click the preview this message button to preview the message.
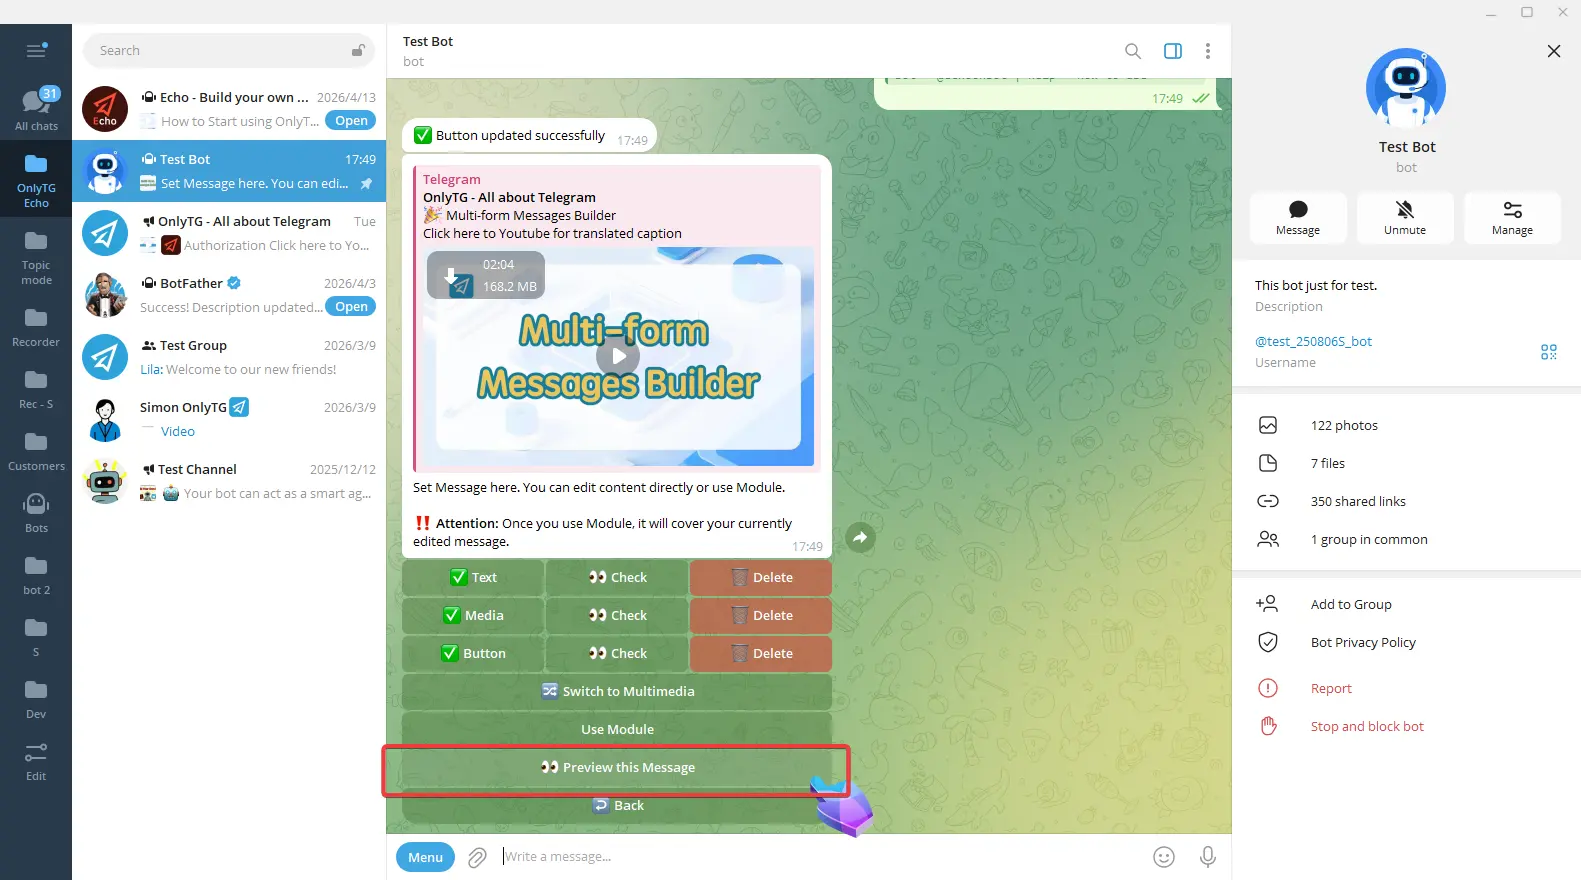
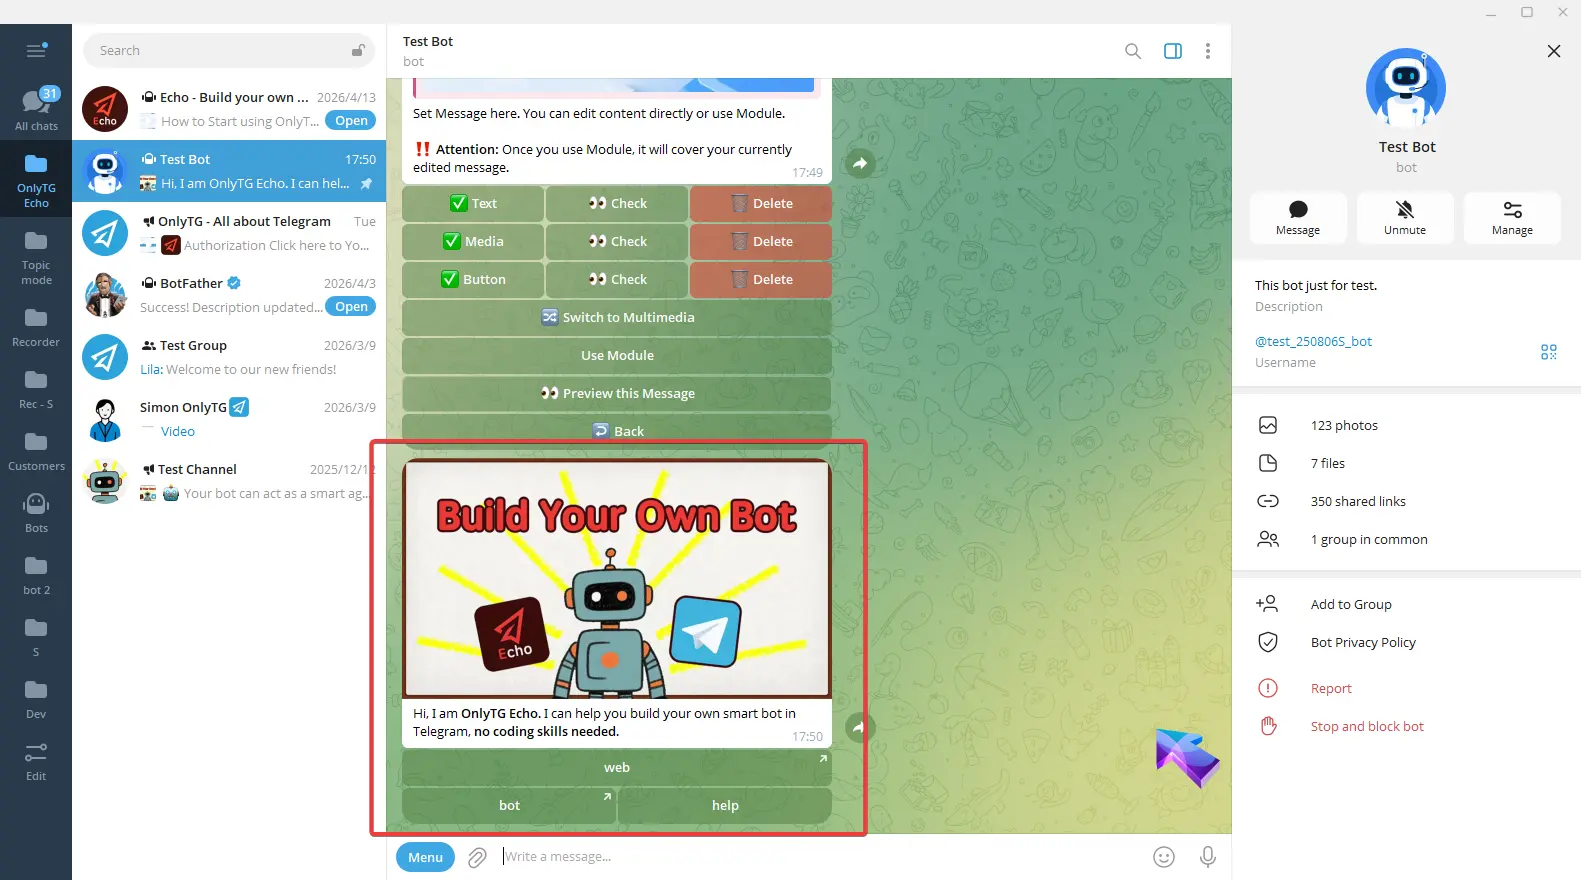
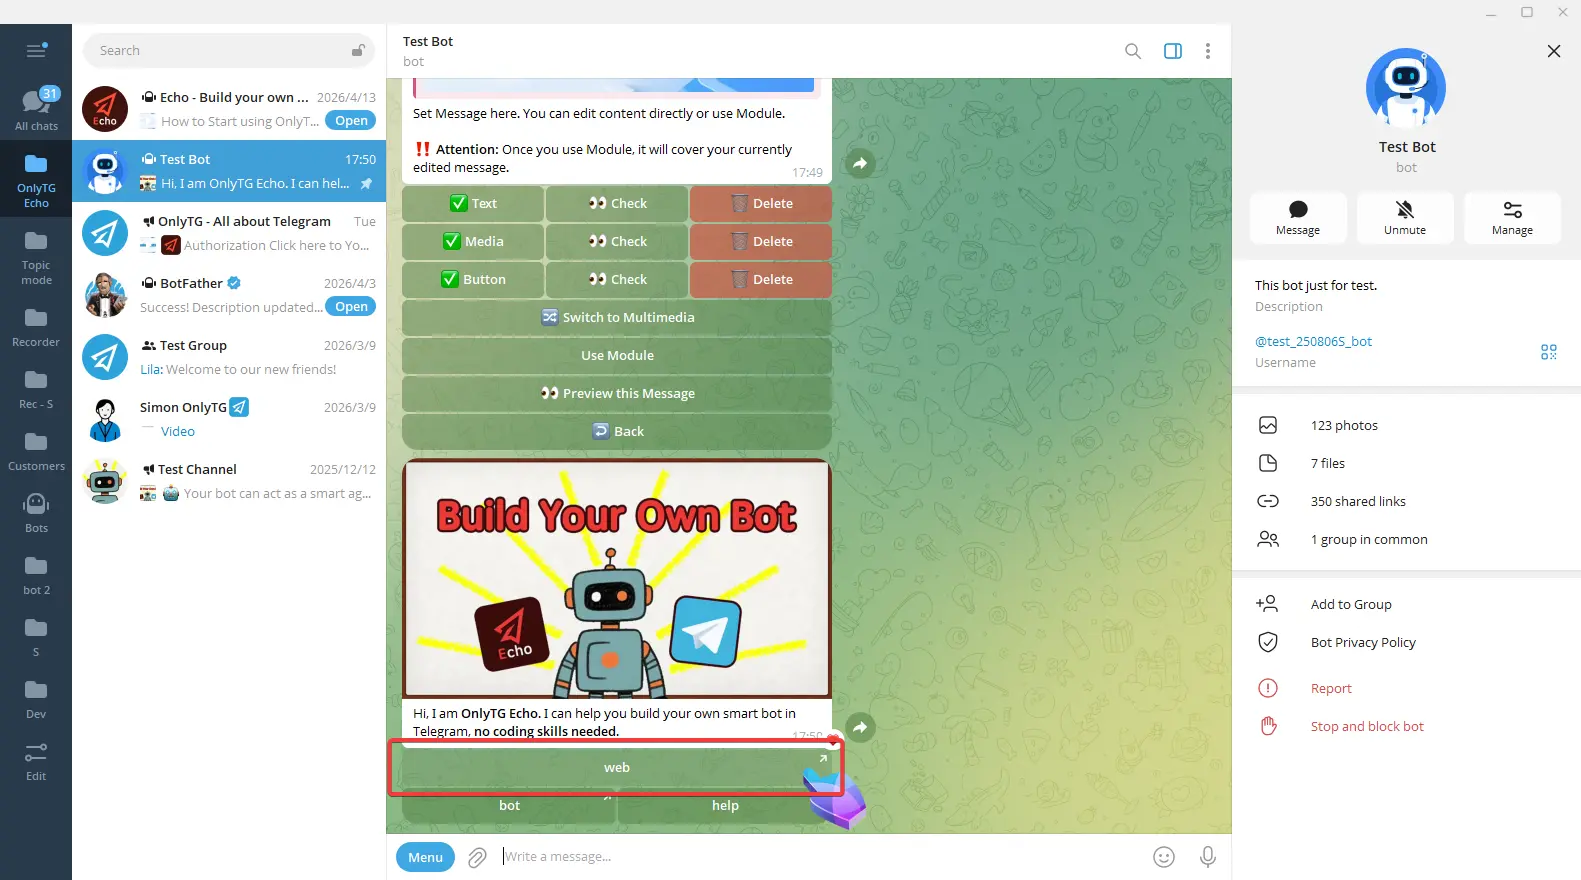
Clicking Button 1 will go to the preset link.
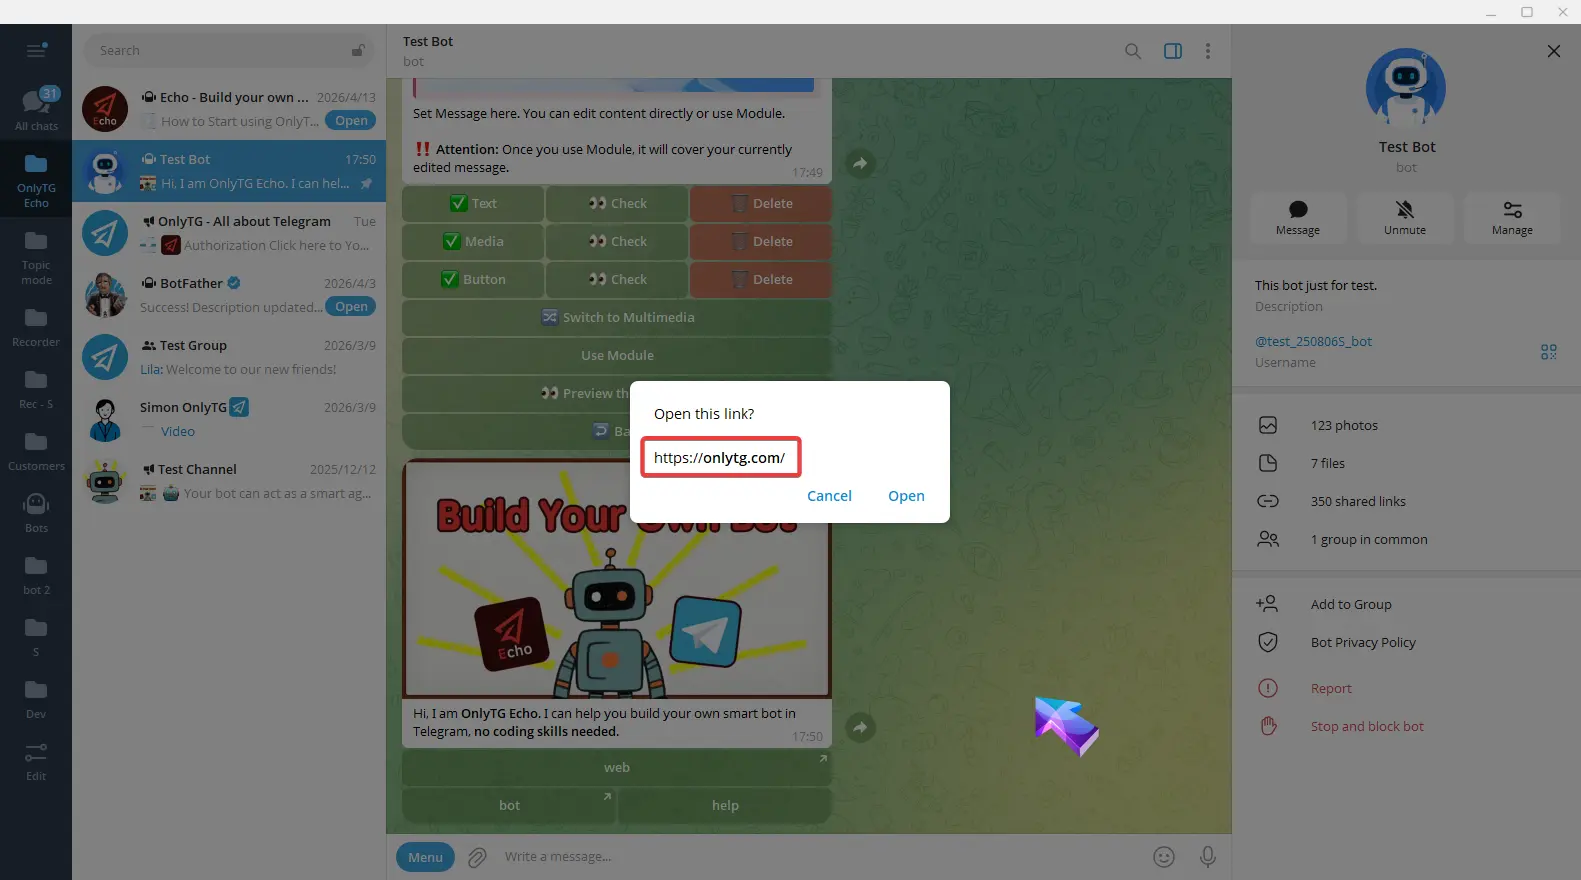
Clicking Button 2 will go to the preset bot.
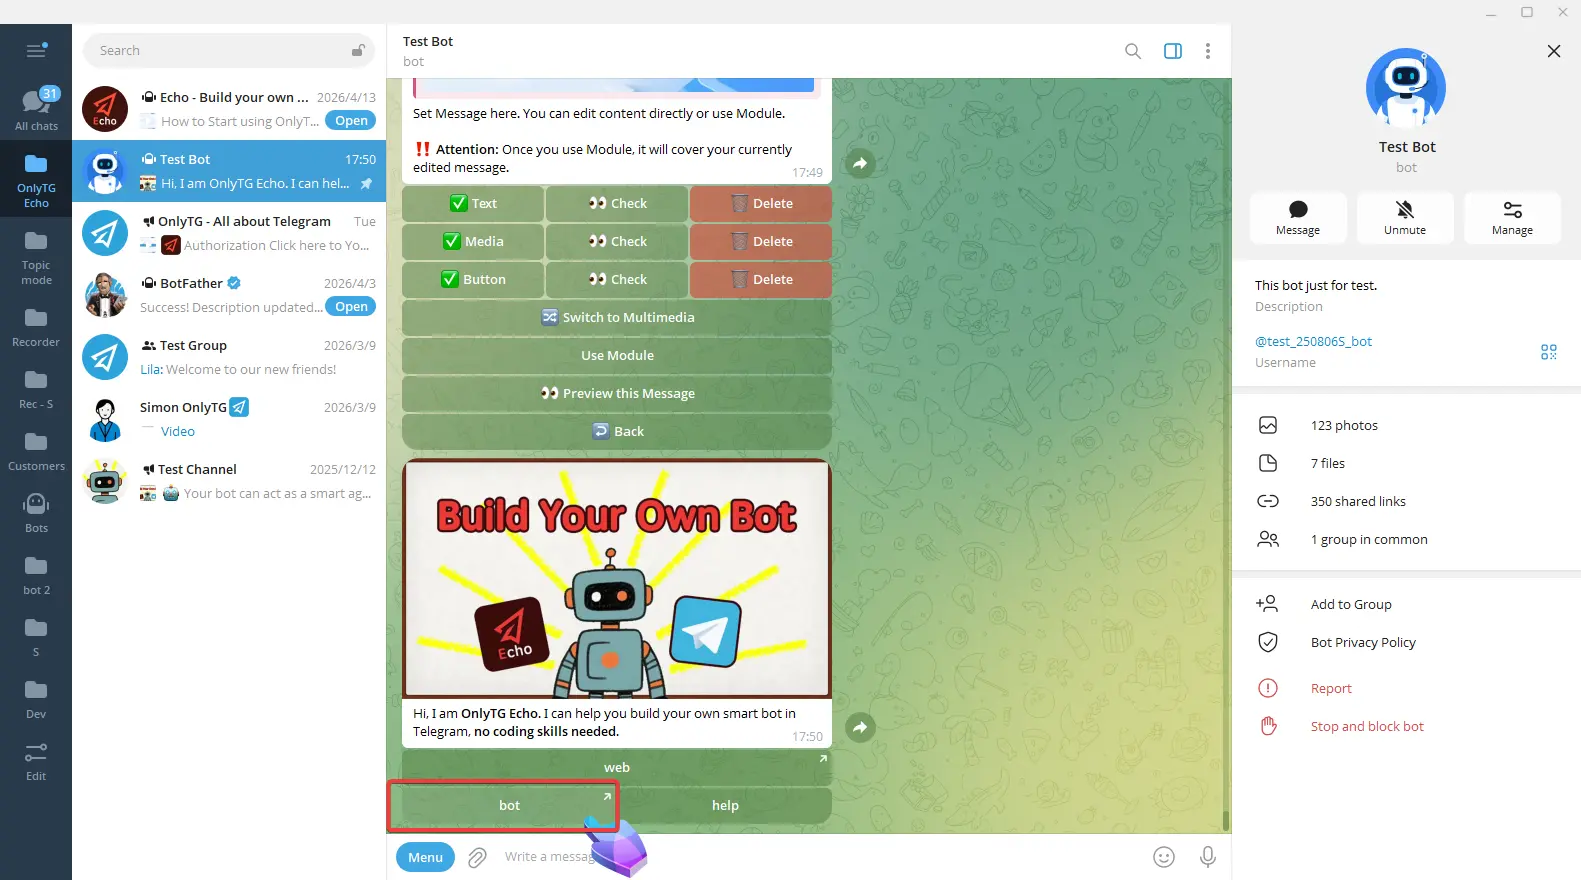
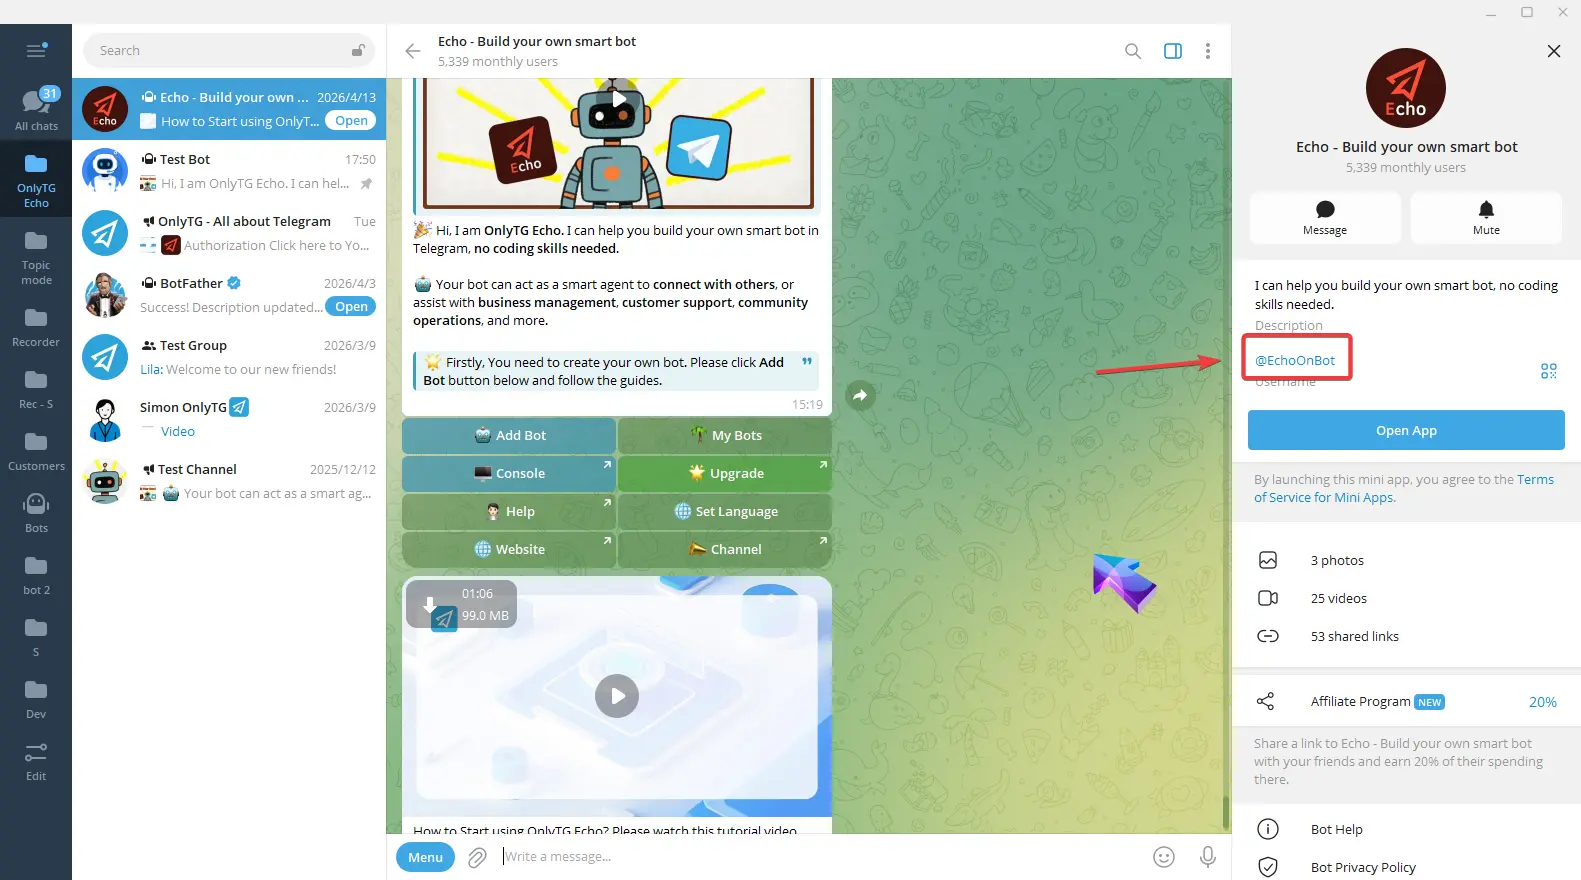
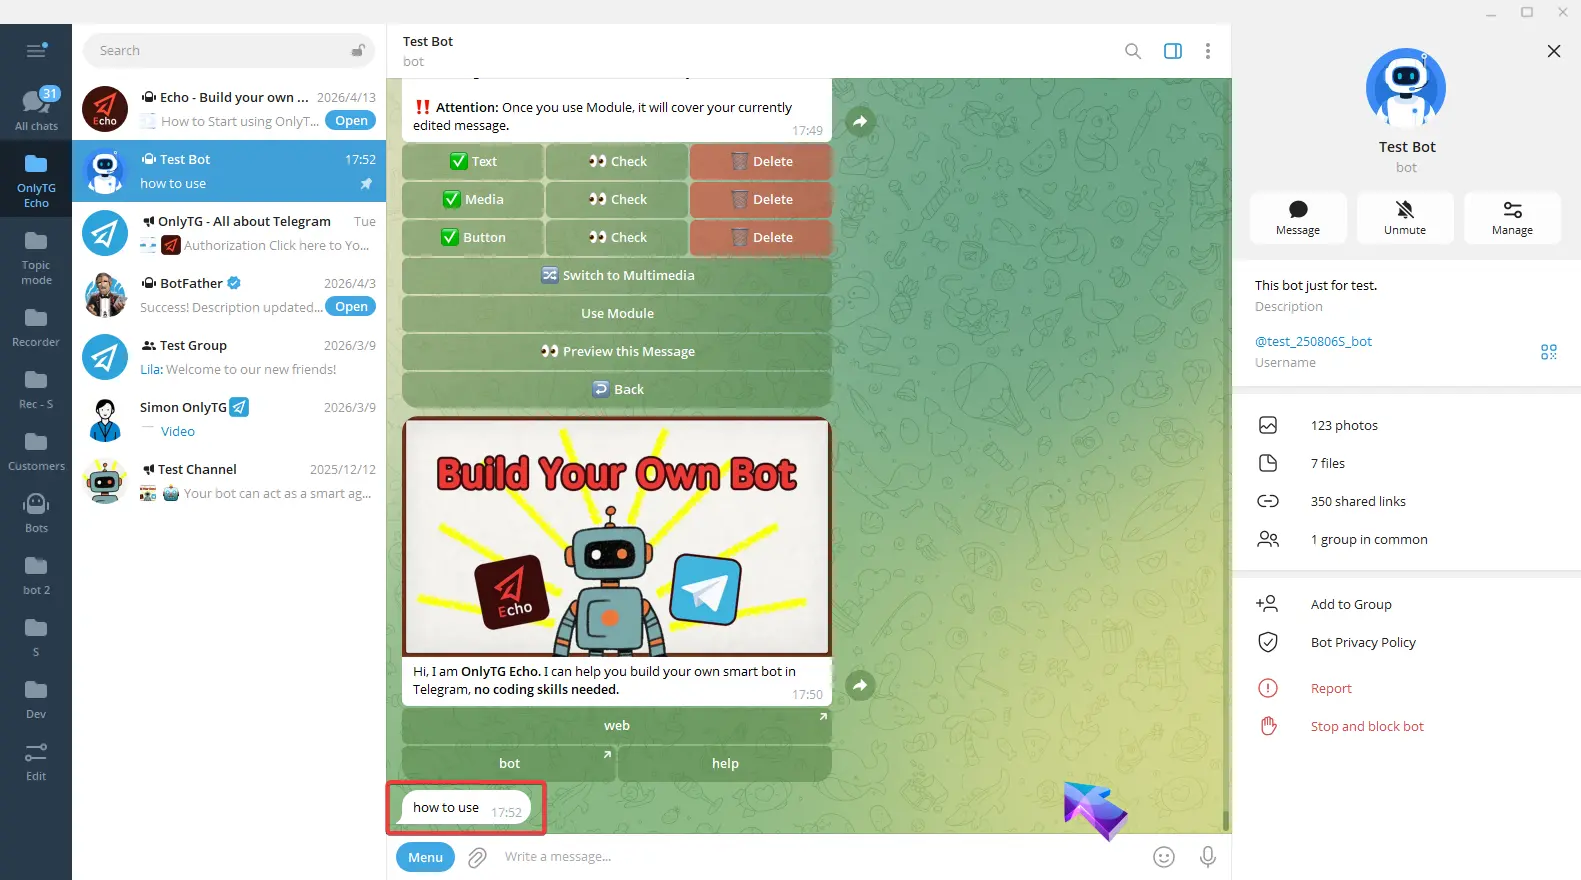
Clicking Button 3 will simply send the preset text.
step 4
If you want a button to trigger another complete message with text, media and buttons upon click, you can set the Module for the button.
When configuring the button content, enter content in the format msg:modulename.
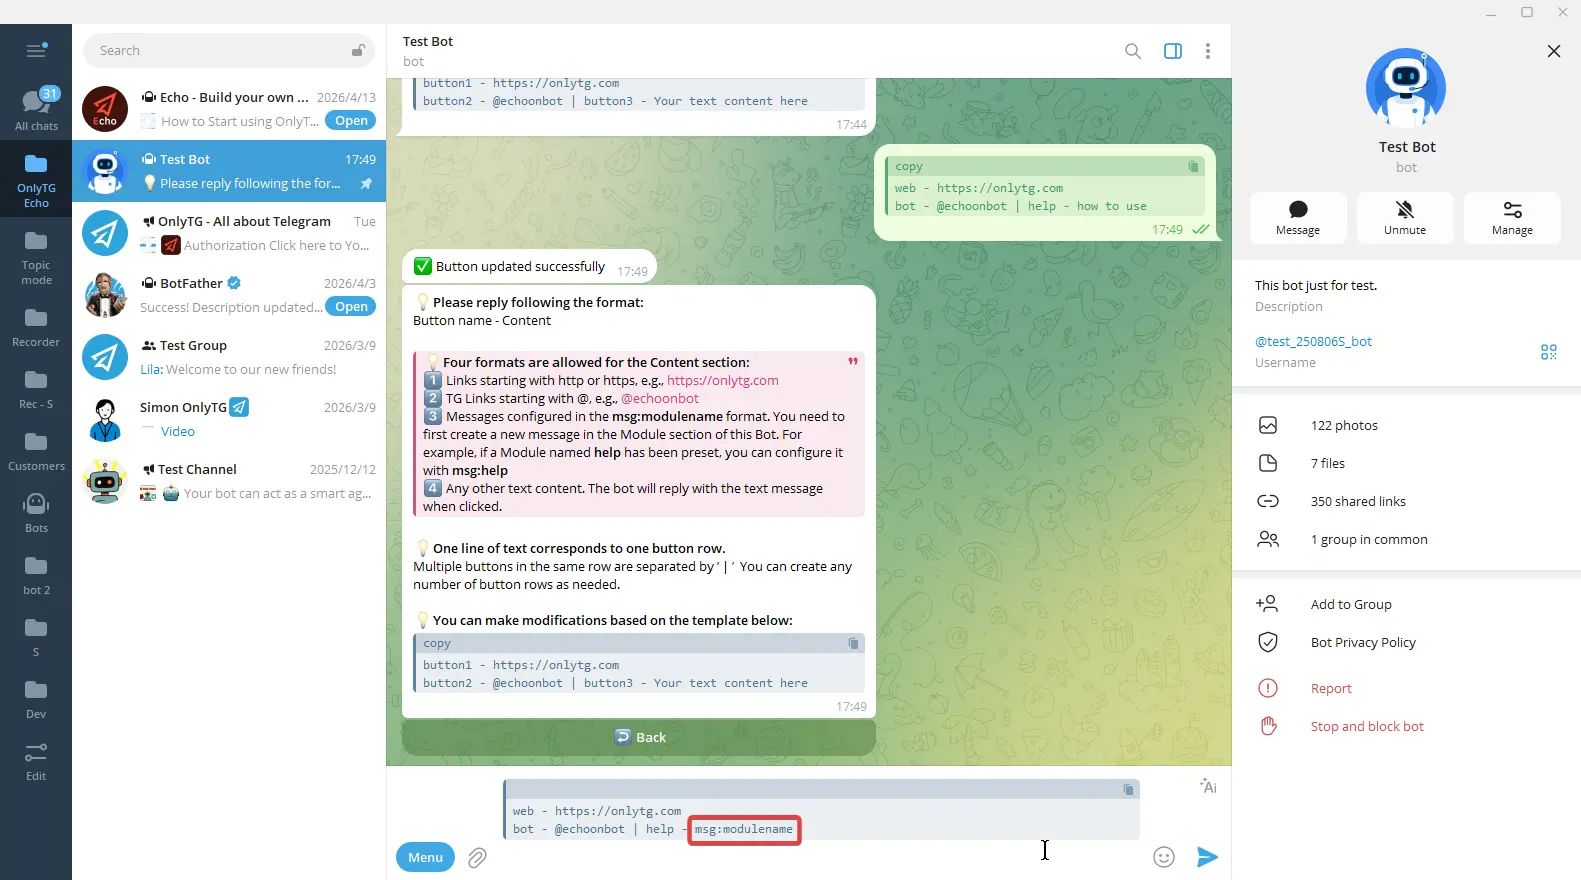
Here, the module name refers to the name of your pre-set module. For example, if you have created a module named help, simply enter msg:help.
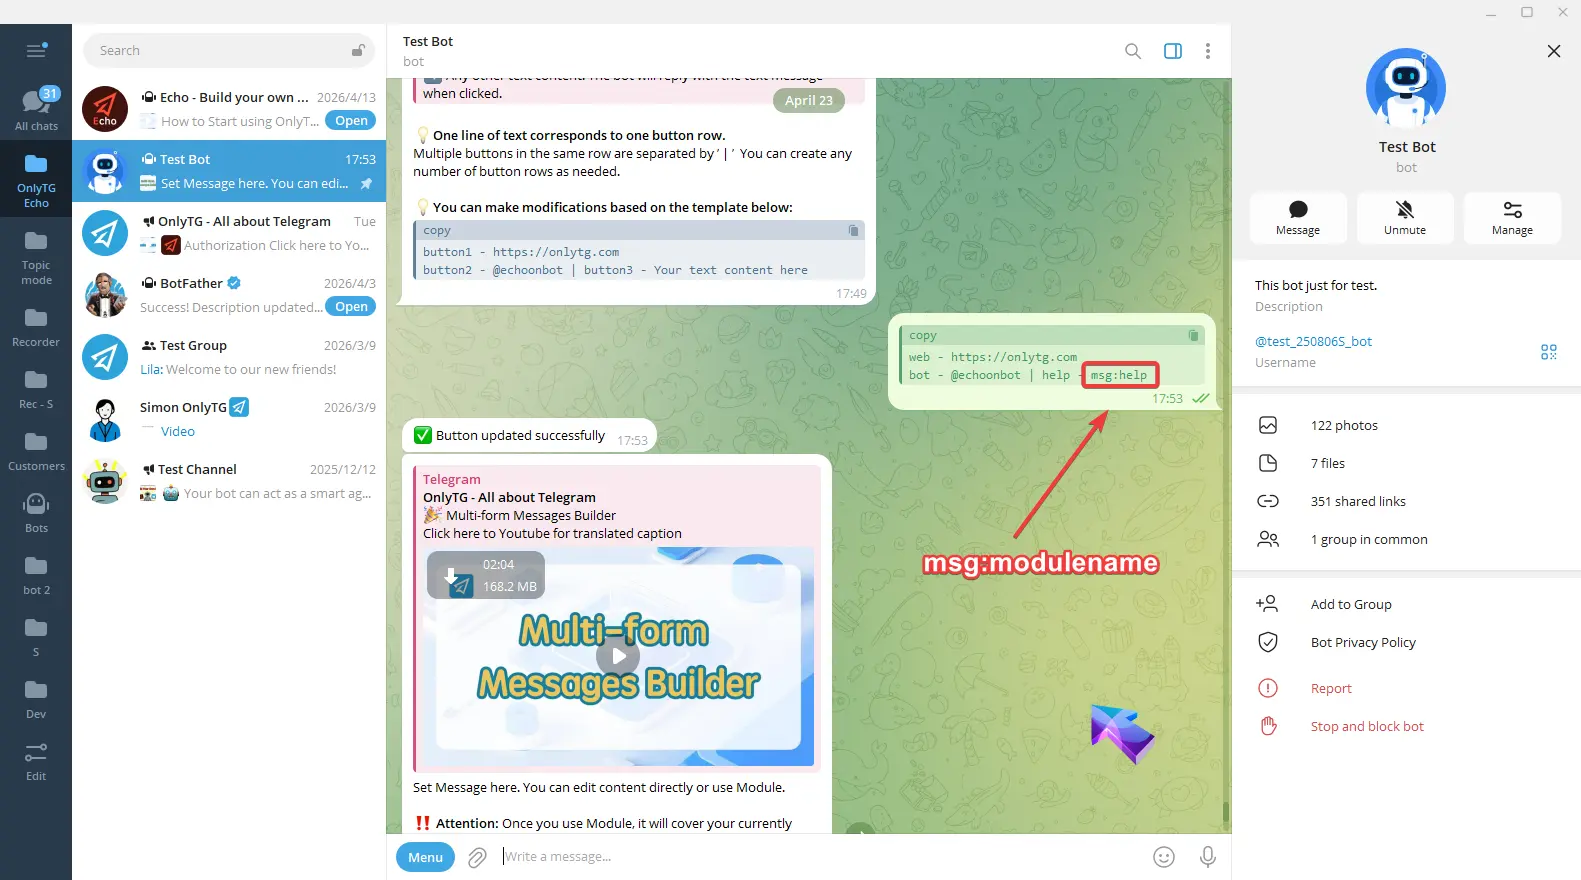
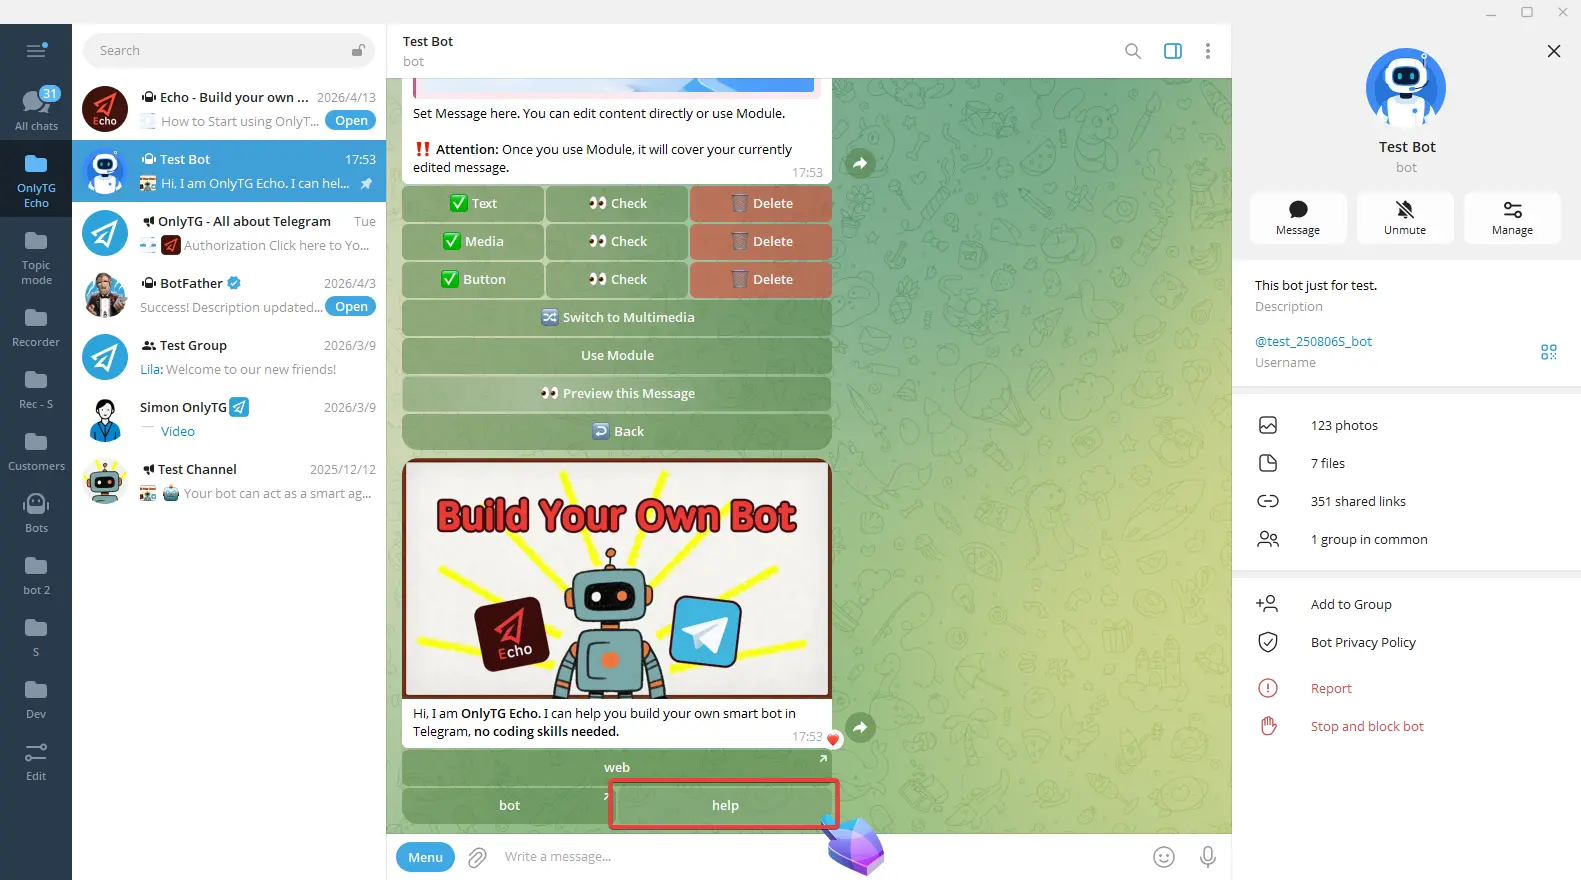
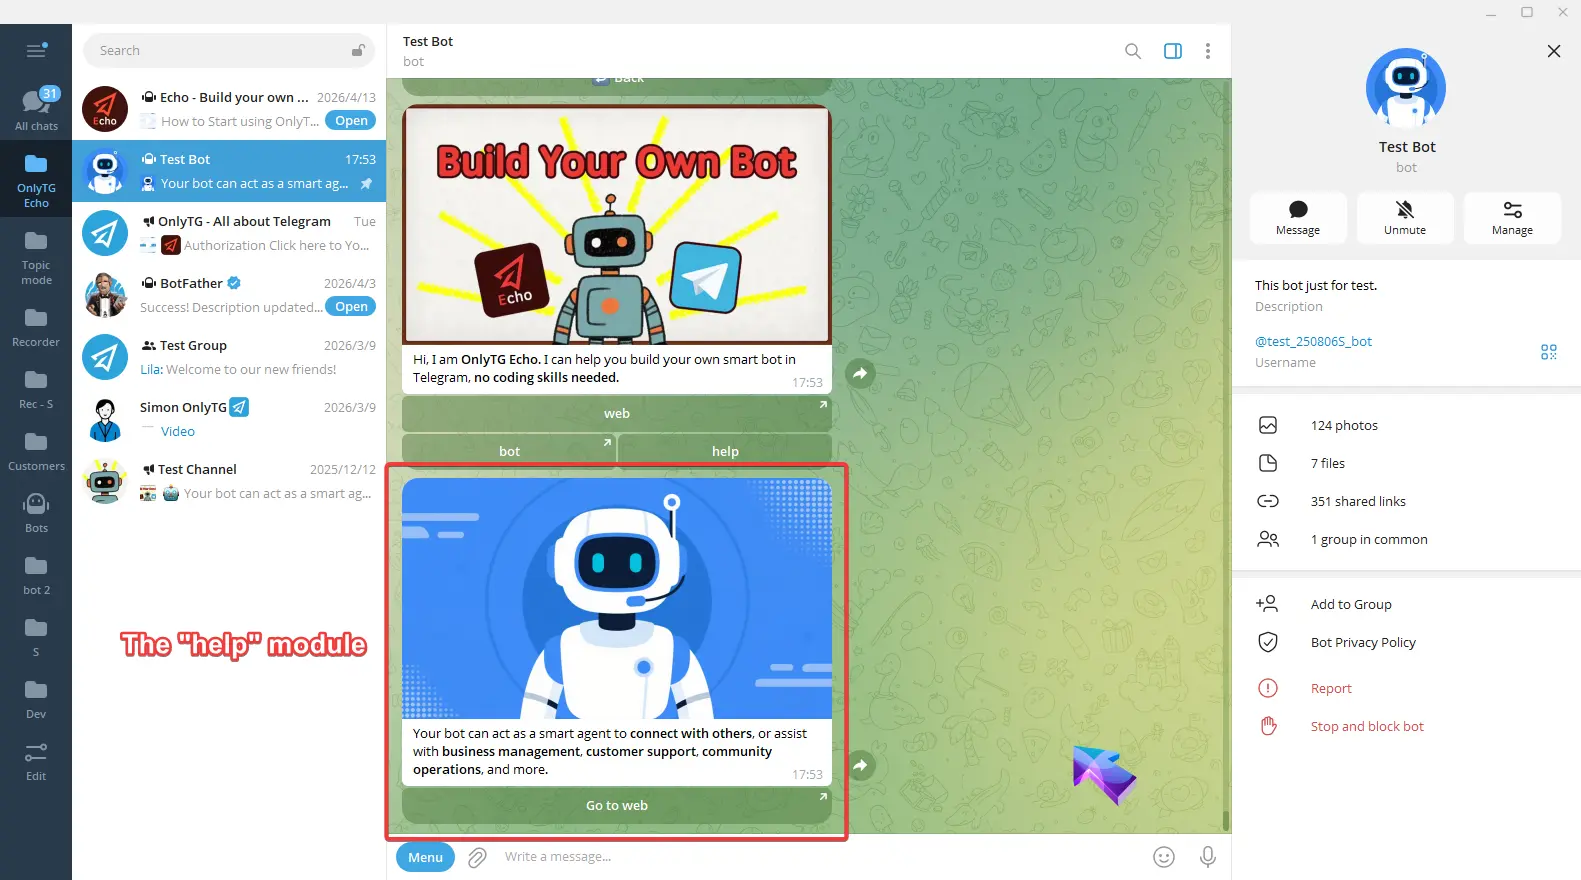
Now, when I click this button, the entire pre-set help module message will be sent automatically.
Article
OnlyTG Echo provides the function to set the Article as text while configure the message content. You may leverage the Rich Message Editor that supports tables, lists, embedded media and many other formats.
Video Tutorial
The Article feature supports all functions in Echo that require text configuration, such as Start Message, Auto Reply, Channel Post, and Group Post. We will walk you through the setup process using Start Message as an example.
step 1
Once you reach the step for configuring message content, click the Text button.
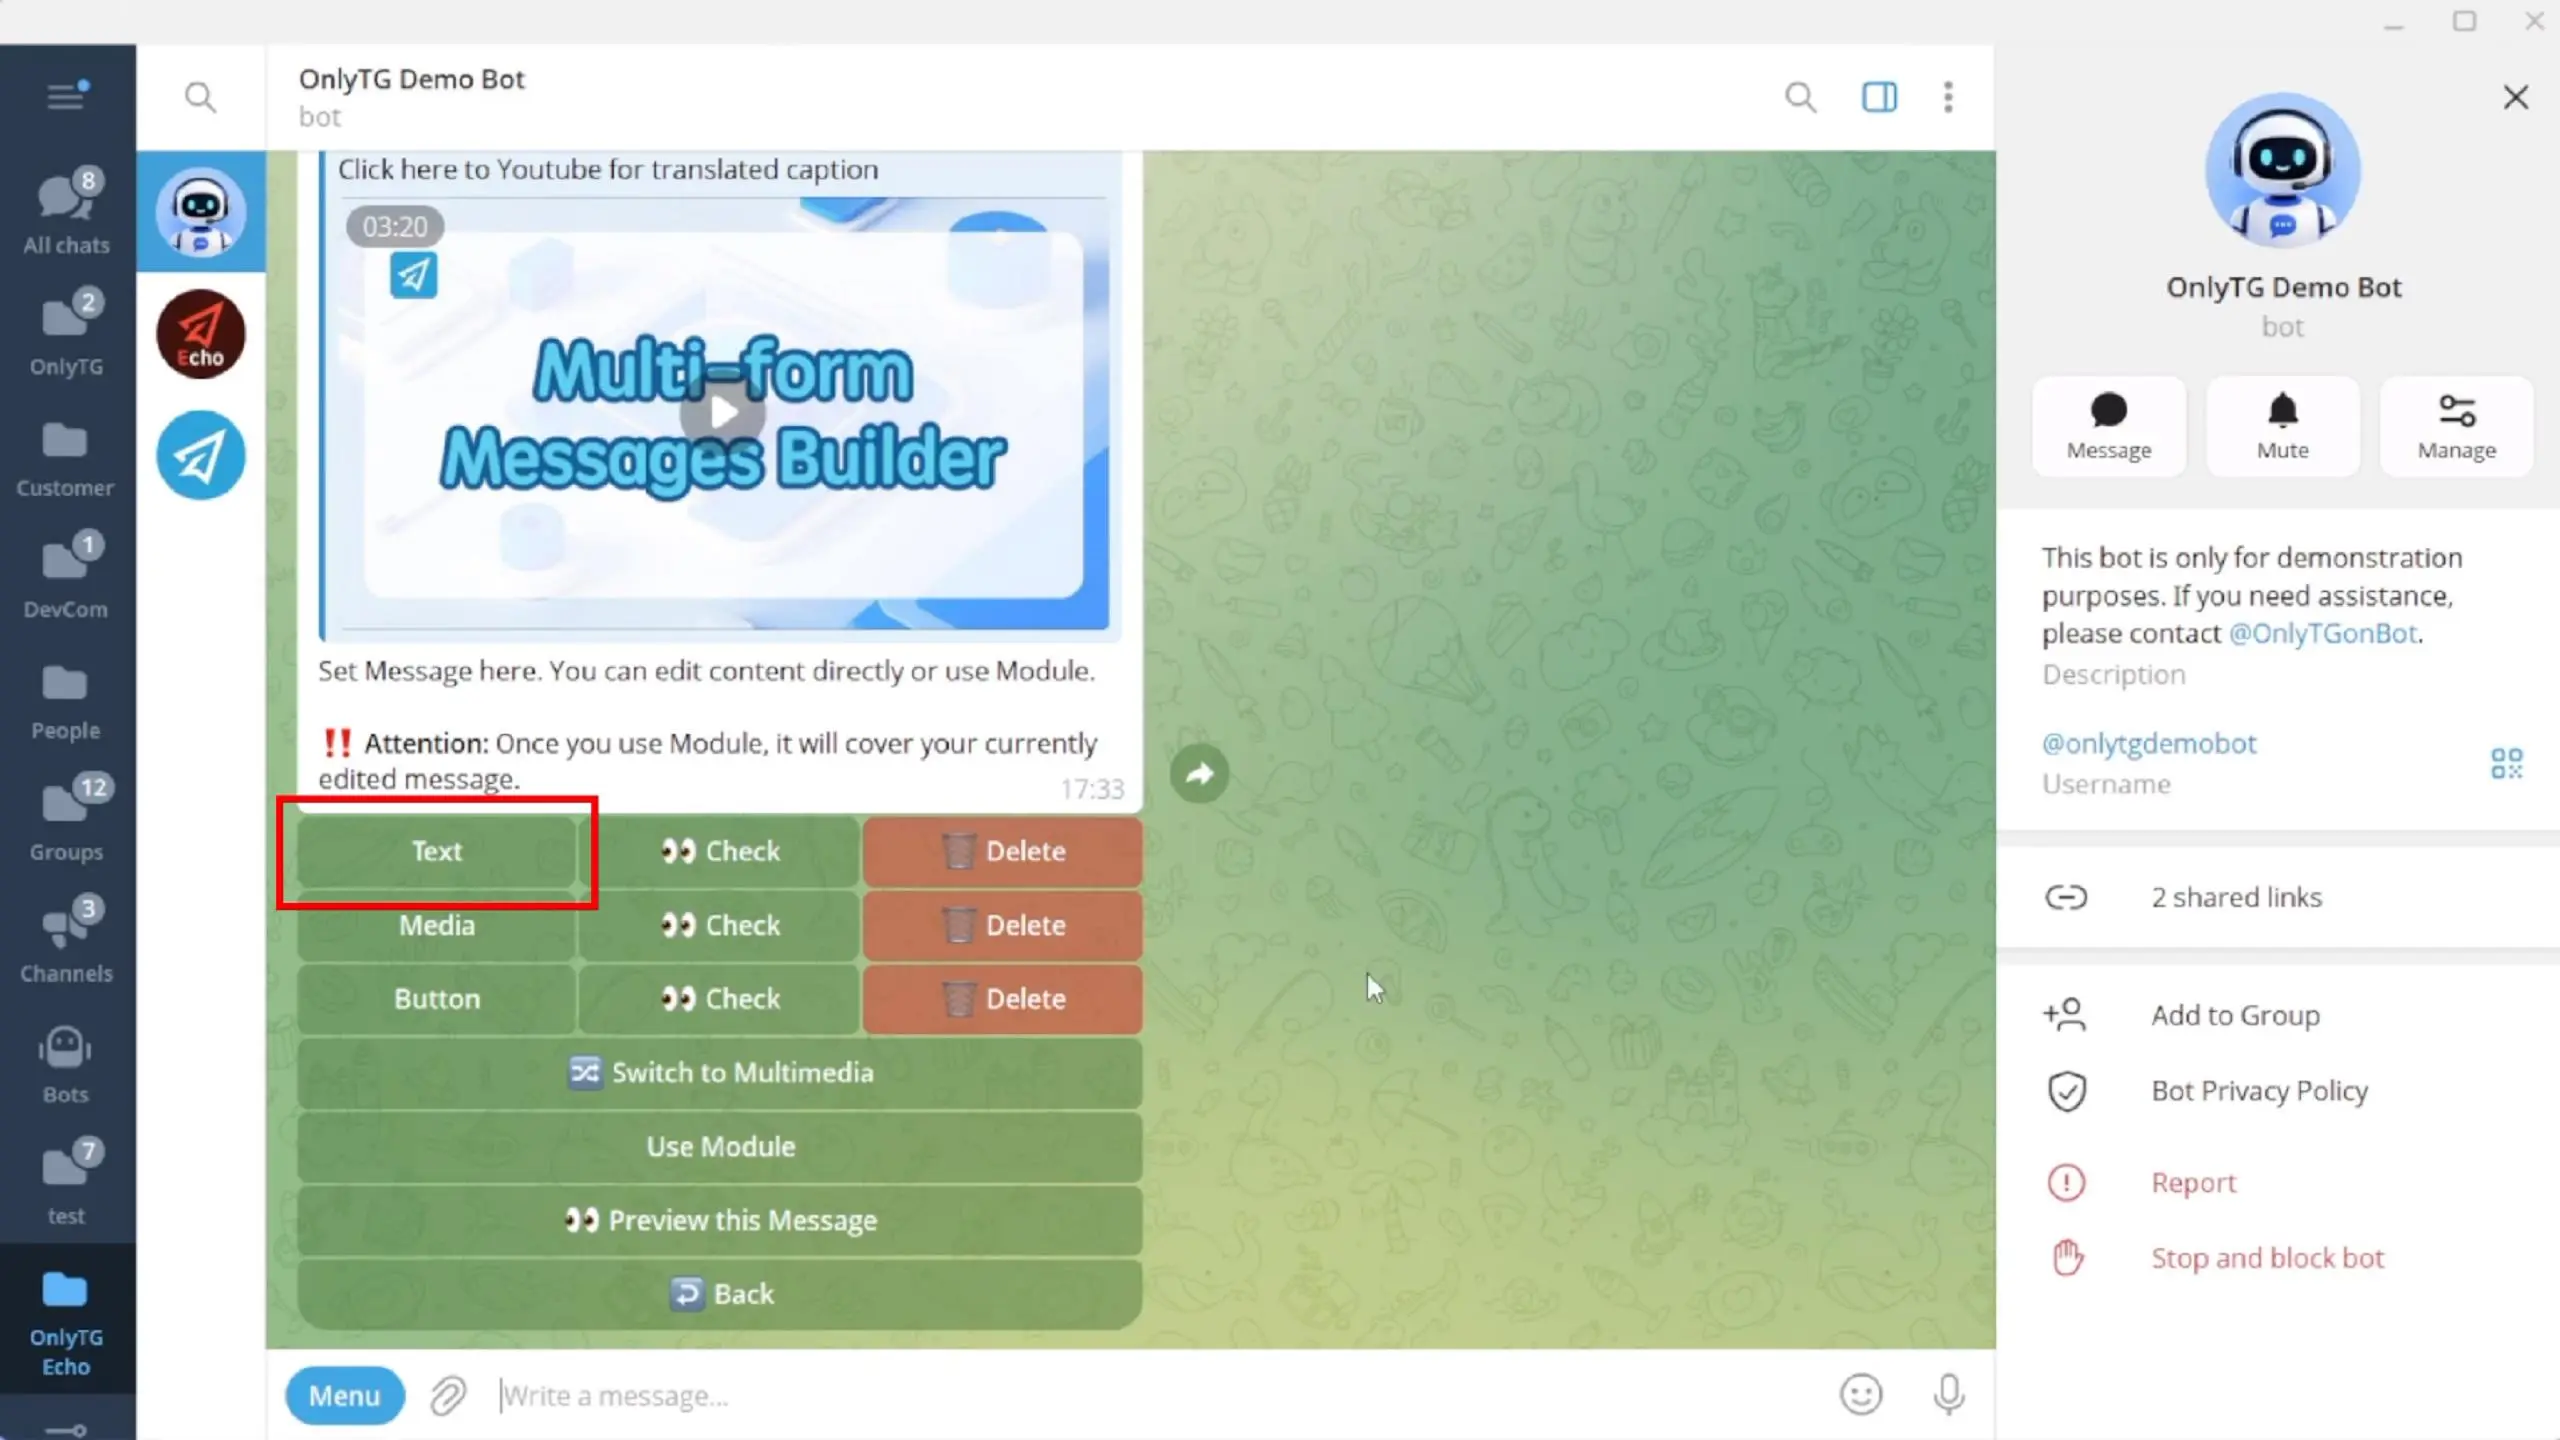
The bot will prompt you to send your desired text content.
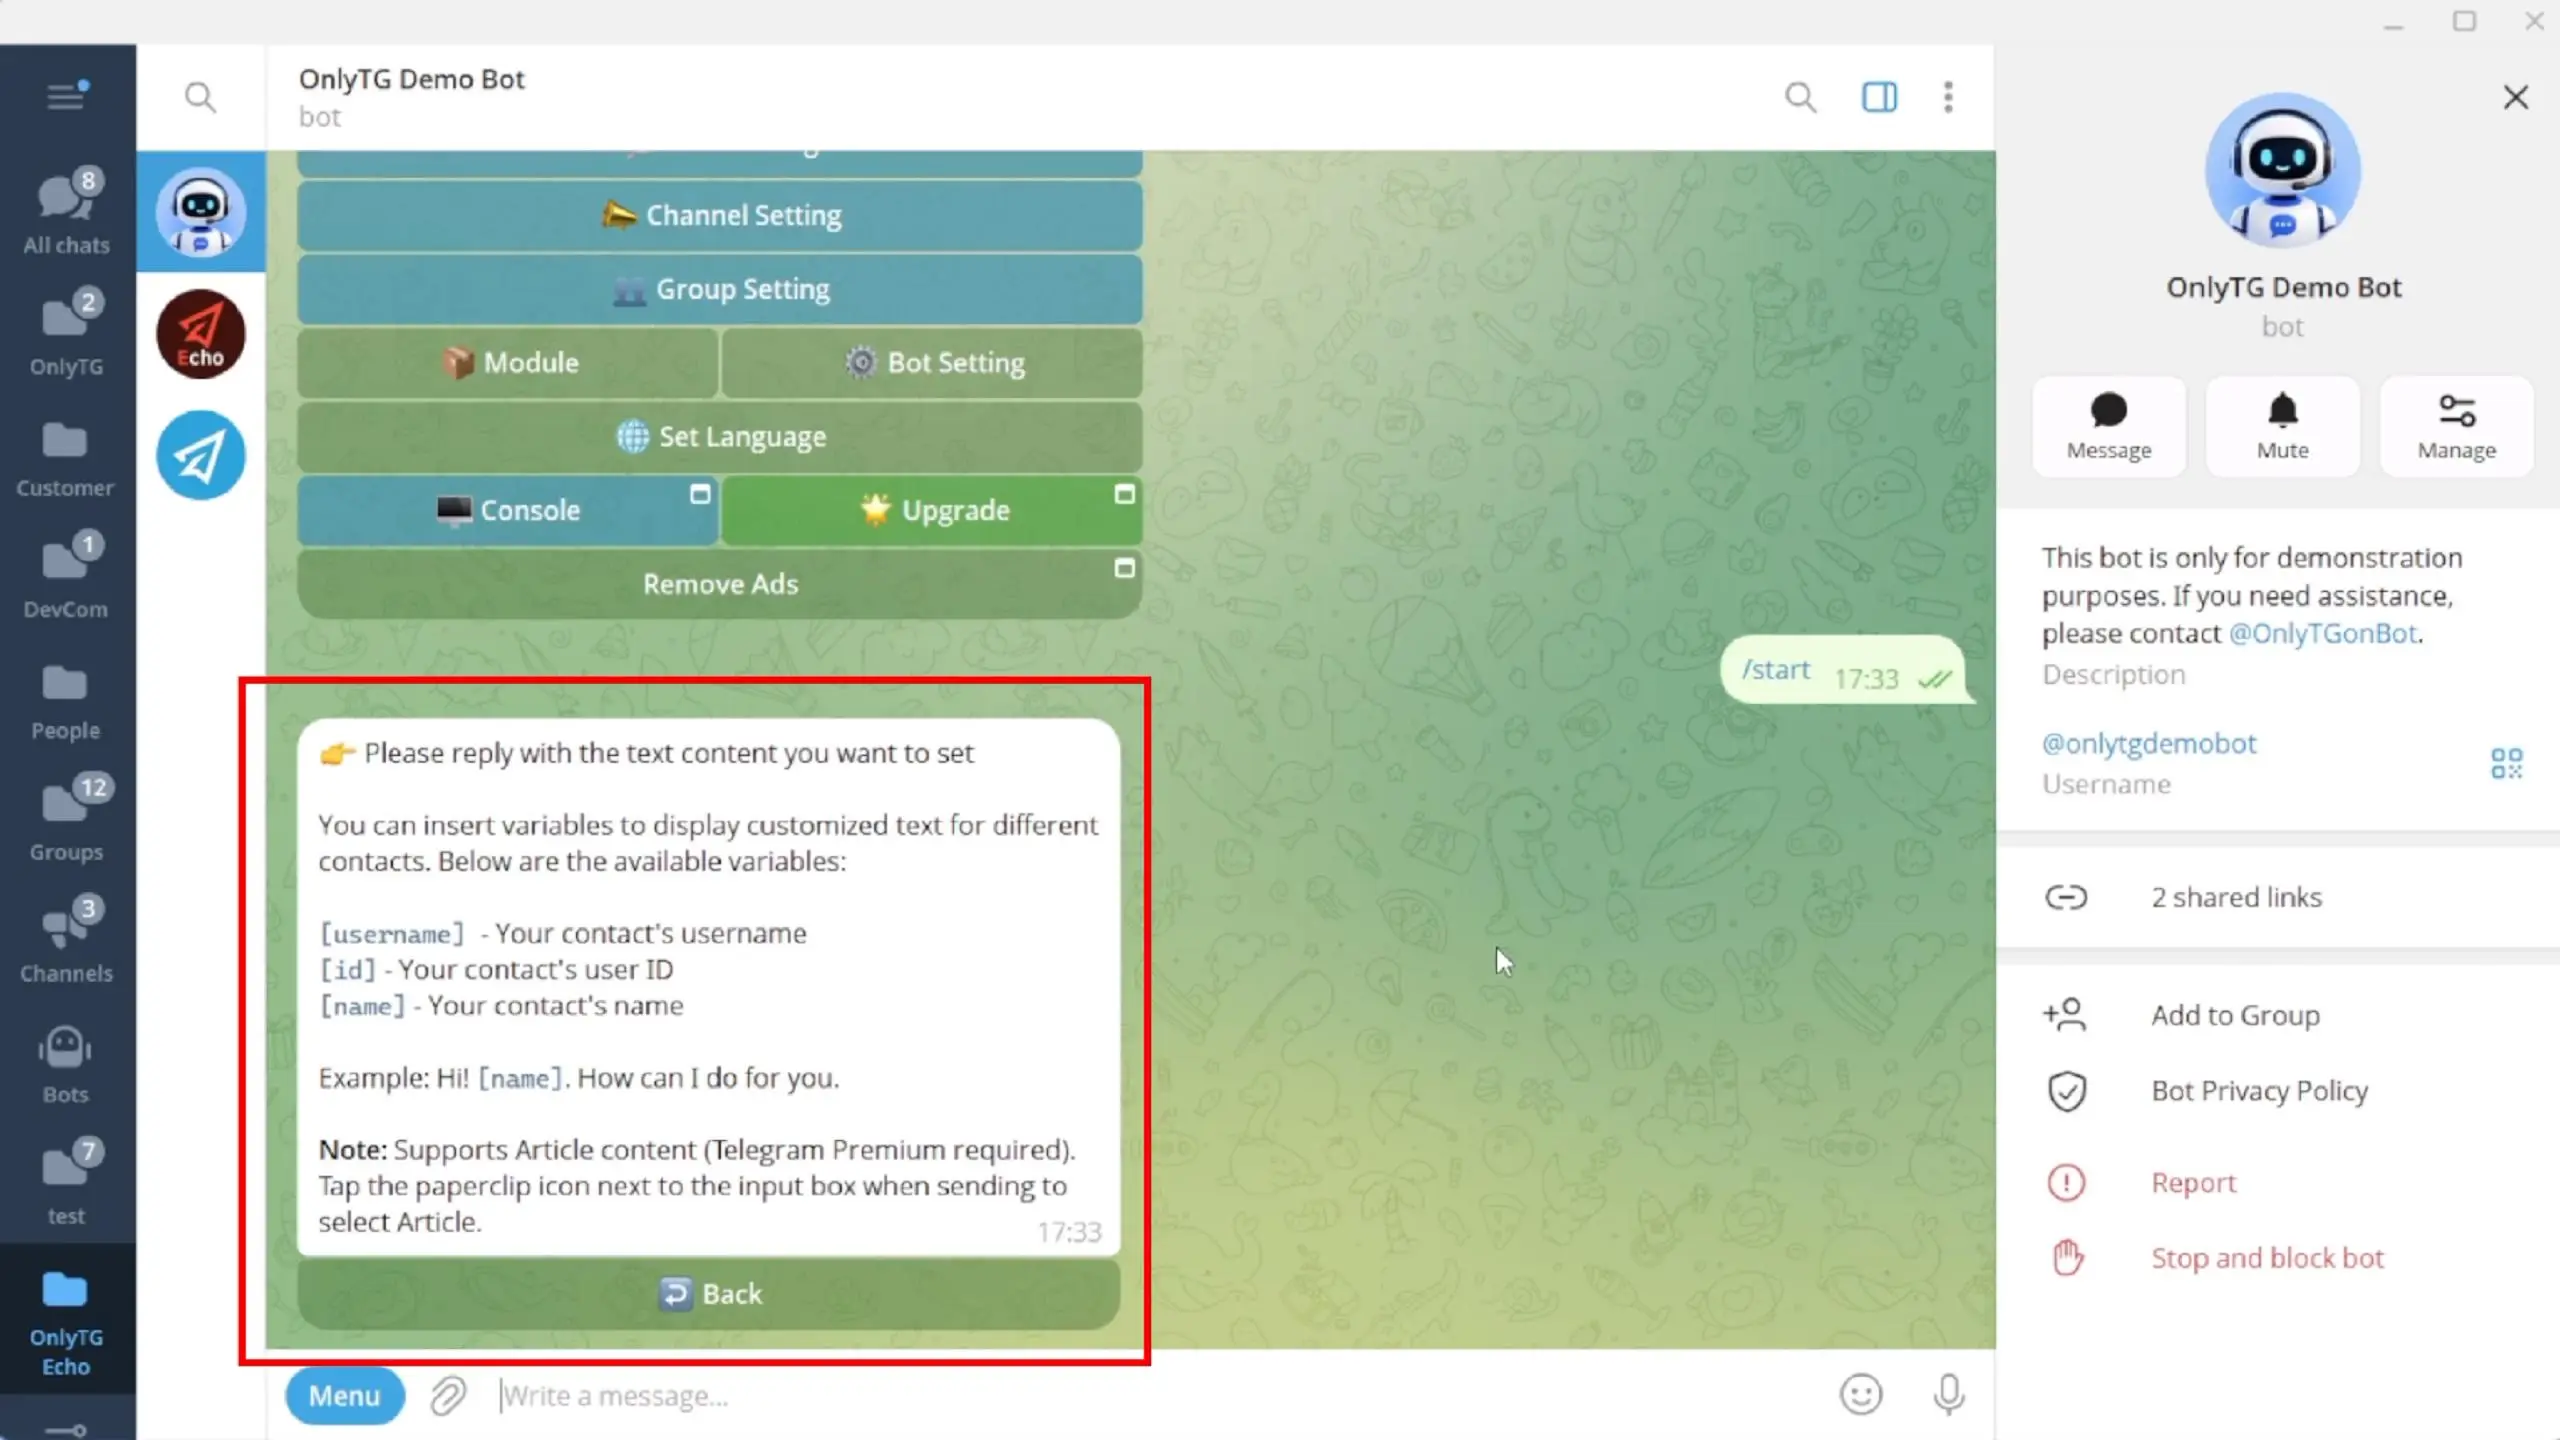
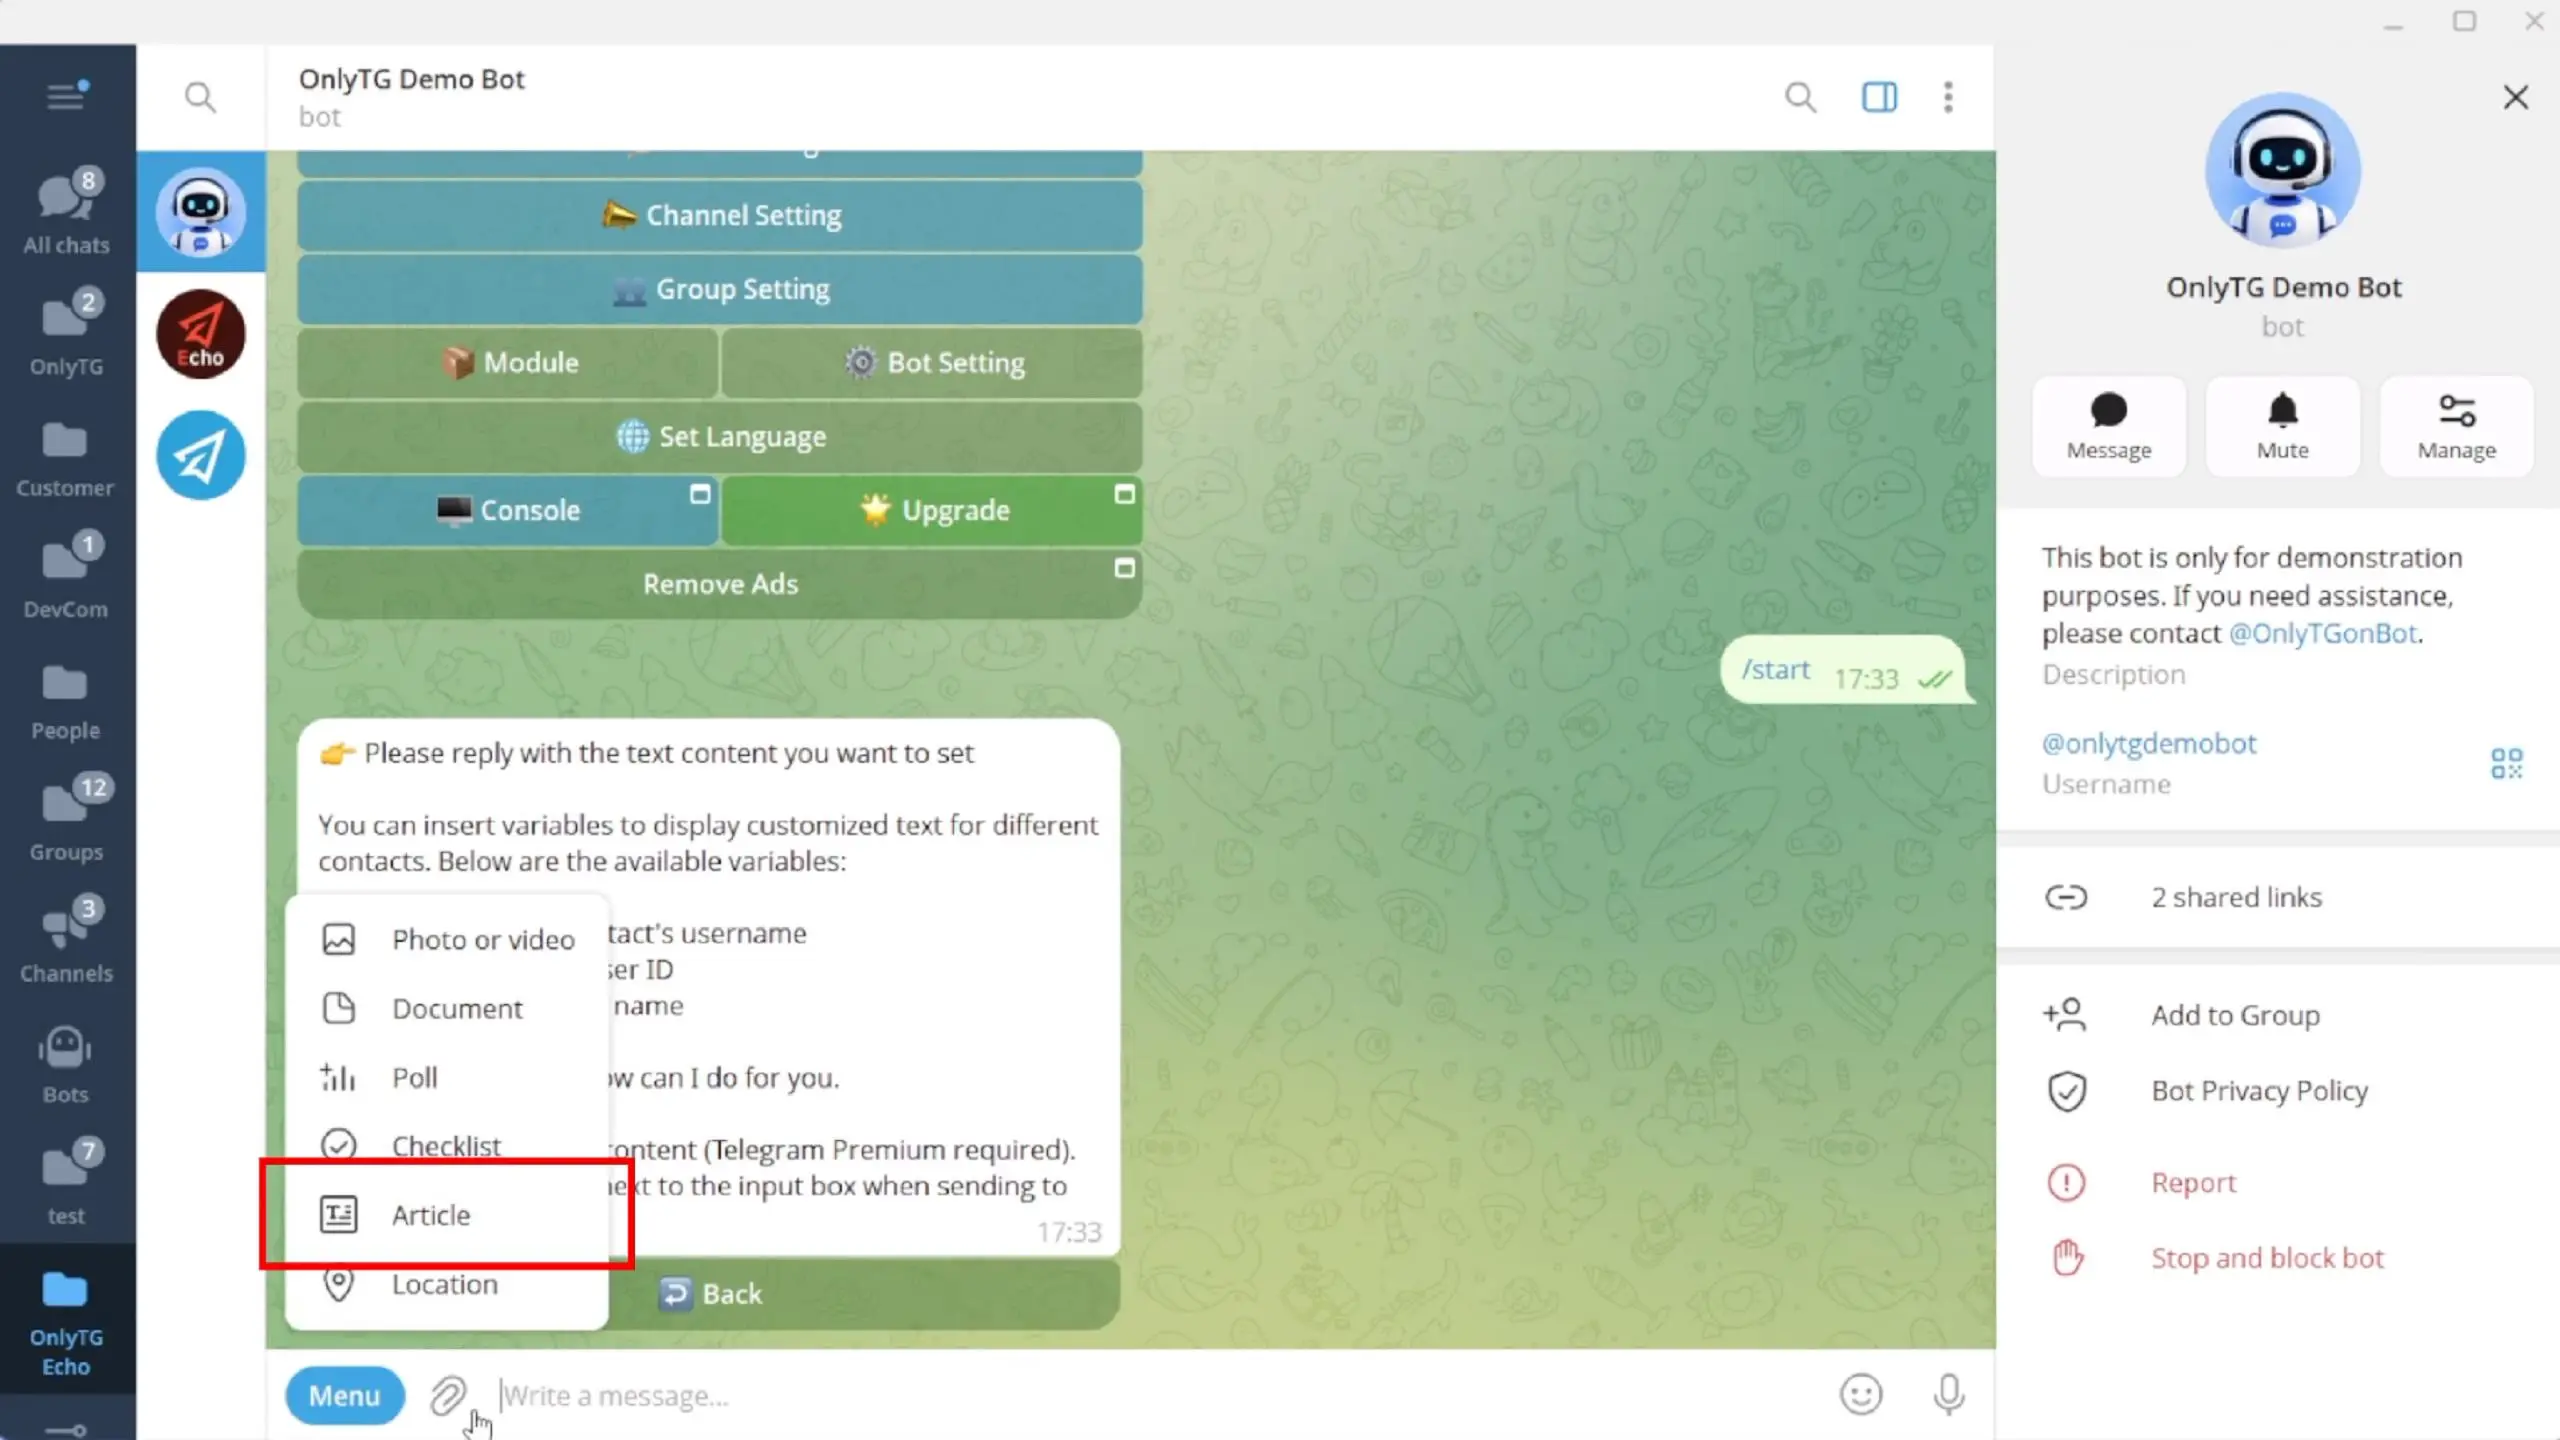
Simply click the paperclip icon beside your input box.

Select Article to launch the rich message editor.
The editor comes with built‑in text styling tools for headings, quotes, bold text and so on. You can also insert lists, tables and media.
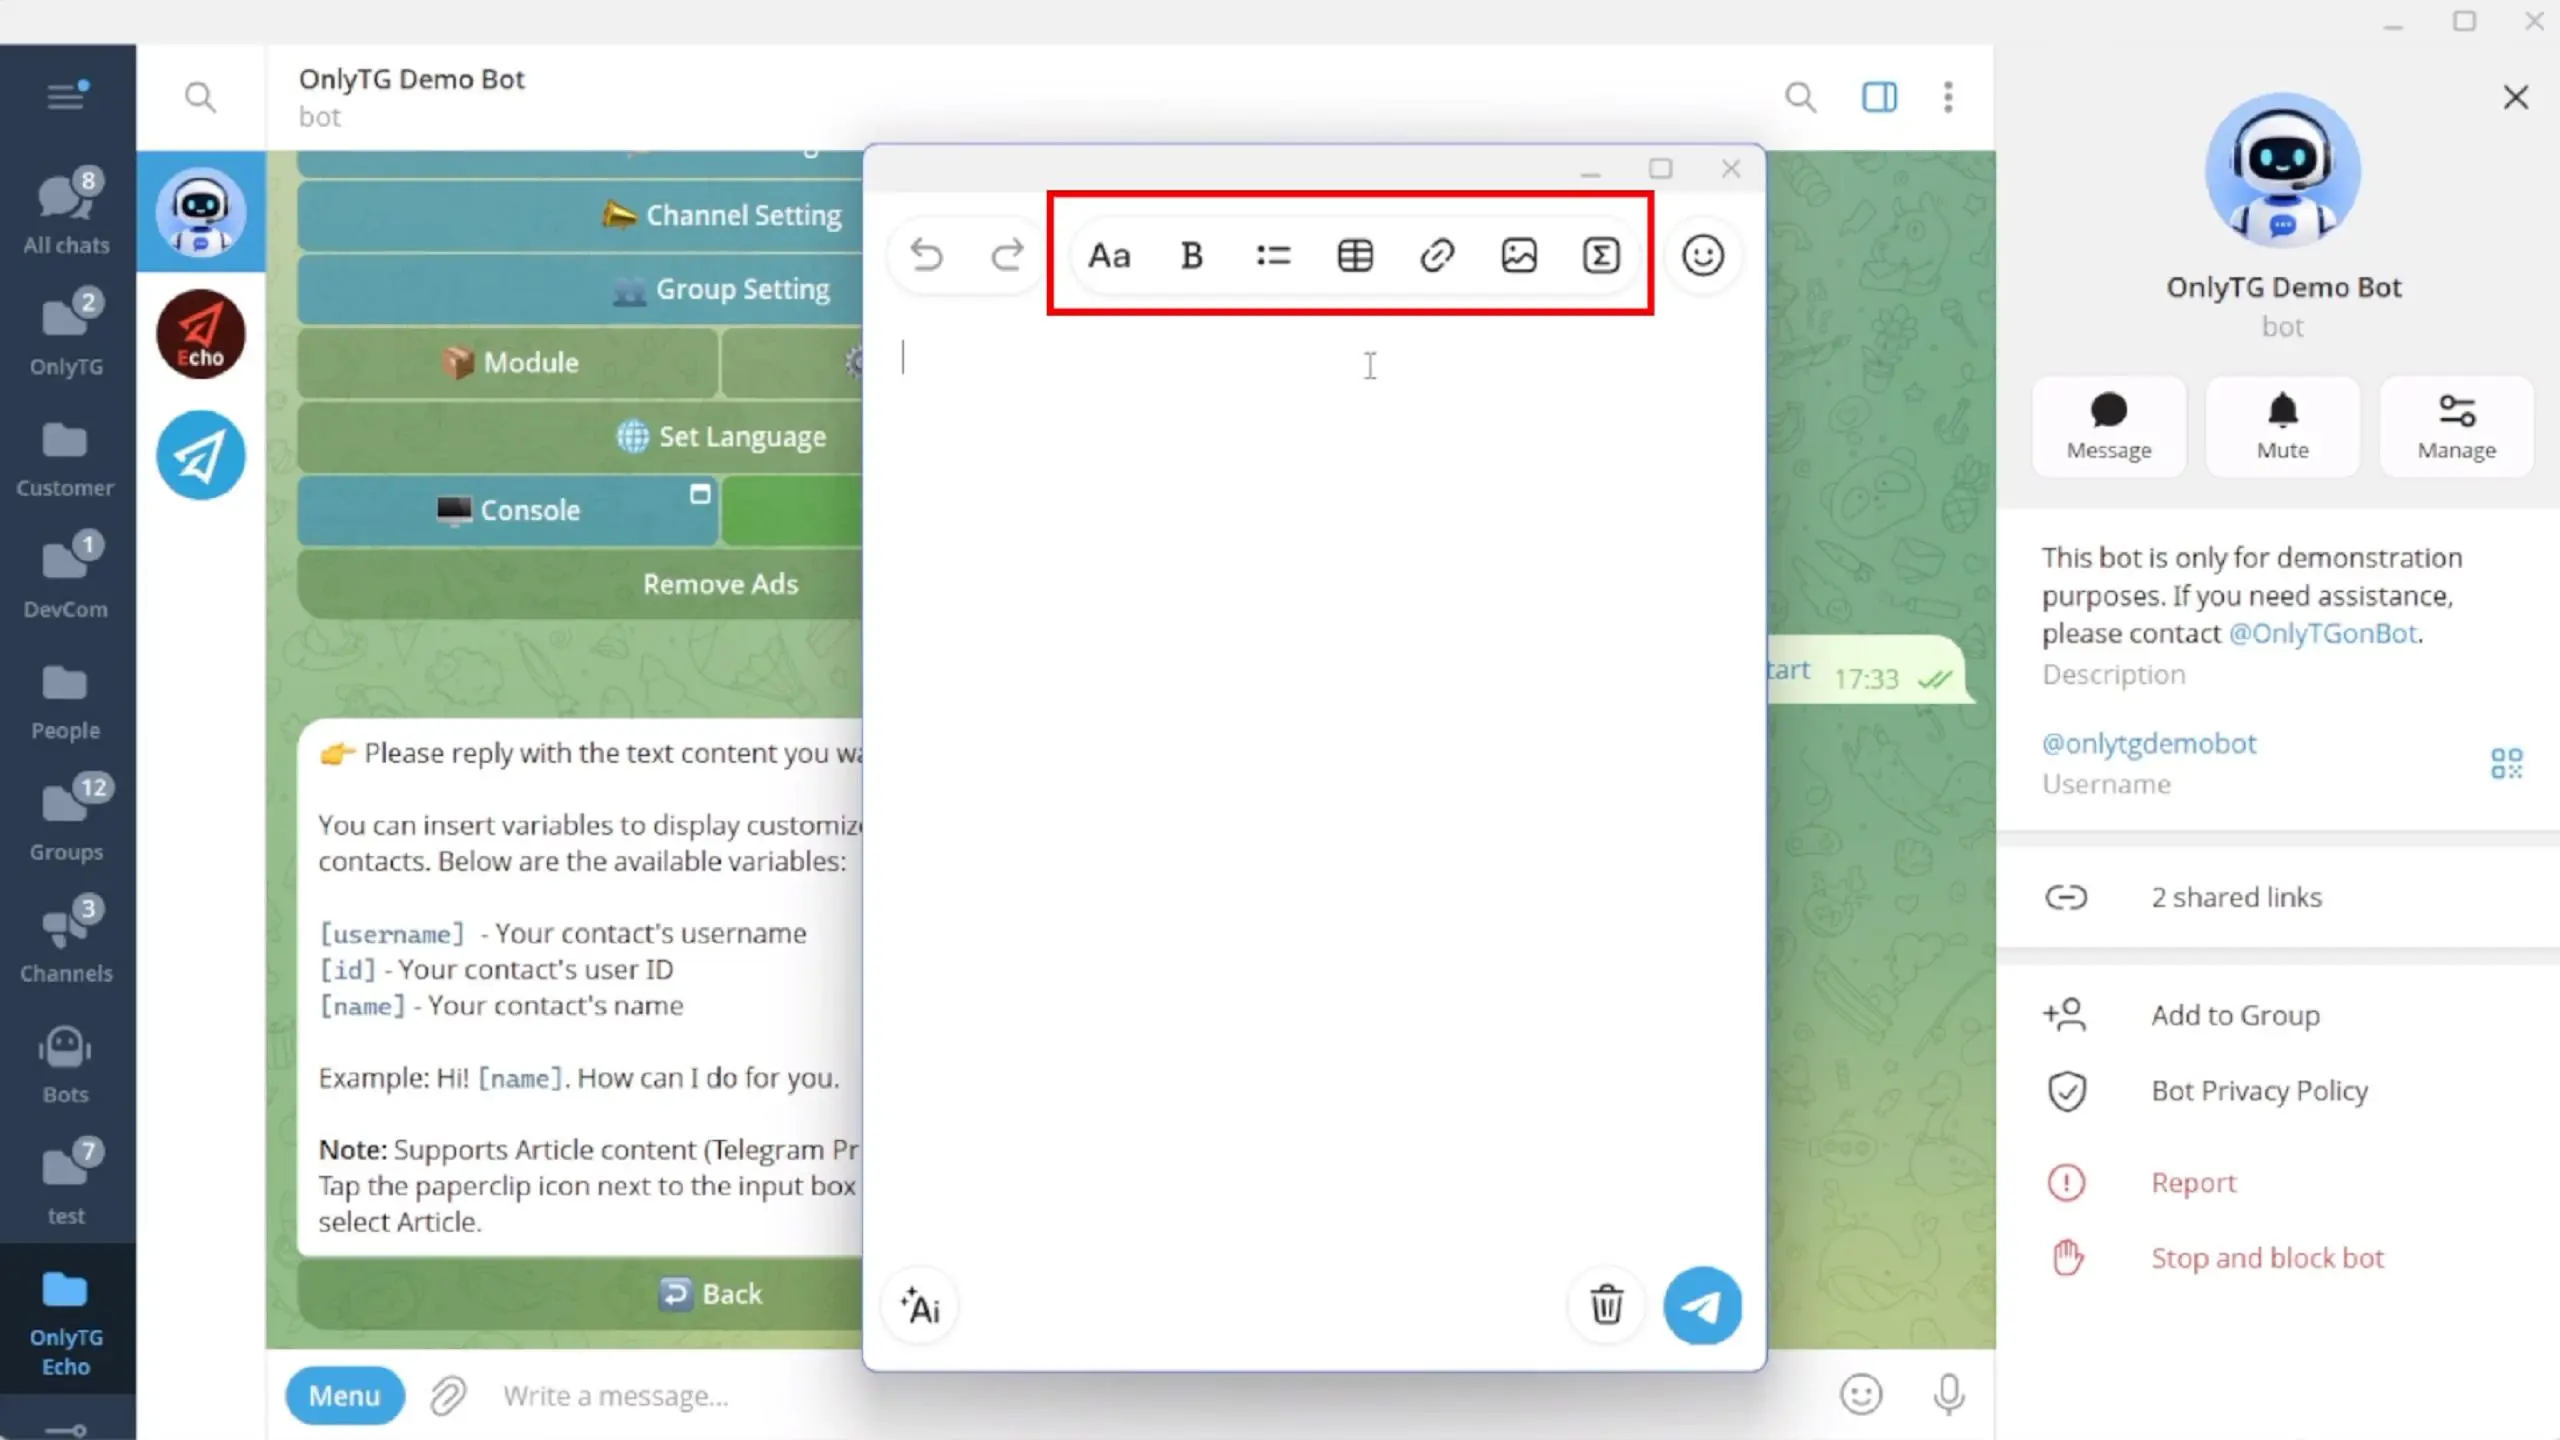
When you finish editing, click the send button in the bottom‑right corner and your text configuration is done.


Next, continue setting up the remaining settings.

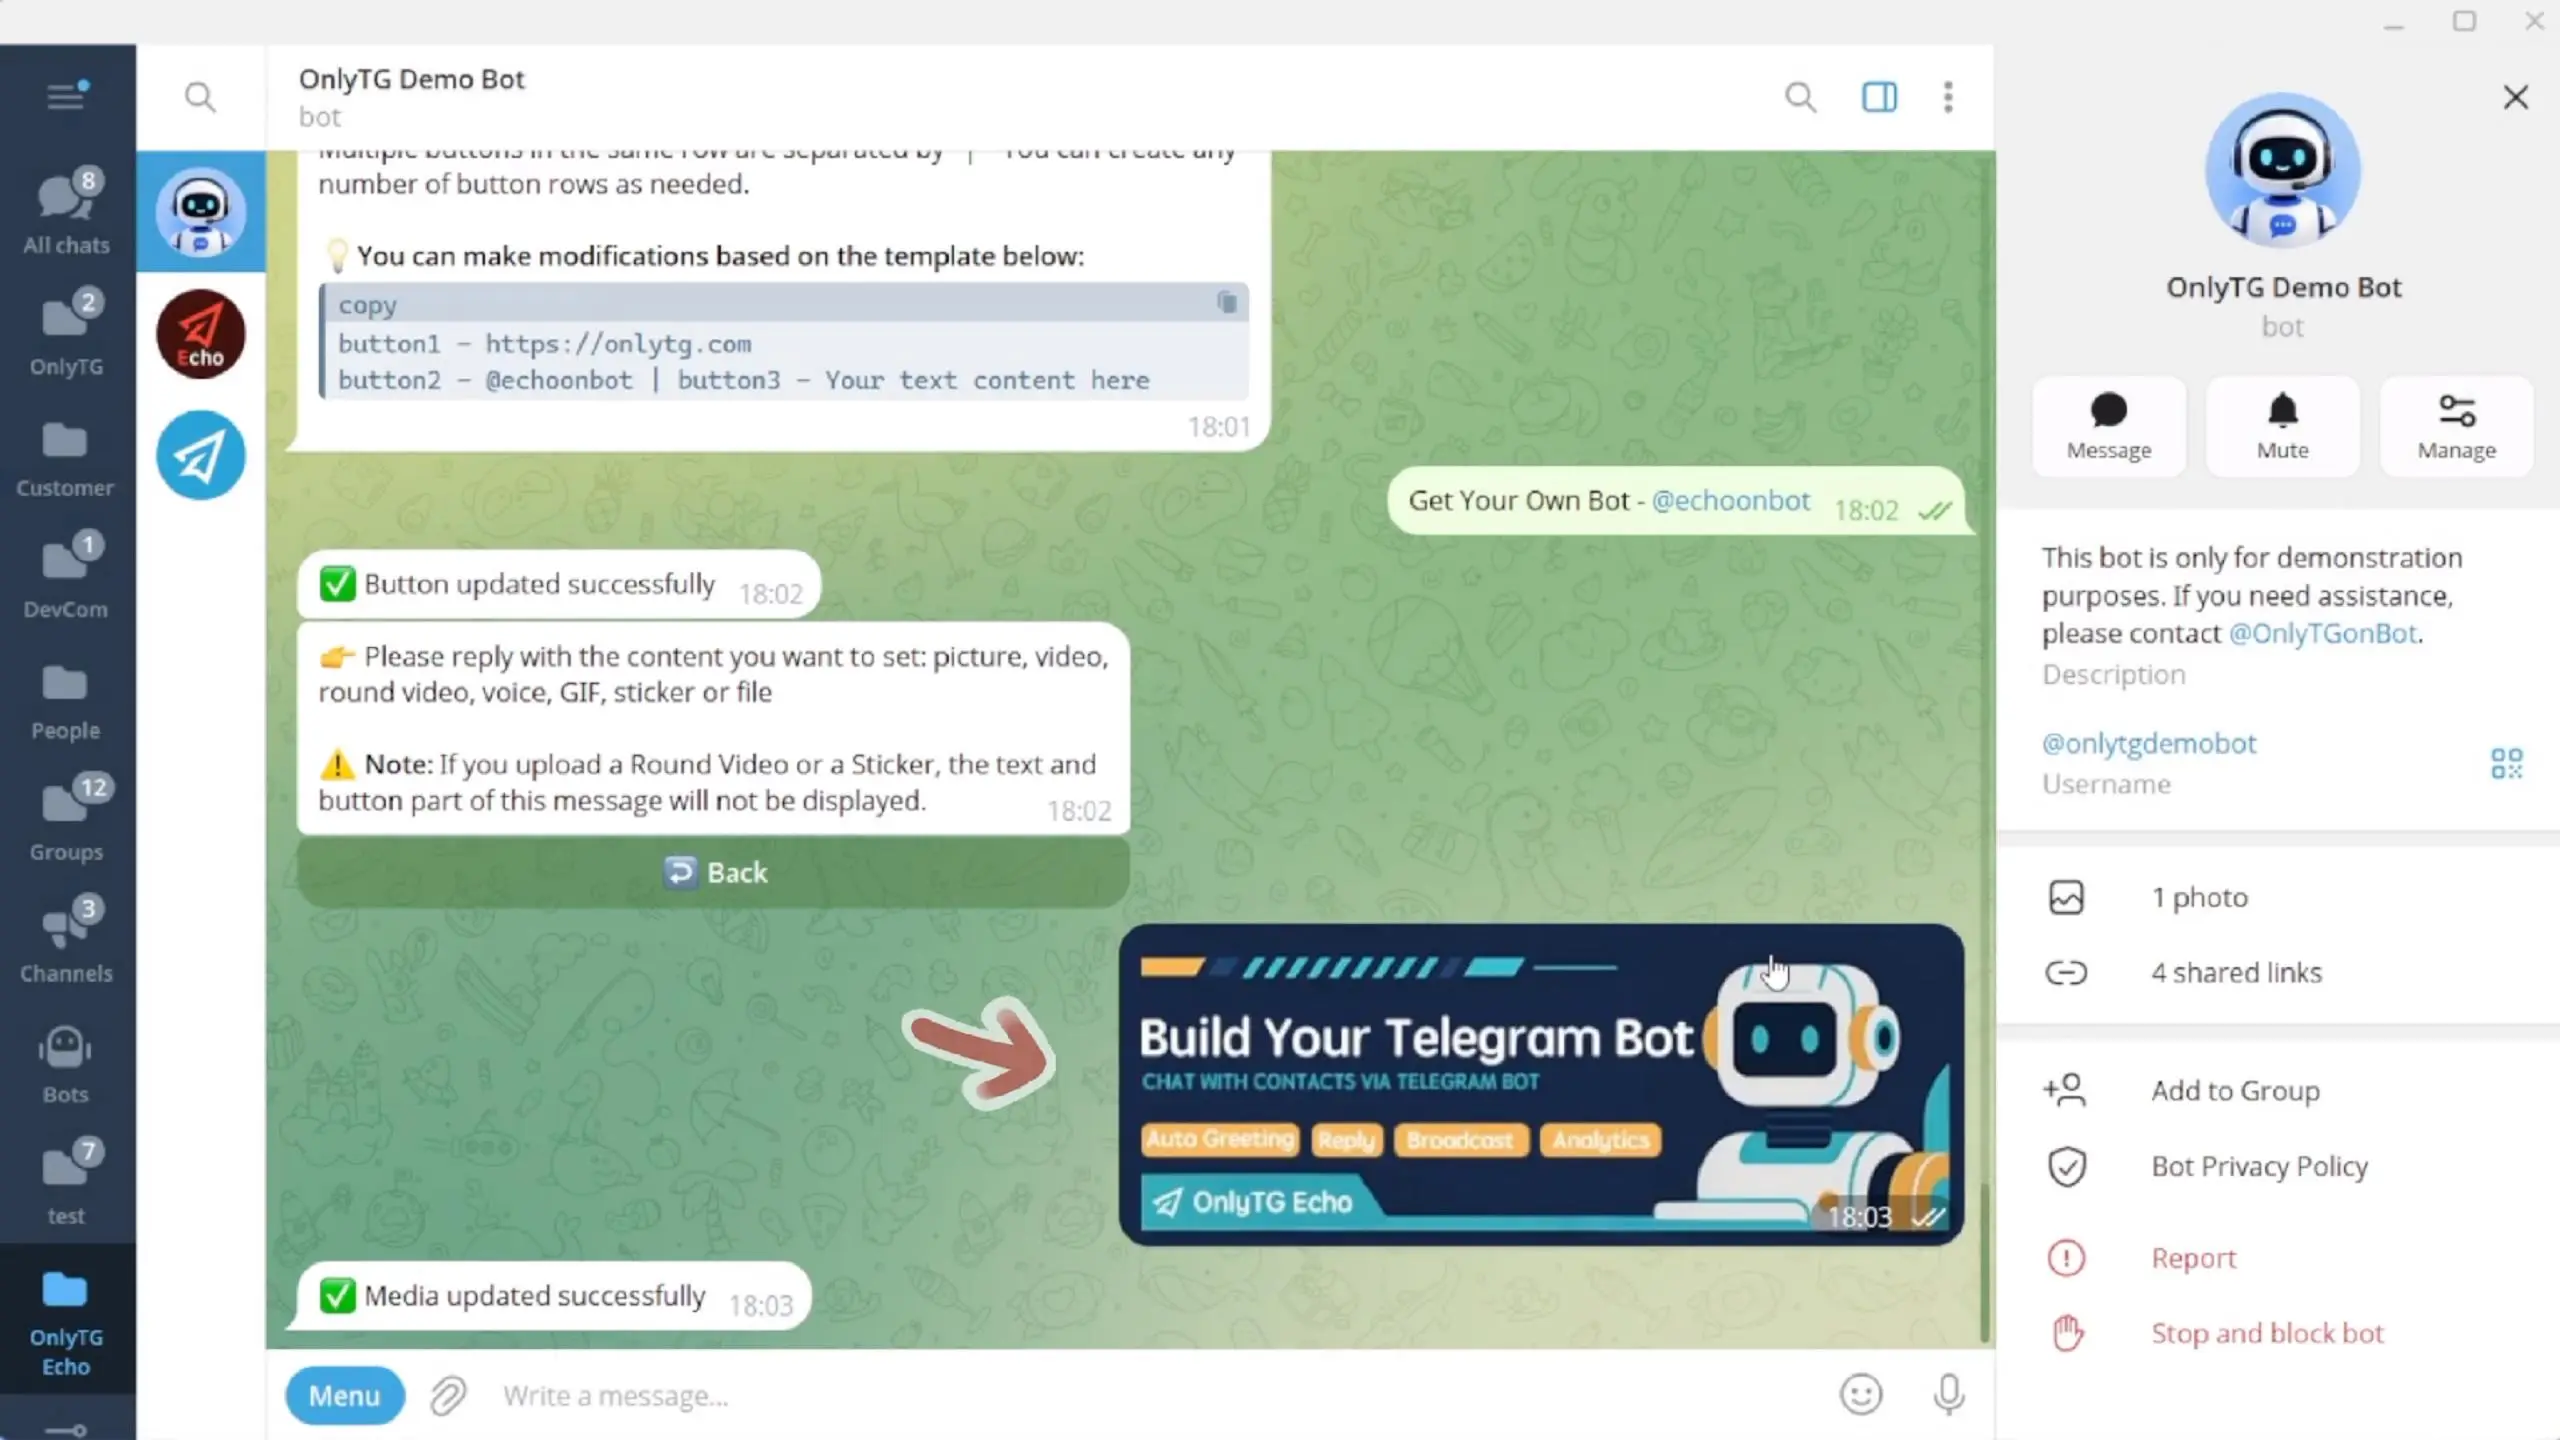
Please note: if you’ve already configured an Article in the “Text” section, the settings you configure in the “Media” section will automatically be merged into the Article.

step 2
When user activates the bot, it will automatically deliver your preset Start Message with the Article content you configured.


