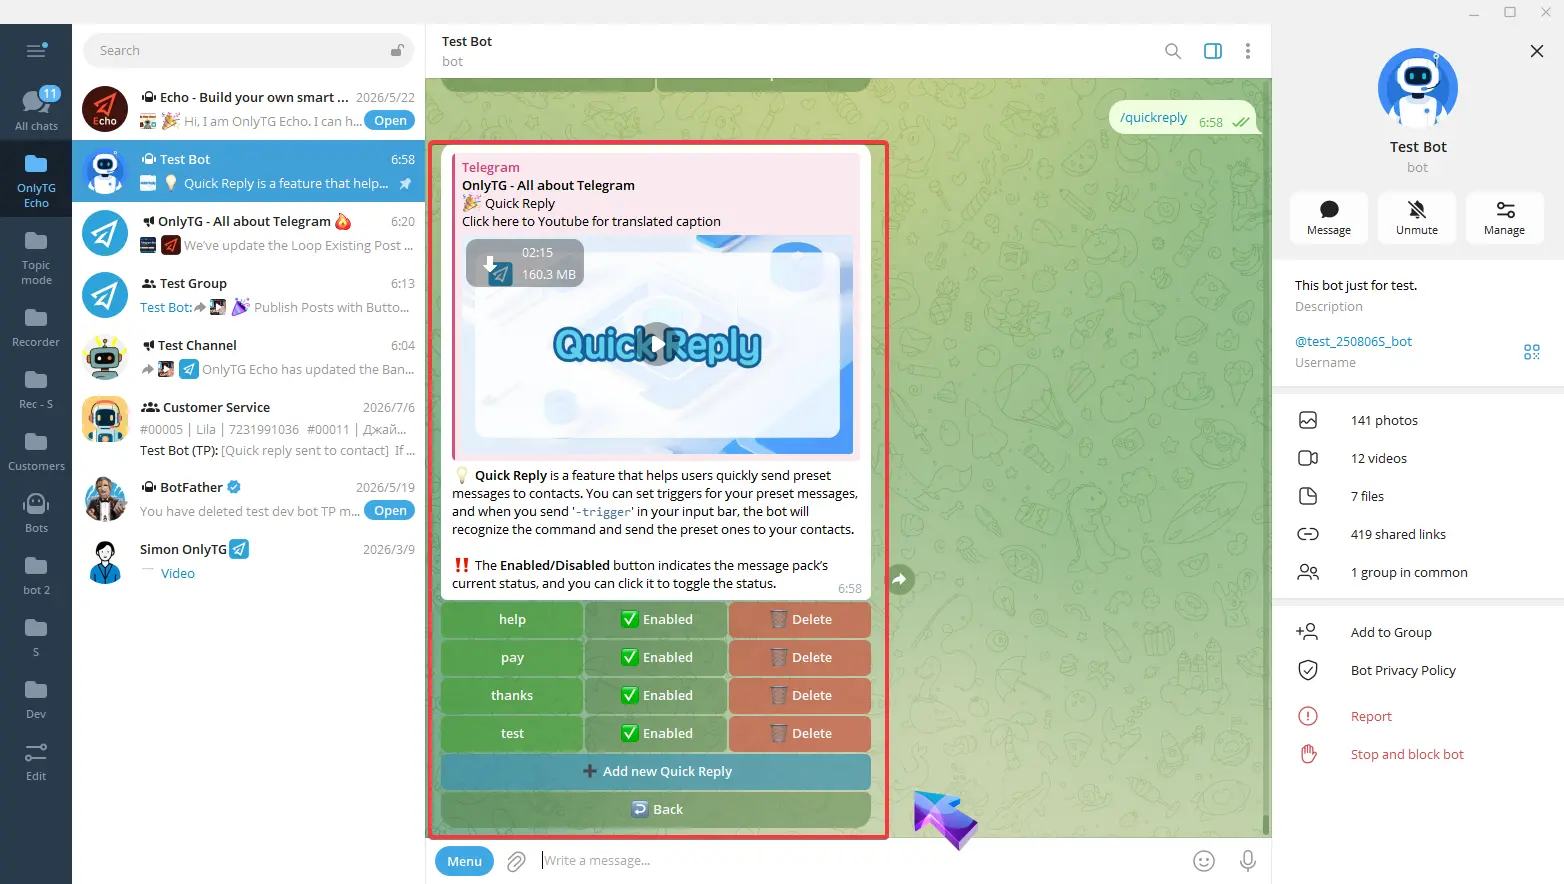
OnlyTG Echo provides the function to set Quick Reply. It only requires you to pre-enter a series of messages to be sent (supporting Text, Media, Button, etc.), and then configure triggers for these pre-entered messages. When you’re chatting with contacts via your Telegram Bot, you can input your preset trigger, which is typically in the format of a hyphen plus your trigger name (e.g., ‘-test’).
Video Tutorial
step 1
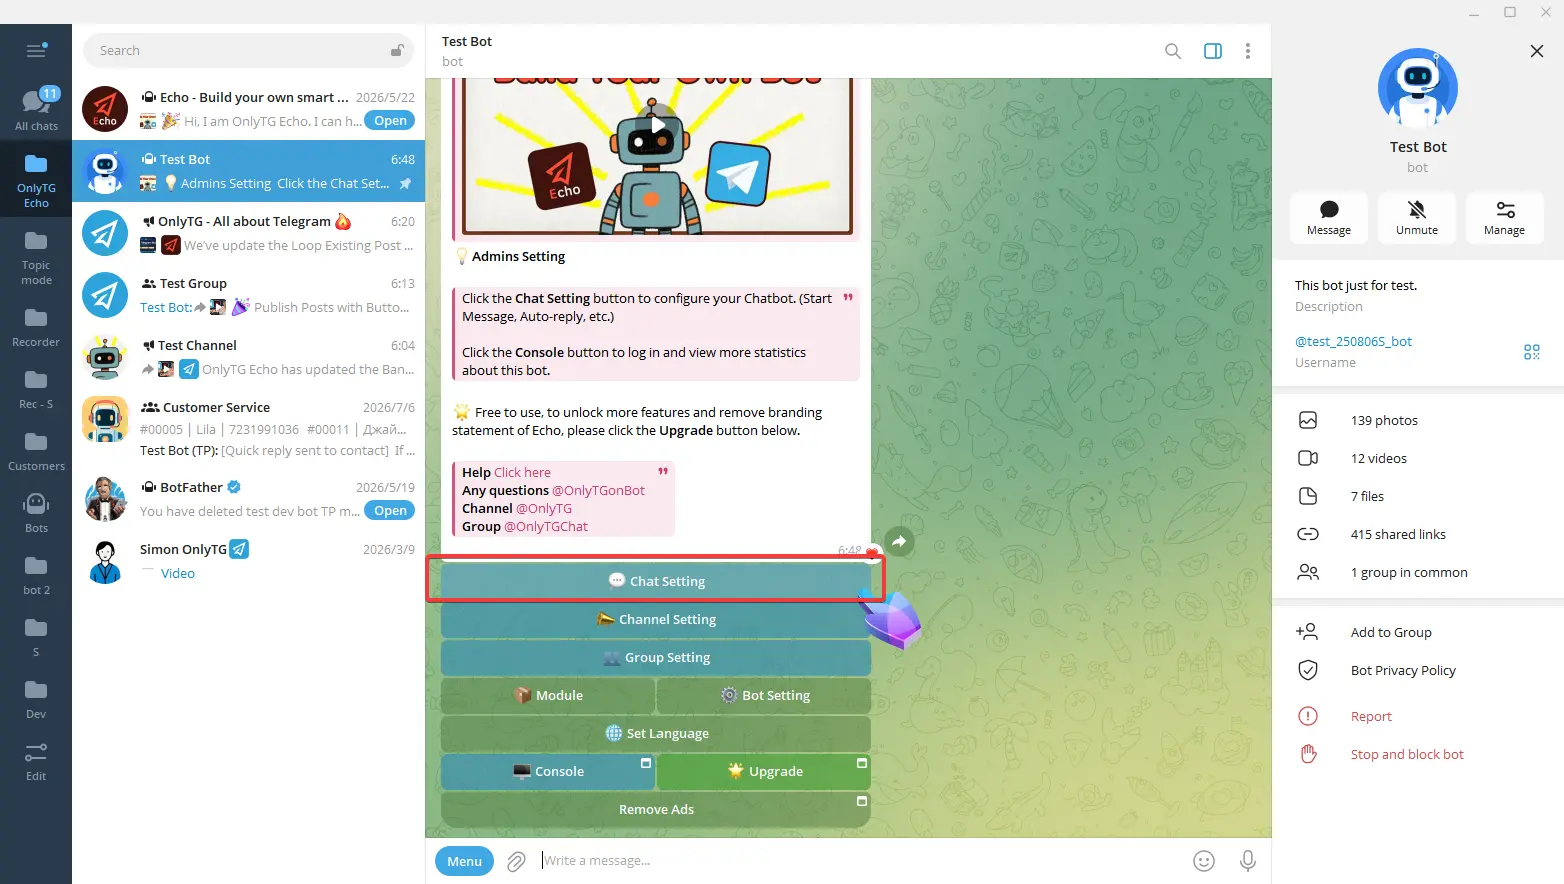
Send the command /start to your bot, and click the Chat setting button.
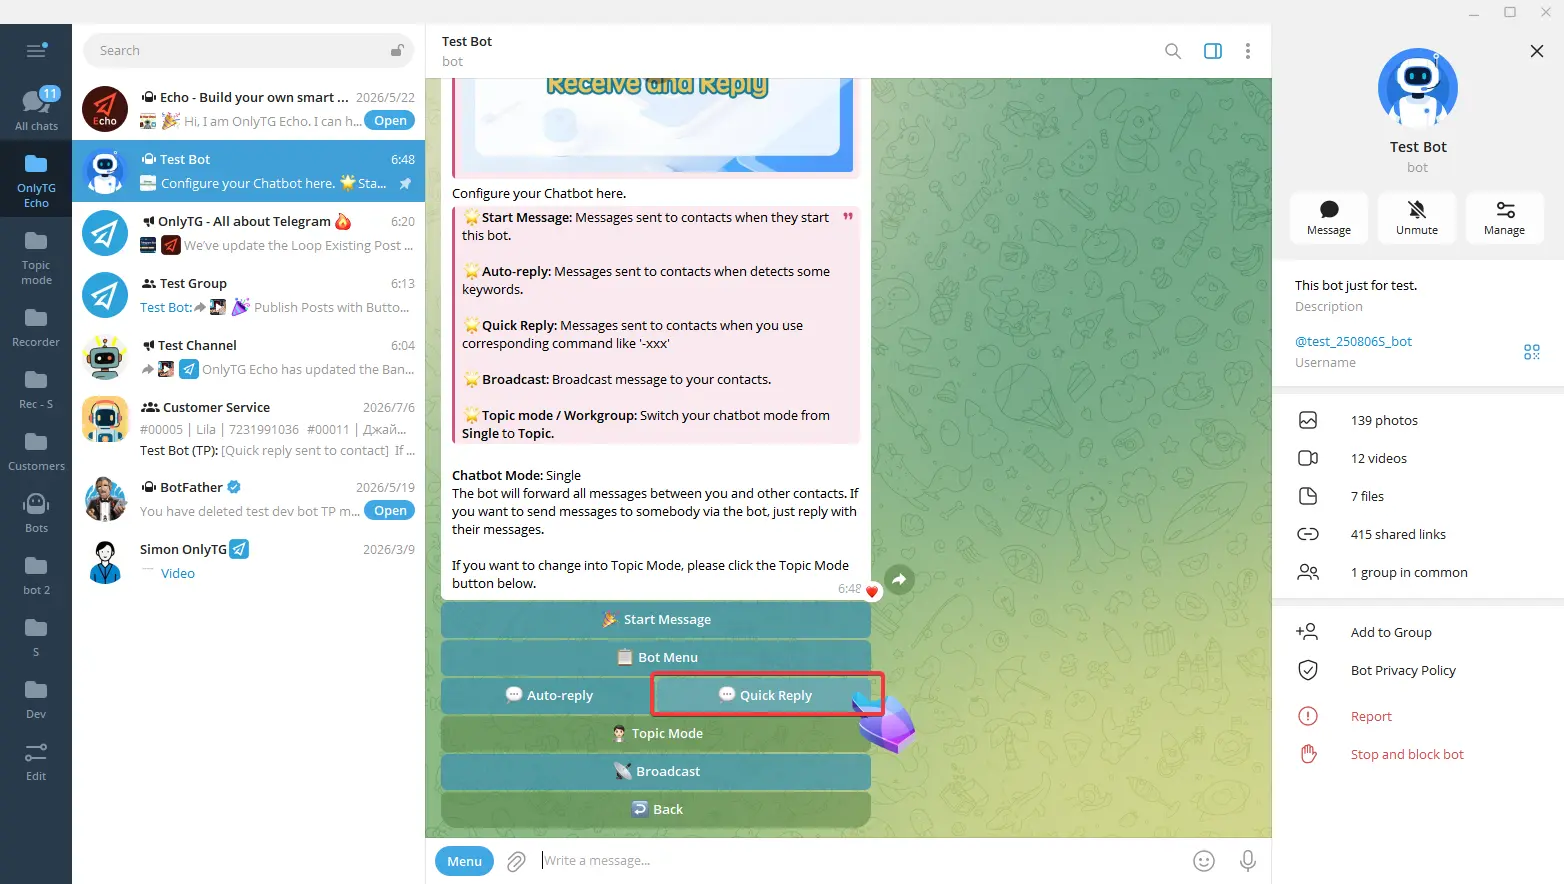
Then click the Quick Reply button.
step 2
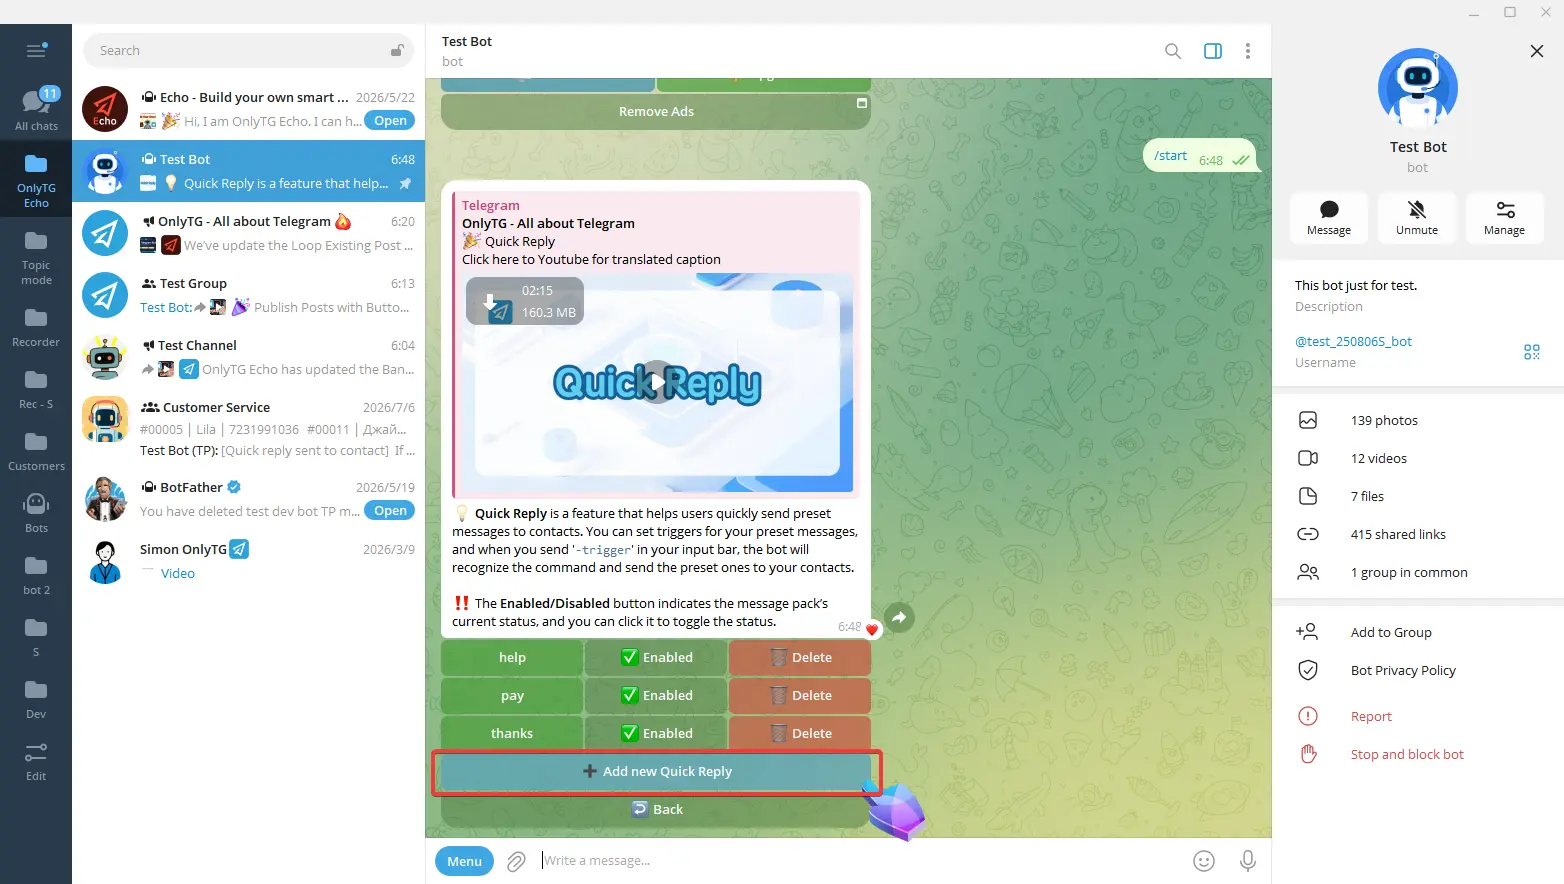
Click the Add new Quick Reply button.
Click Edit Trigger, reply with the trigger you want to set.
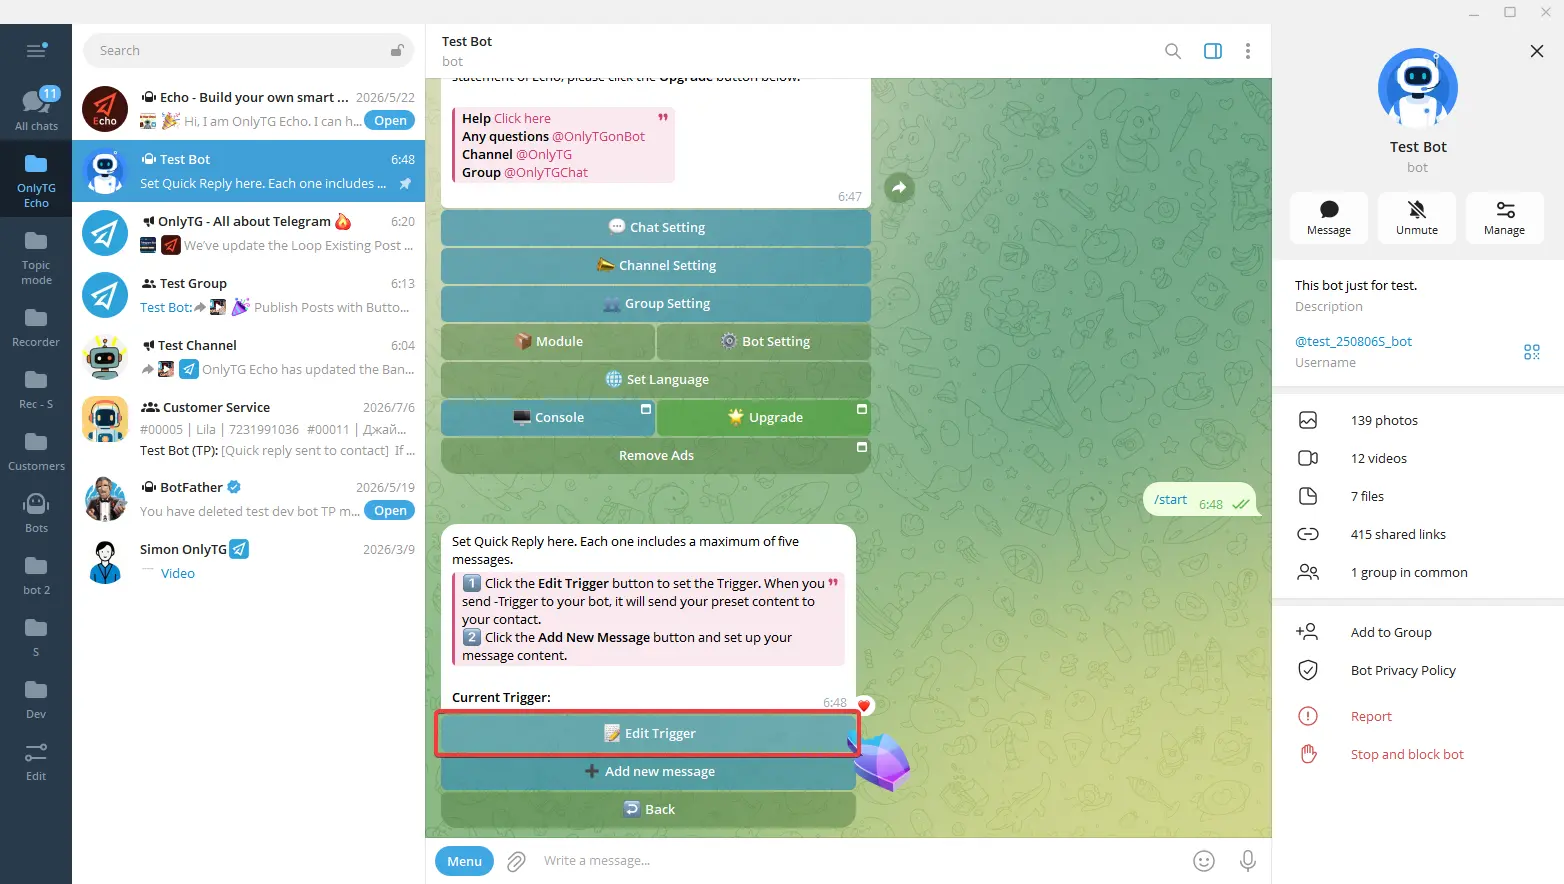
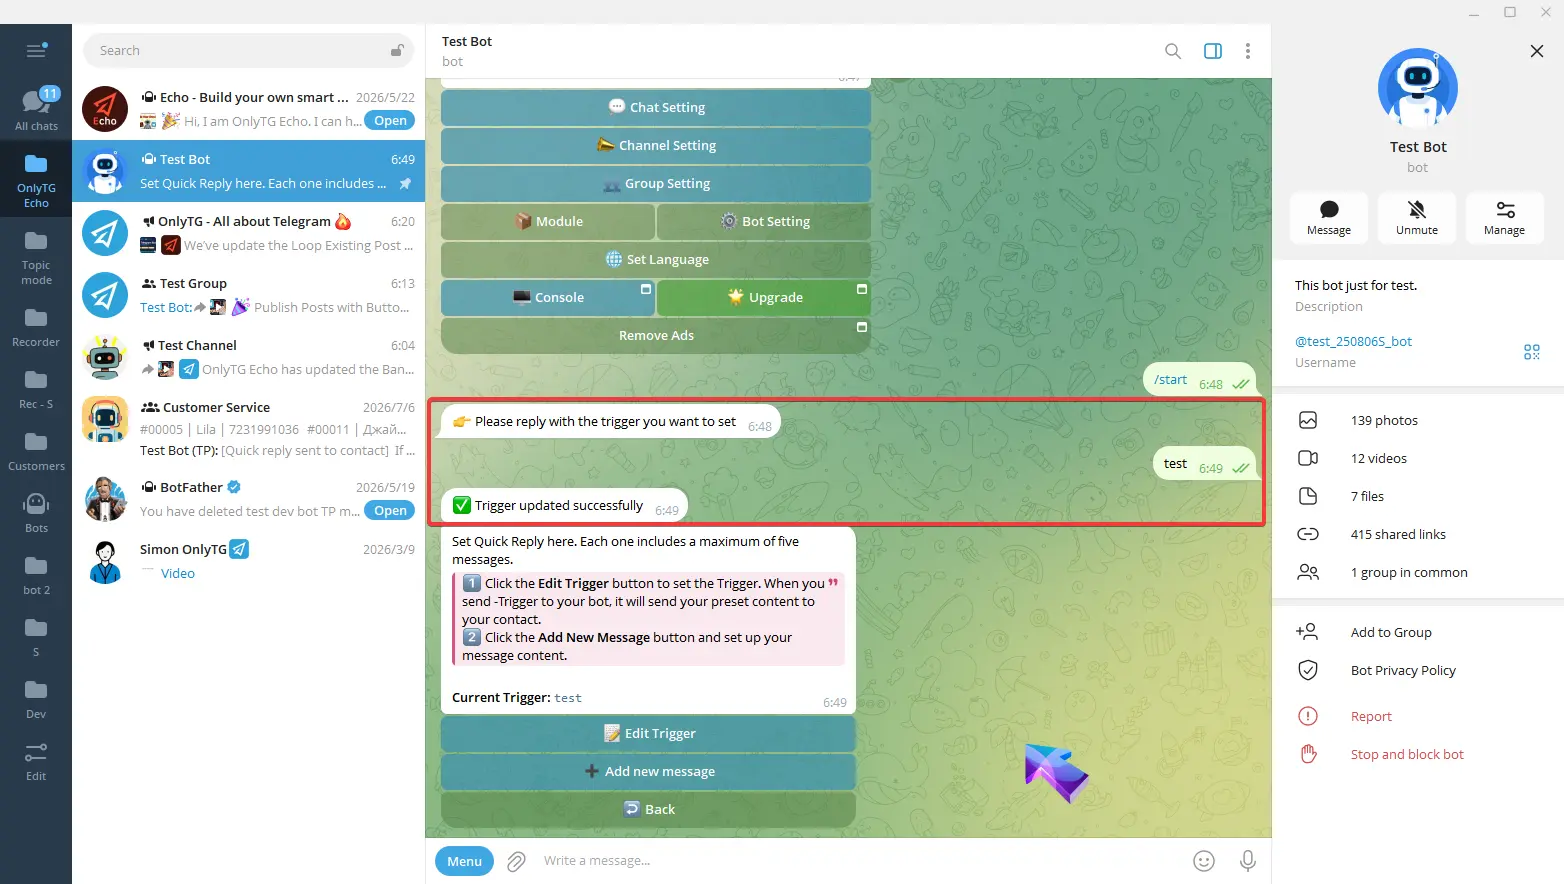
step 3
Clicking Add New Message to configure the message content.
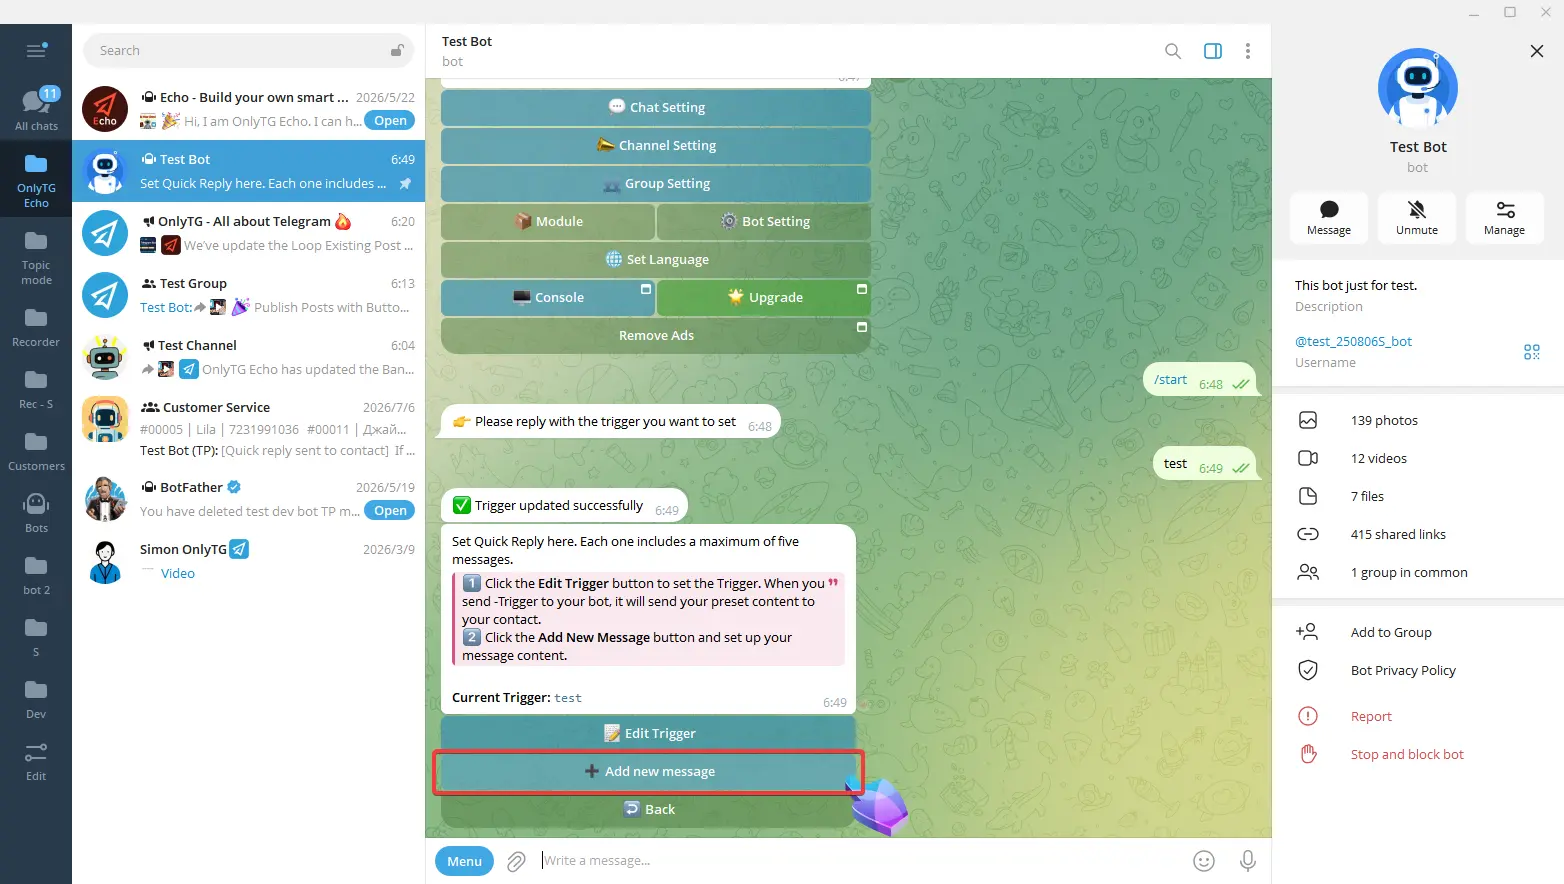
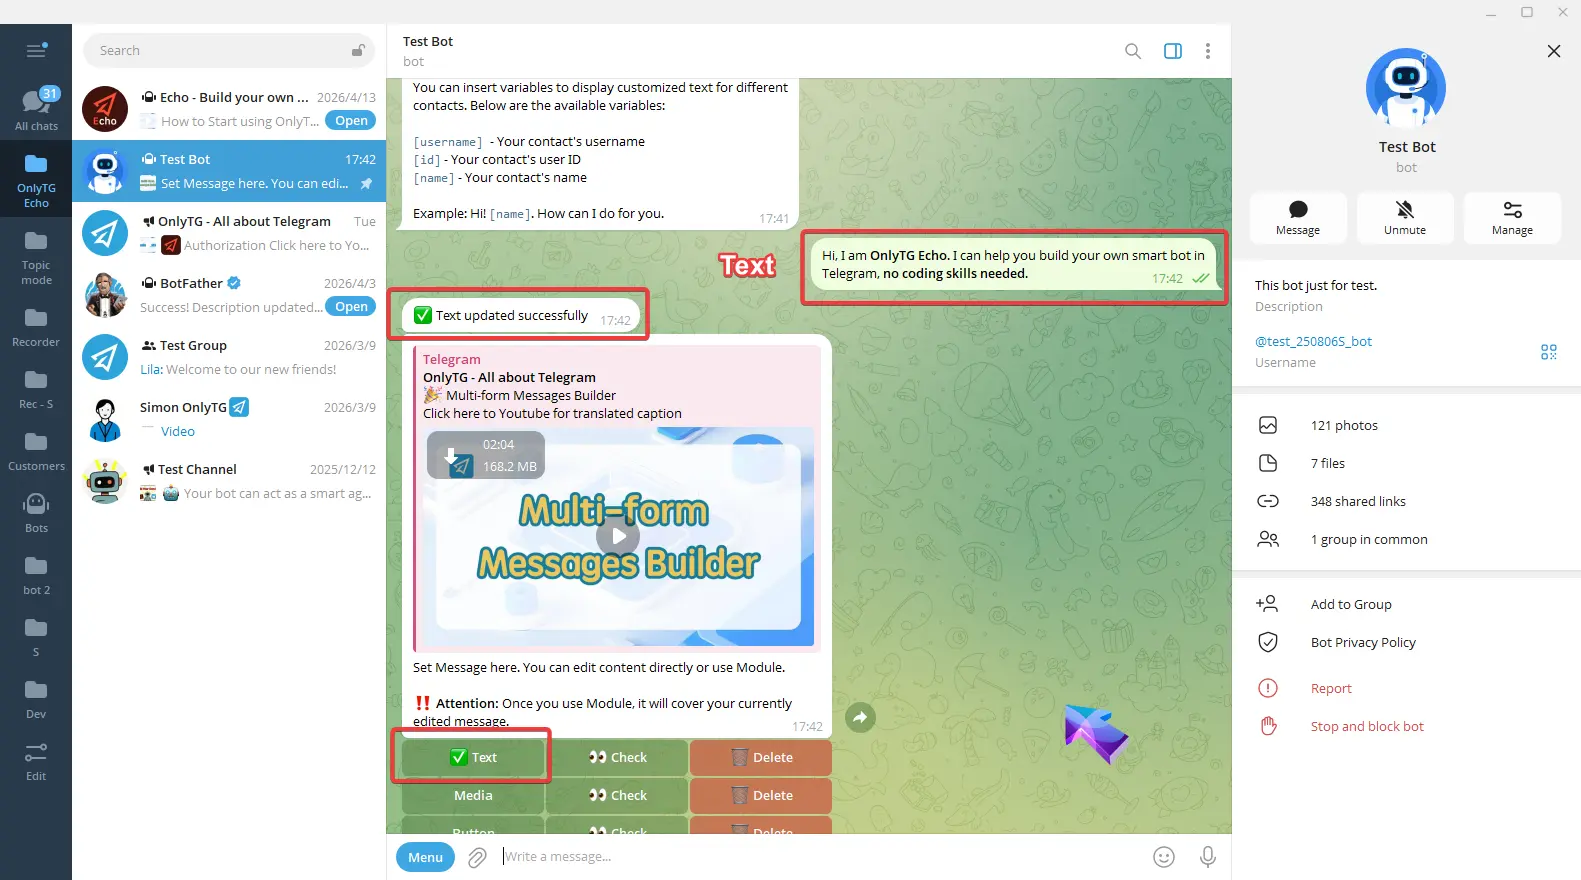
Click Text.
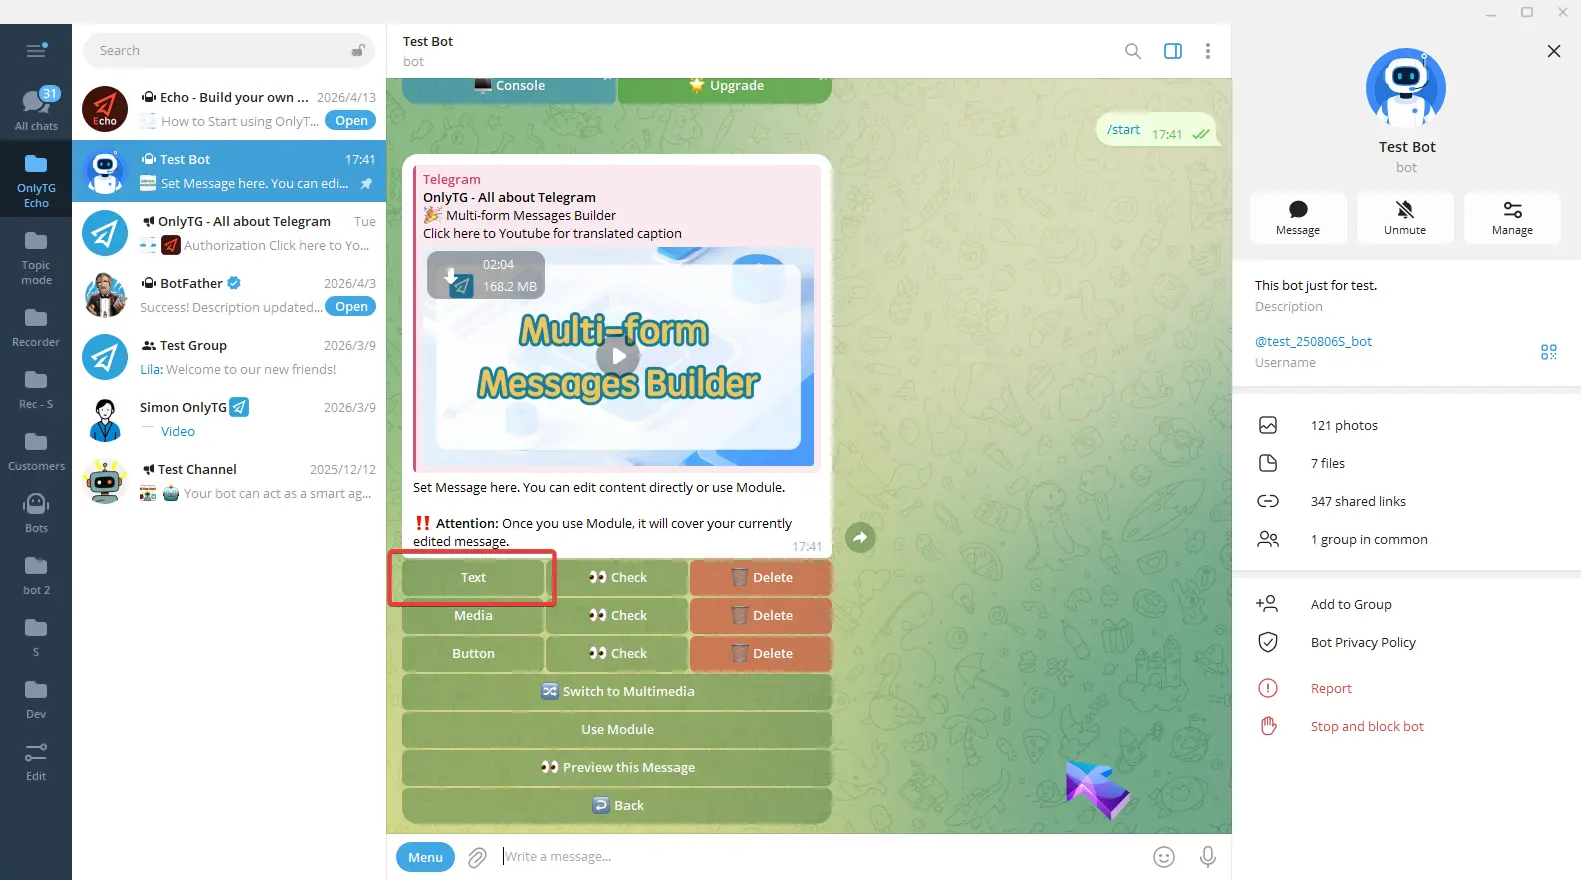
Enter your text, and send. A success message will pop up, and a checkmark next to the Text button means the setup is complete.
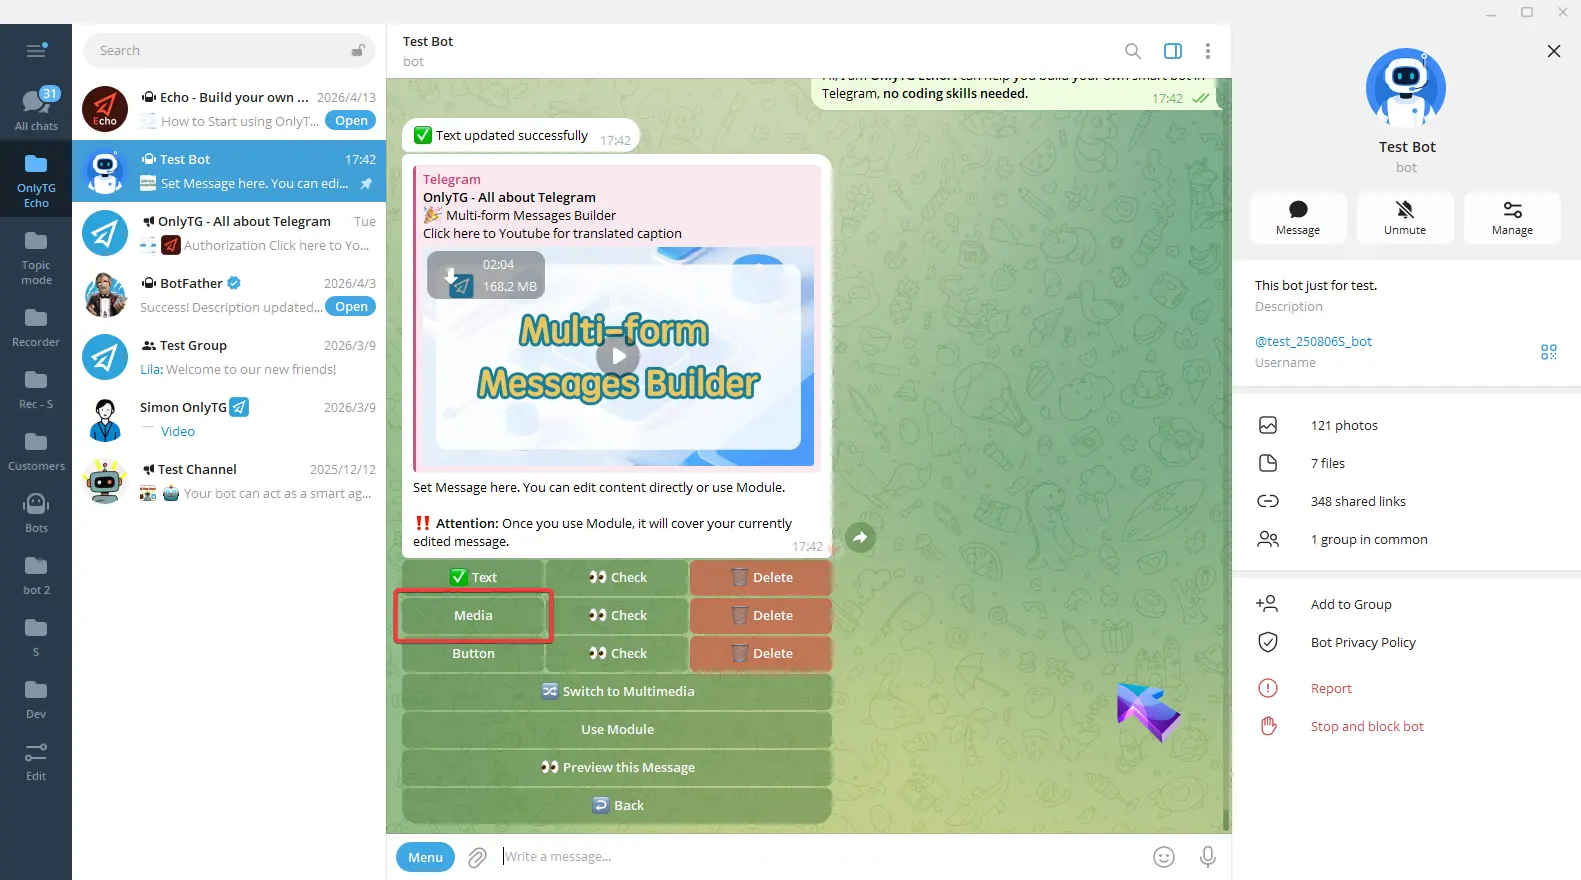
Click Media.
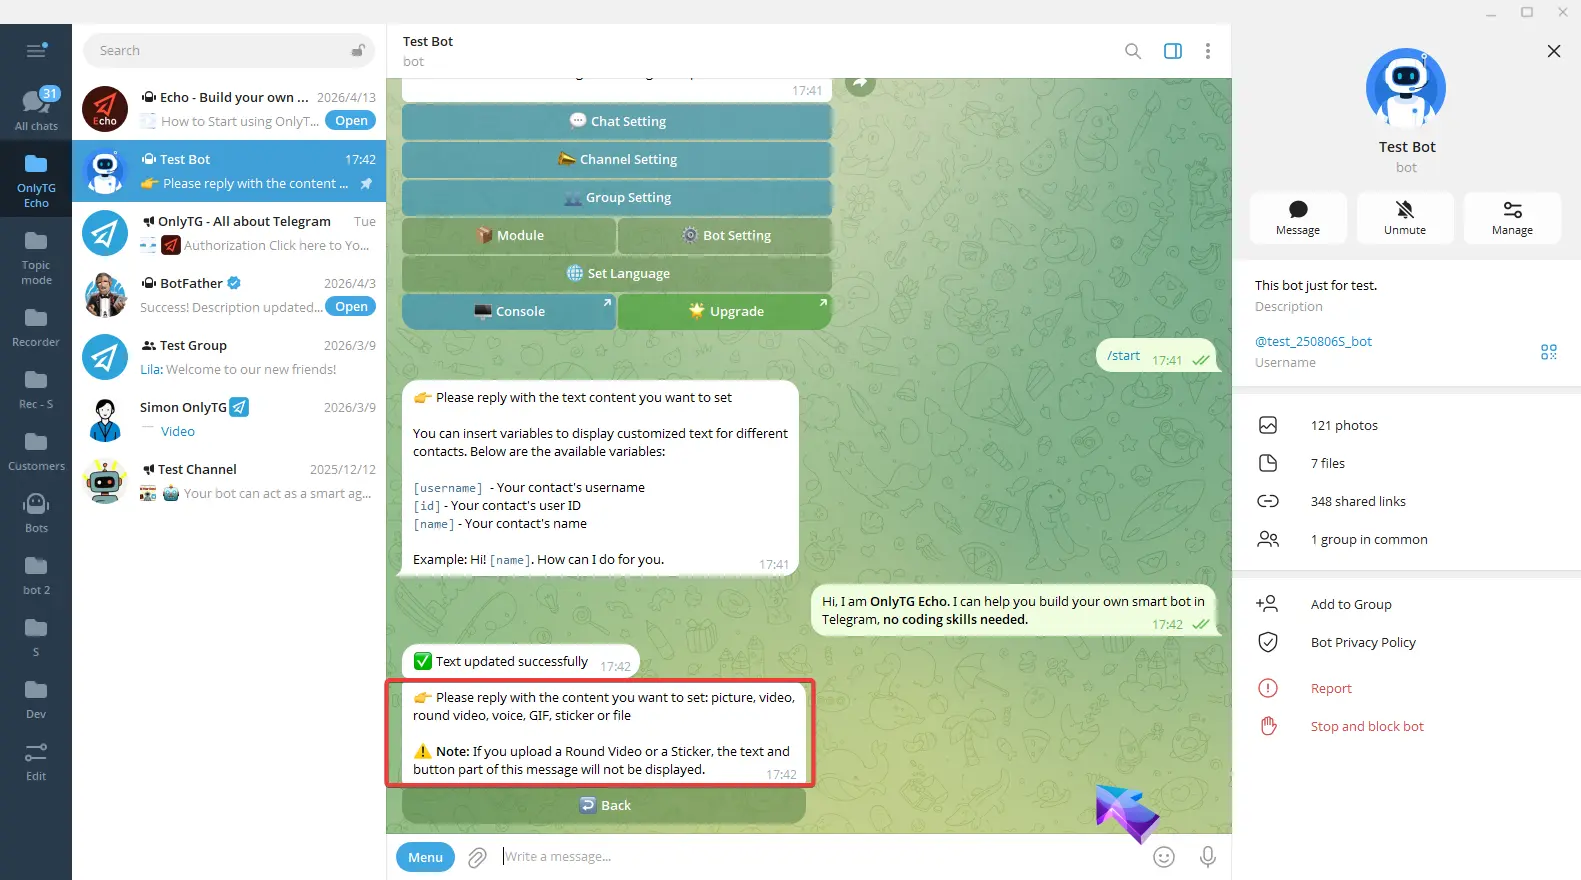
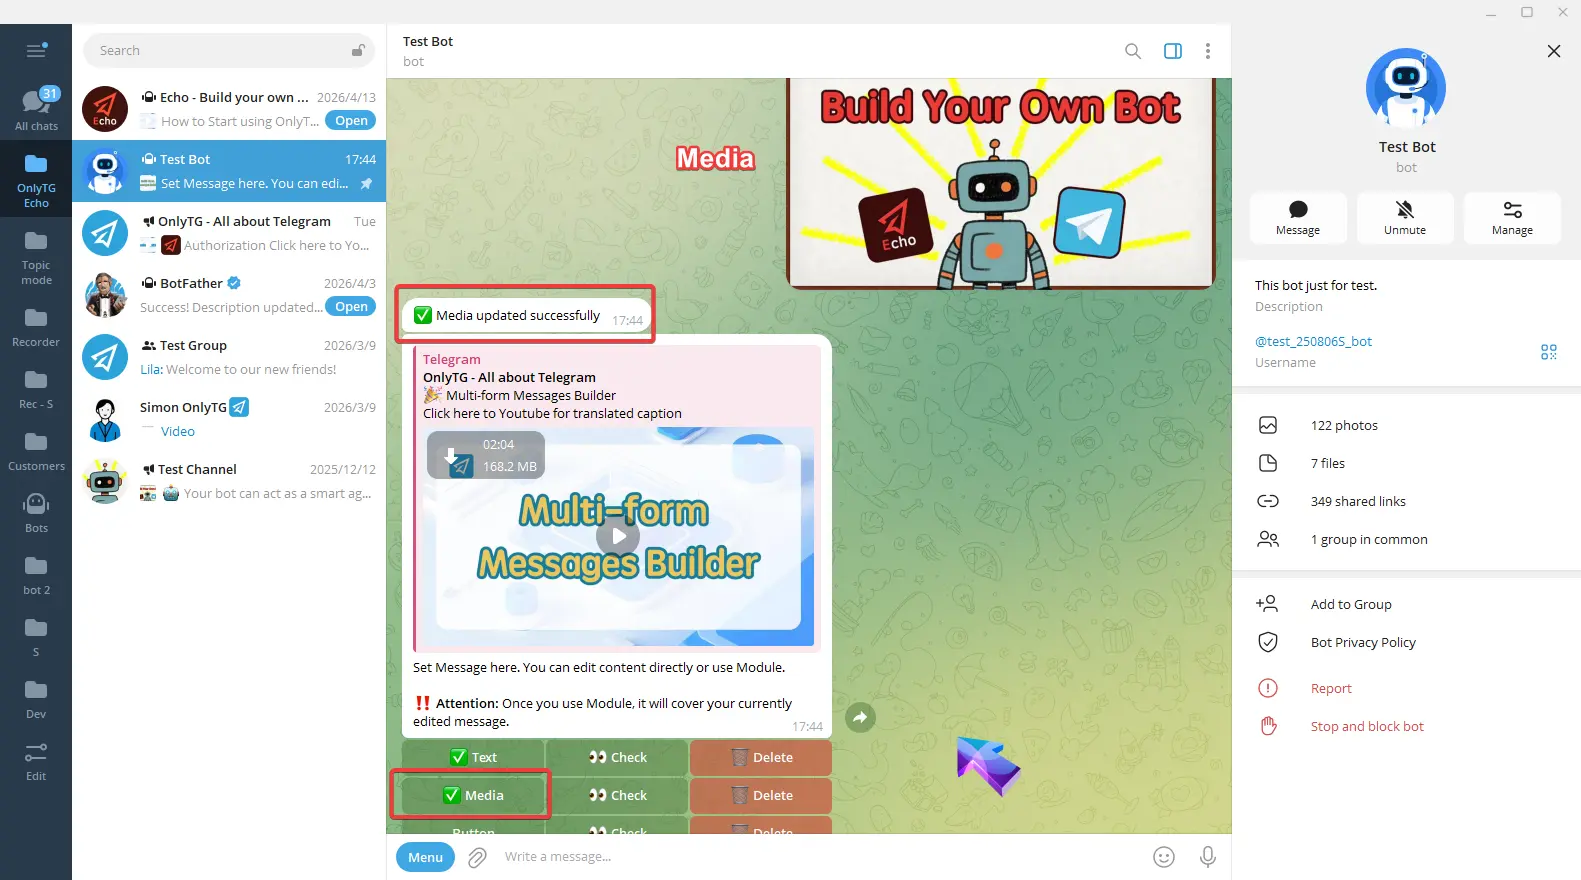
You can reply a picture, video, round video, voice, GIF, sticker or file. Please note that if you upload a Round Video or a Sticker, the text and button parts of this message will not be displayed. Media configuration is finished.
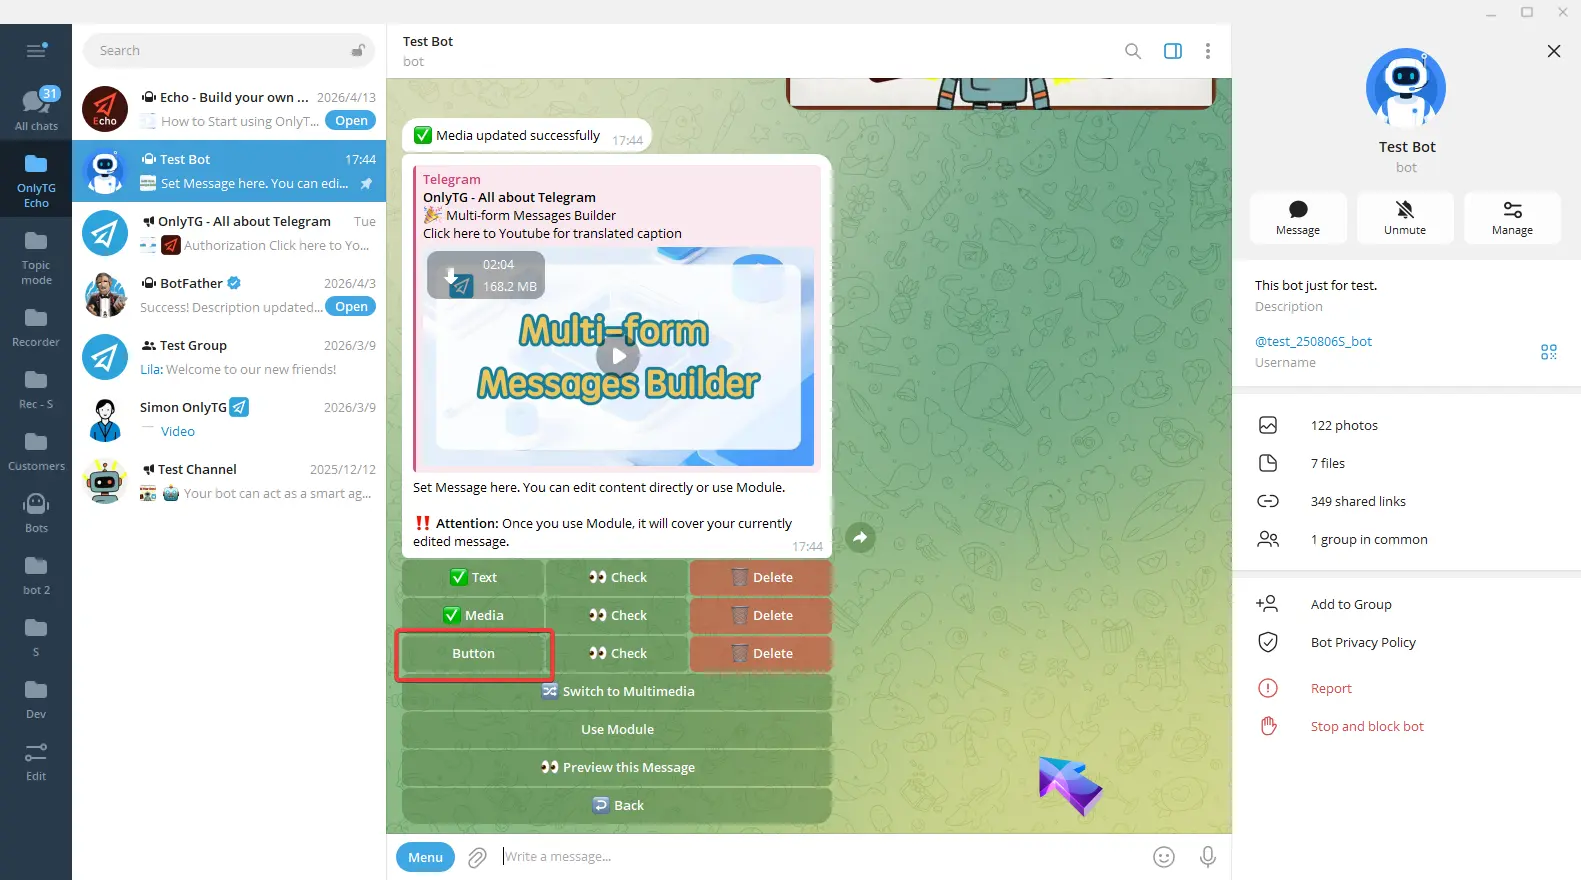
Click Button, Enter the button name and content according to the format in the prompt.
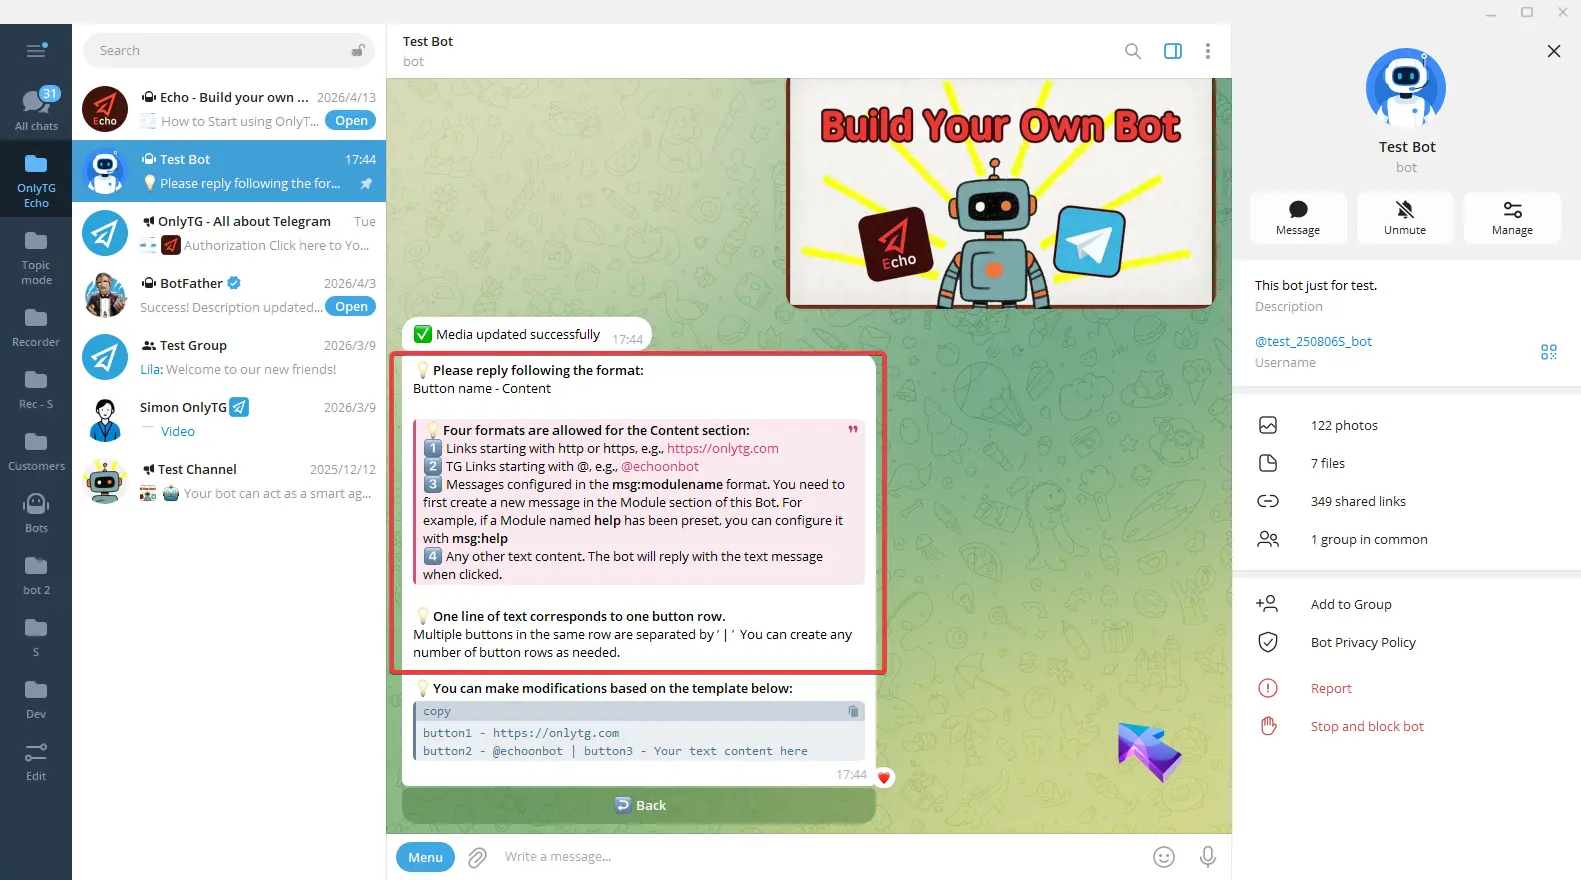
You can also copy the example to the input box and edit it.
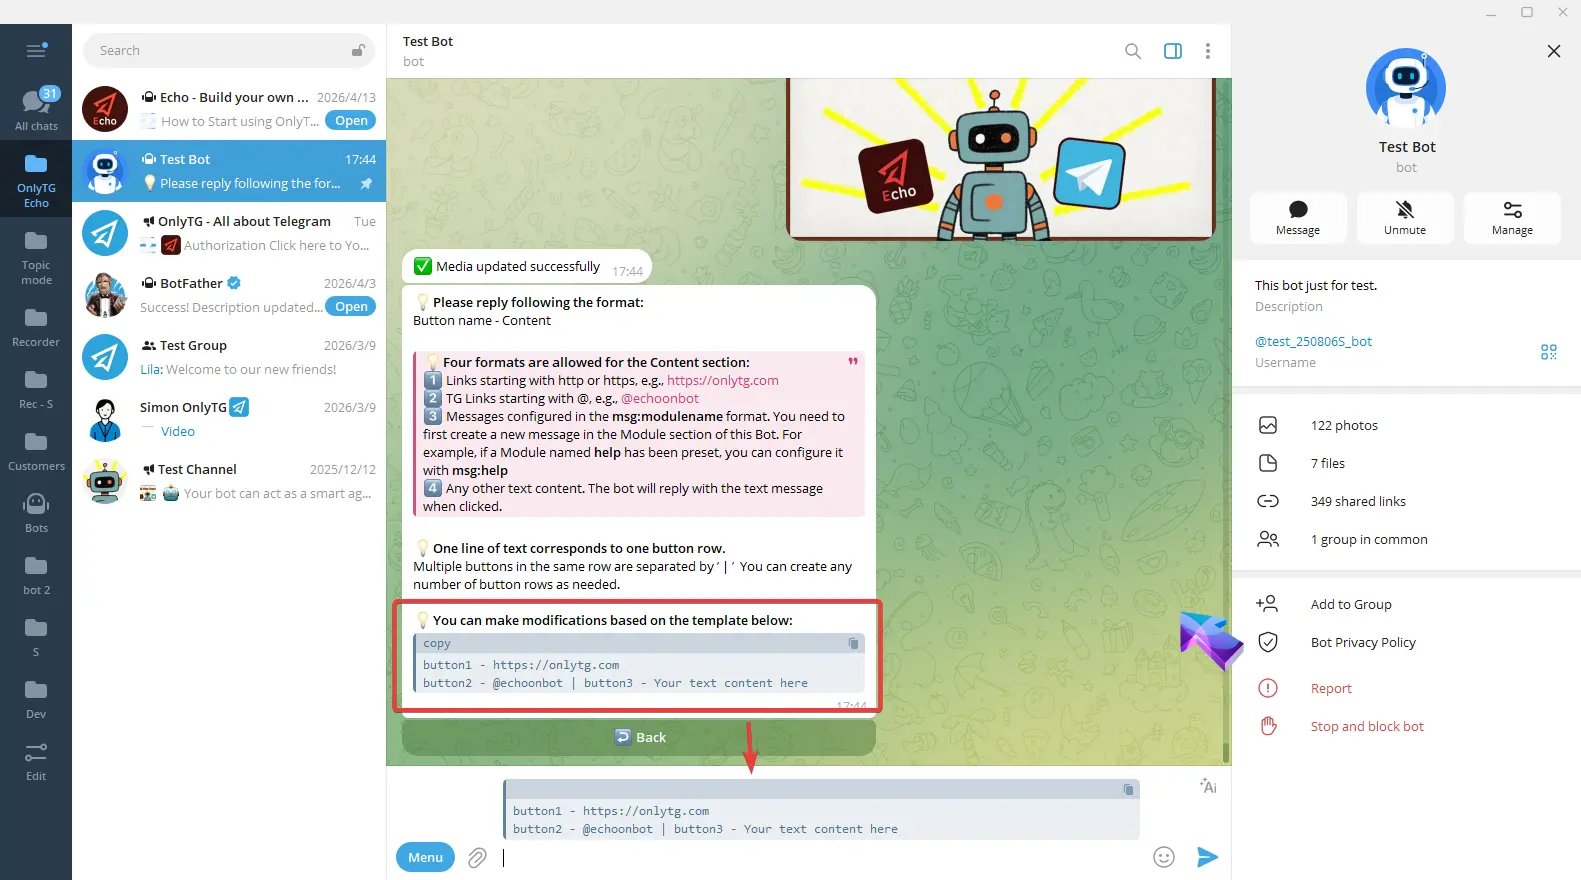
For example, this now means one button on the first row and two buttons on the second row. Then I change these button name to my preferred button name.
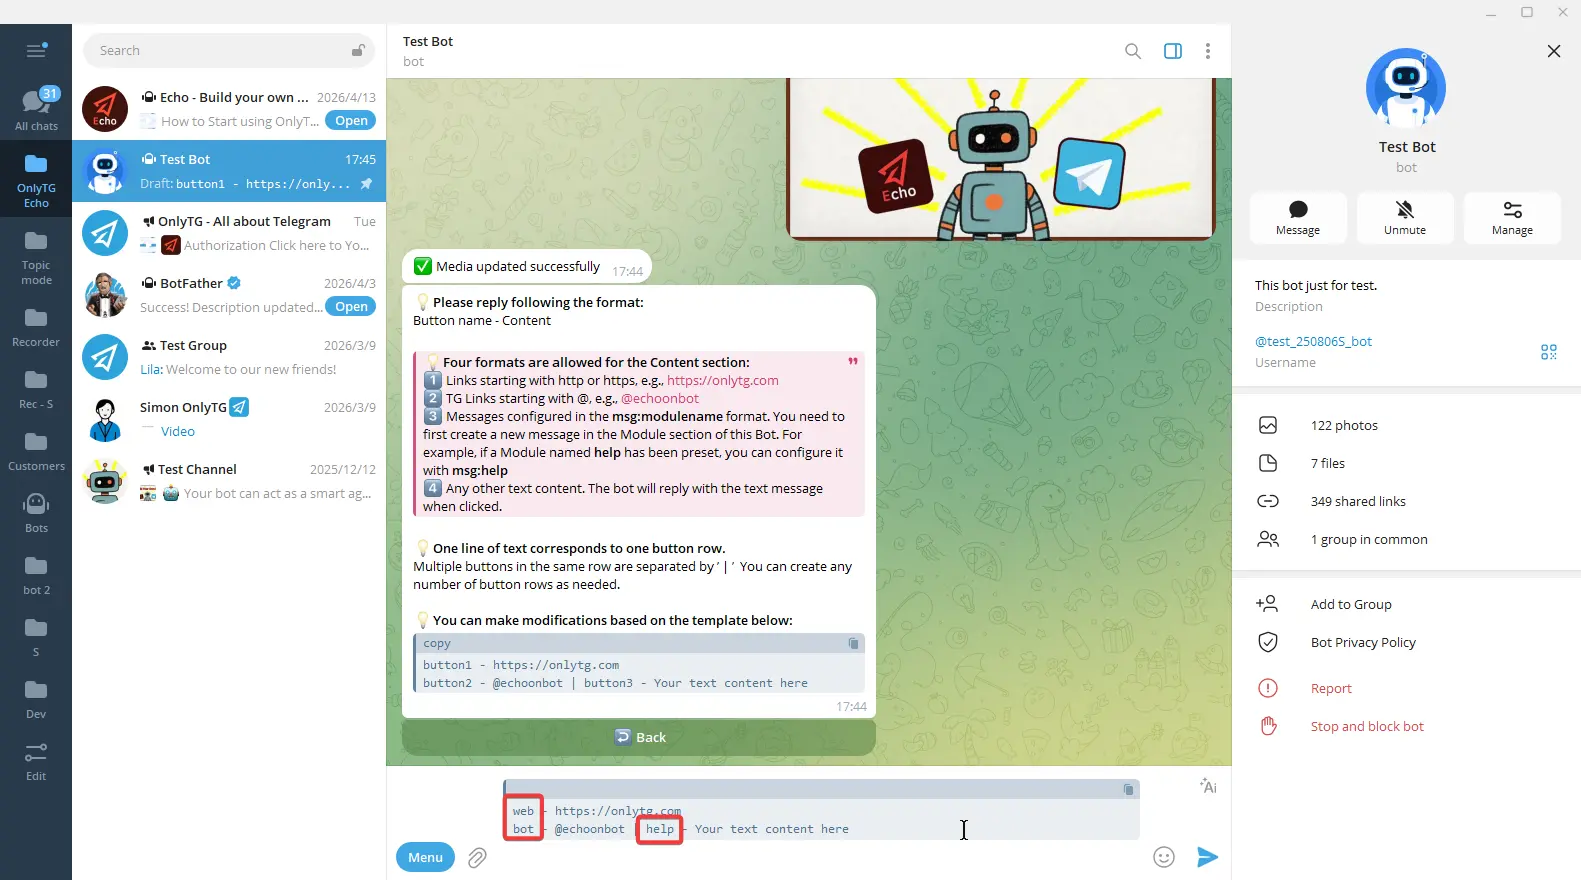
And the content can be links starting with http or https, or TG links starting with @, Or any other Text.
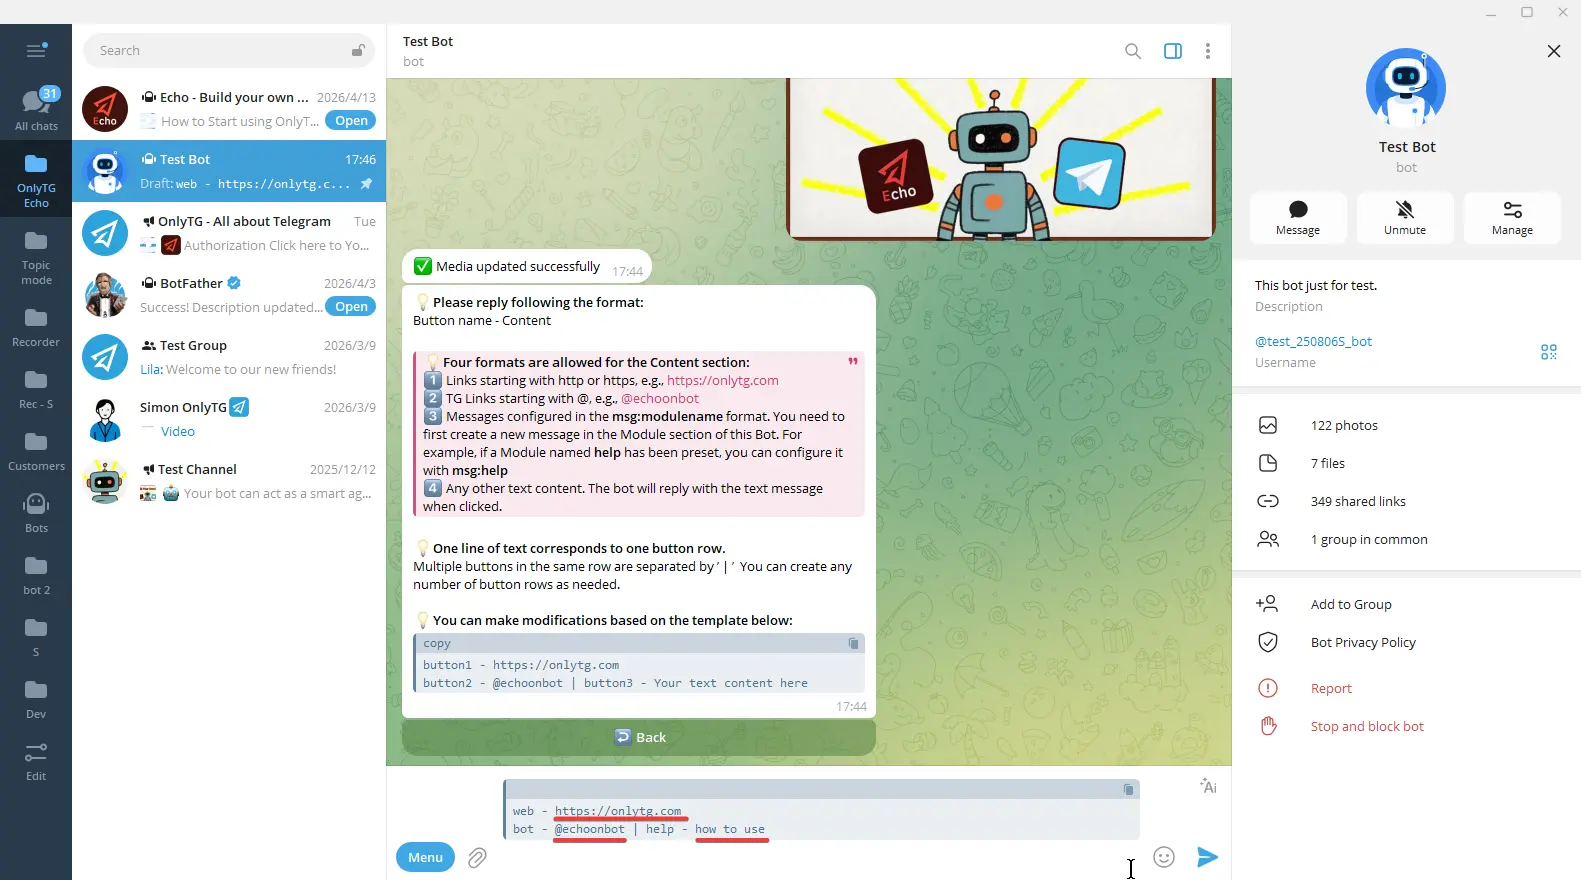
Send it after editing. The button update is successful.
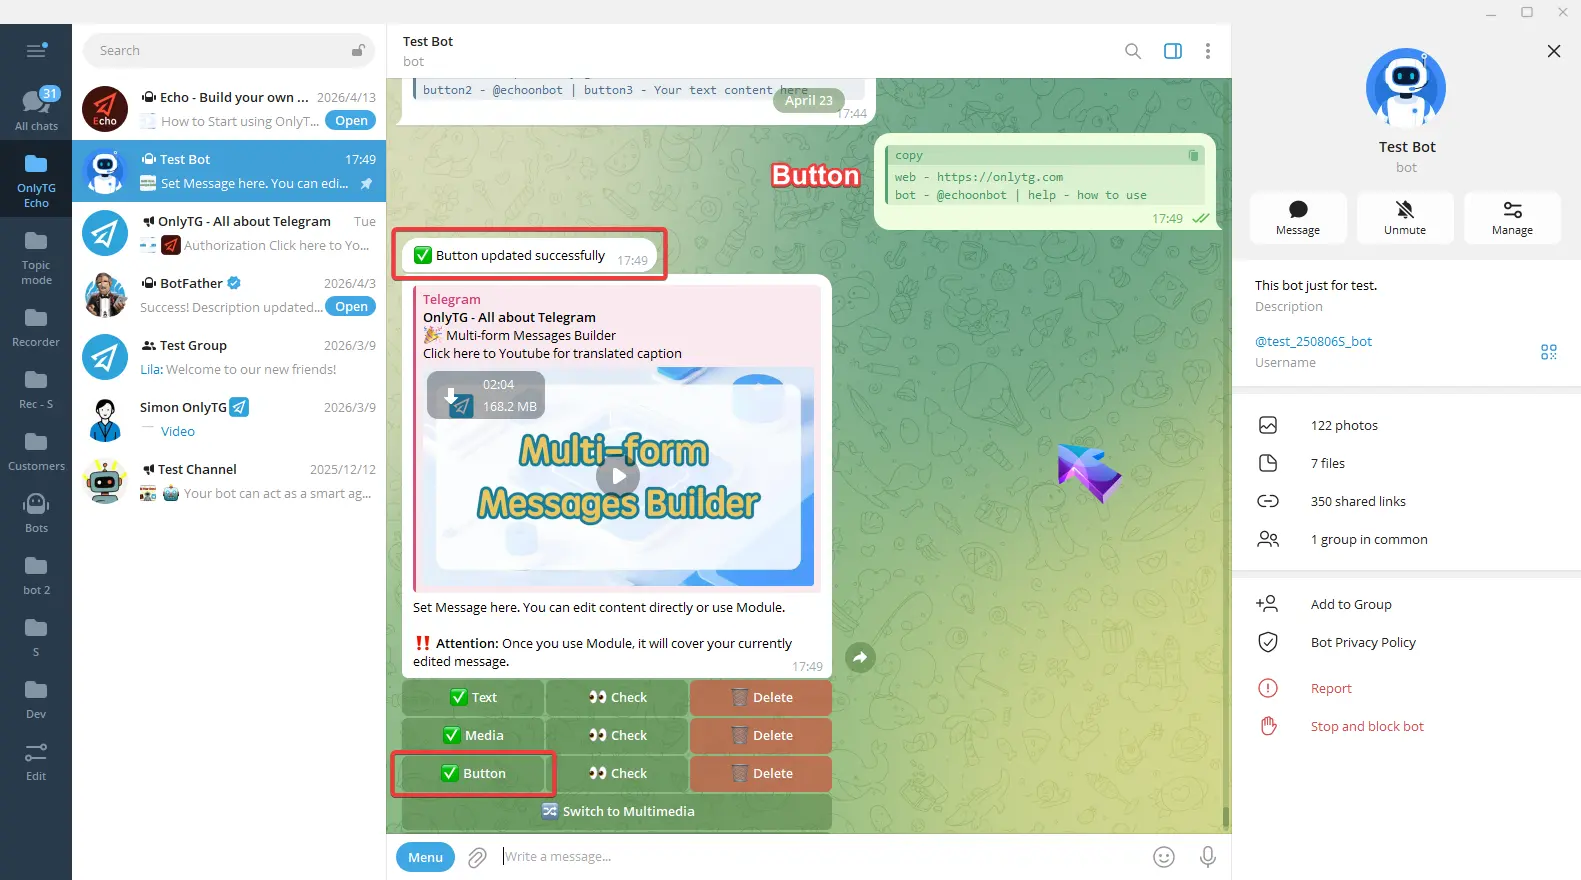
step 2
This message content is now complete. You can choose whether to use the following two options based on your needs.
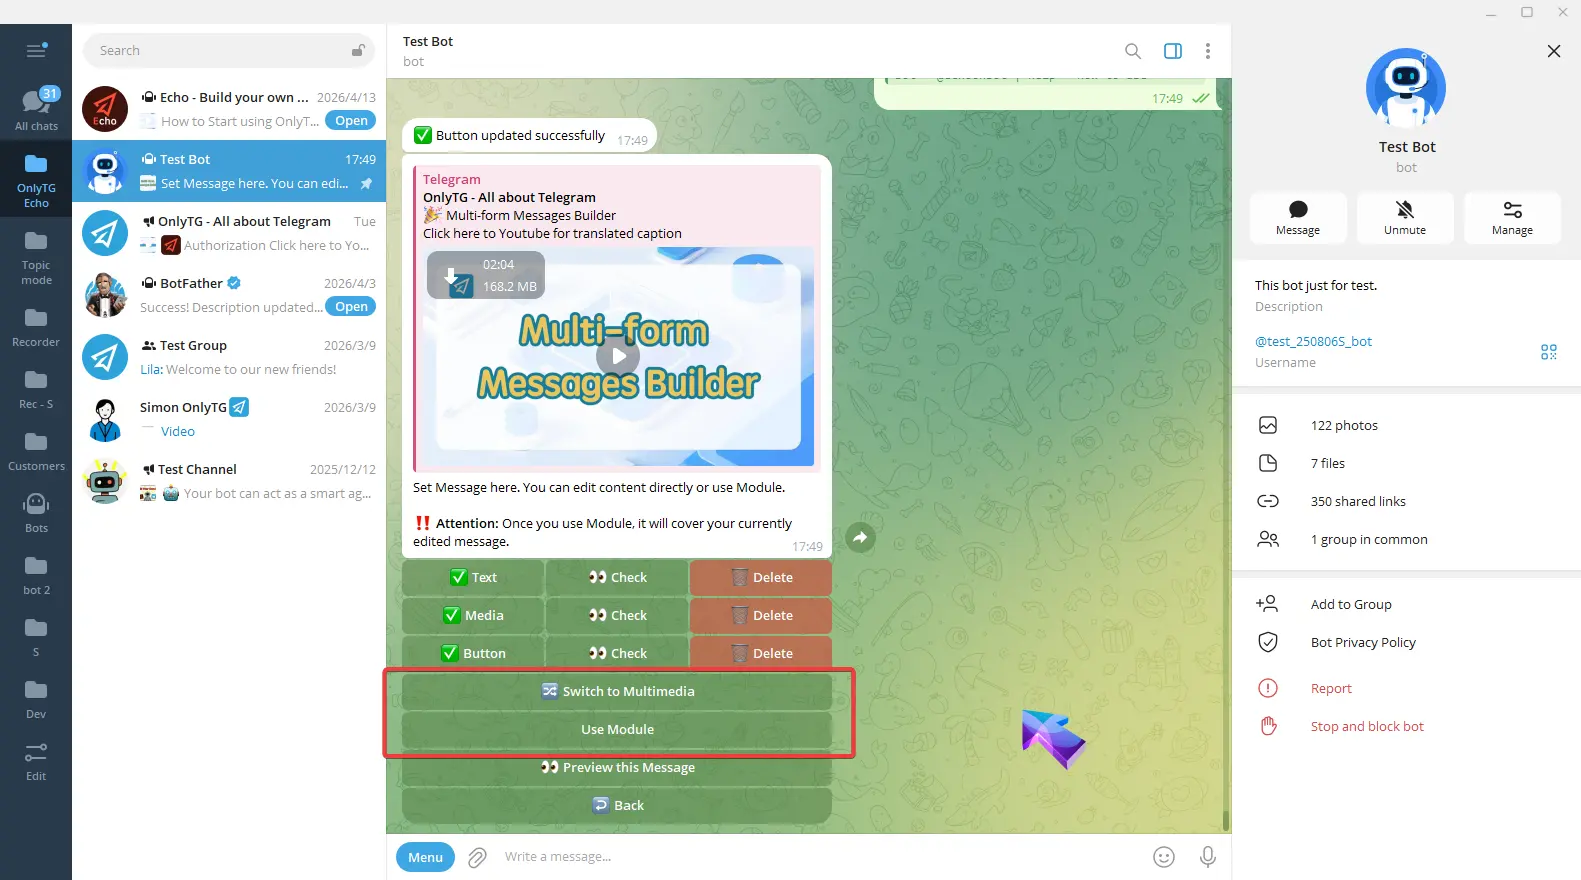
Switch to Multimedia: Convert the post to a mode which you can configure text and multiple images/videos, but files and buttons are not supported. (Click here to learn how to set multimedia messages)
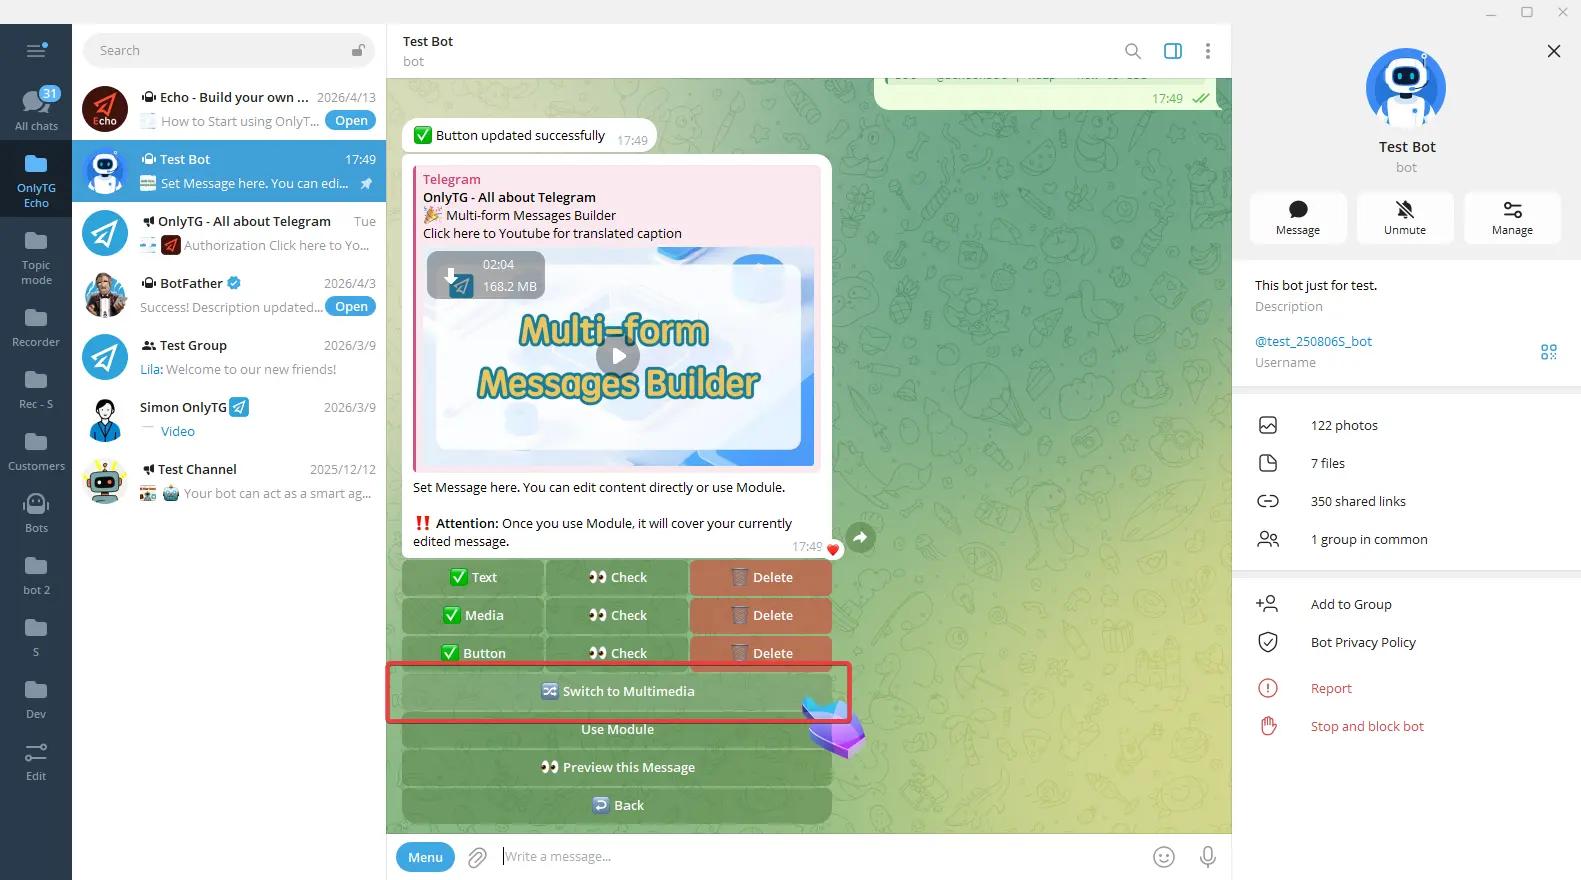
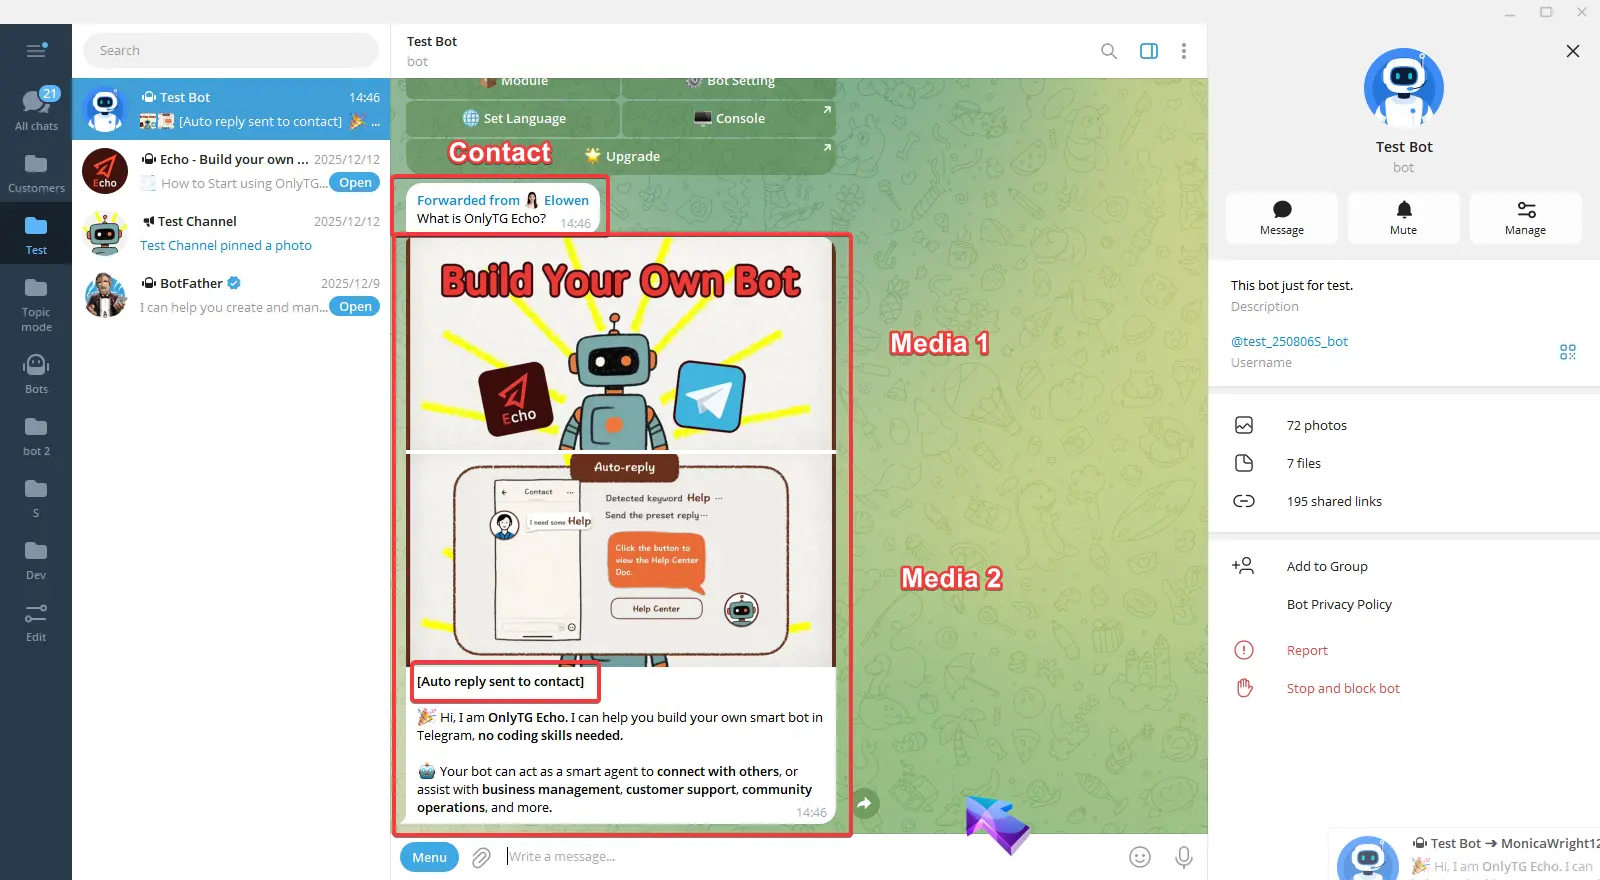
Please note that buttons cannot be added after switching to multimedia mode.
Use the Module: Directly apply pre-set Module message content. Module are preset messages content that can include text, media and buttons. If you want to use module here, you must set a module first. (Click here to more about Module.)
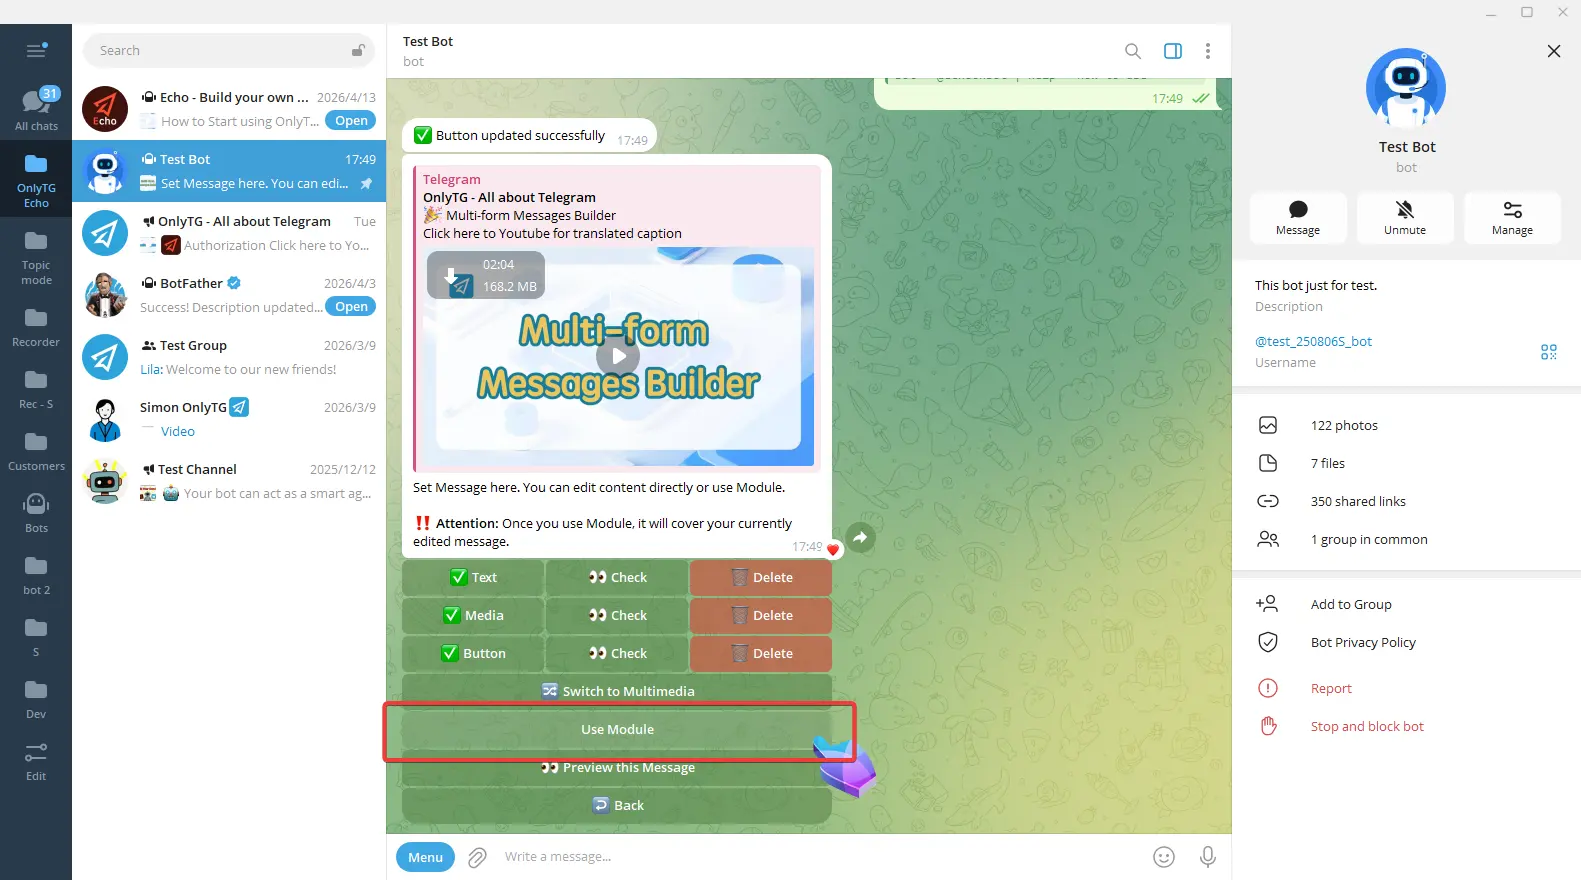
Please note that once you use Module, it will cover your currently edited message.
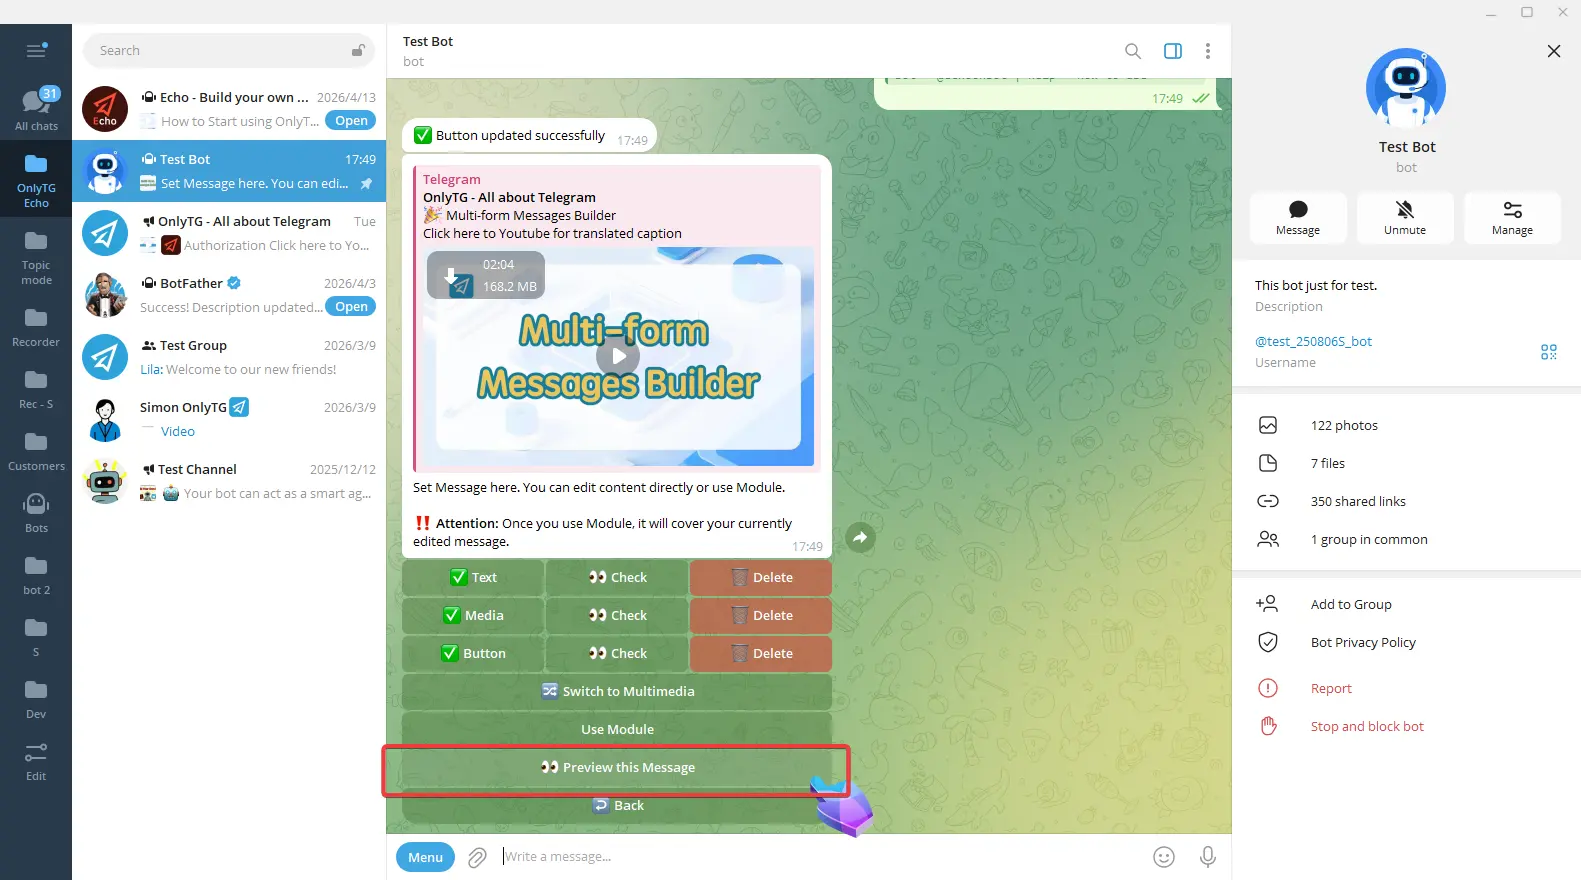
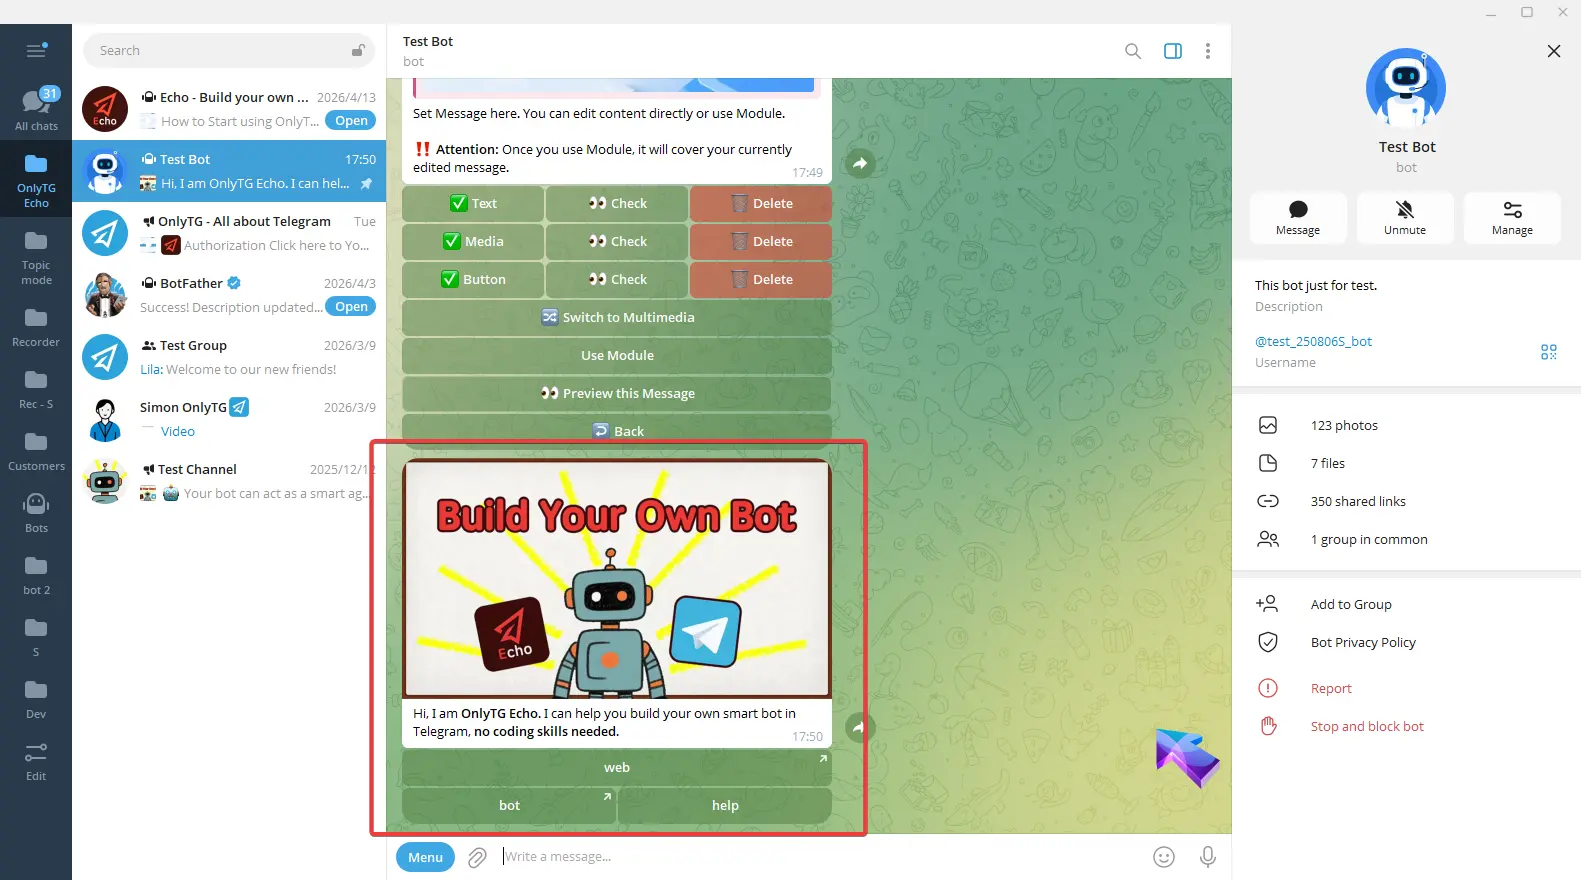
After completing all settings, click the preview this message button to preview the message.
step 4
Each quick reply includes a maximum of five messages., which will be sent to users in sequential order.
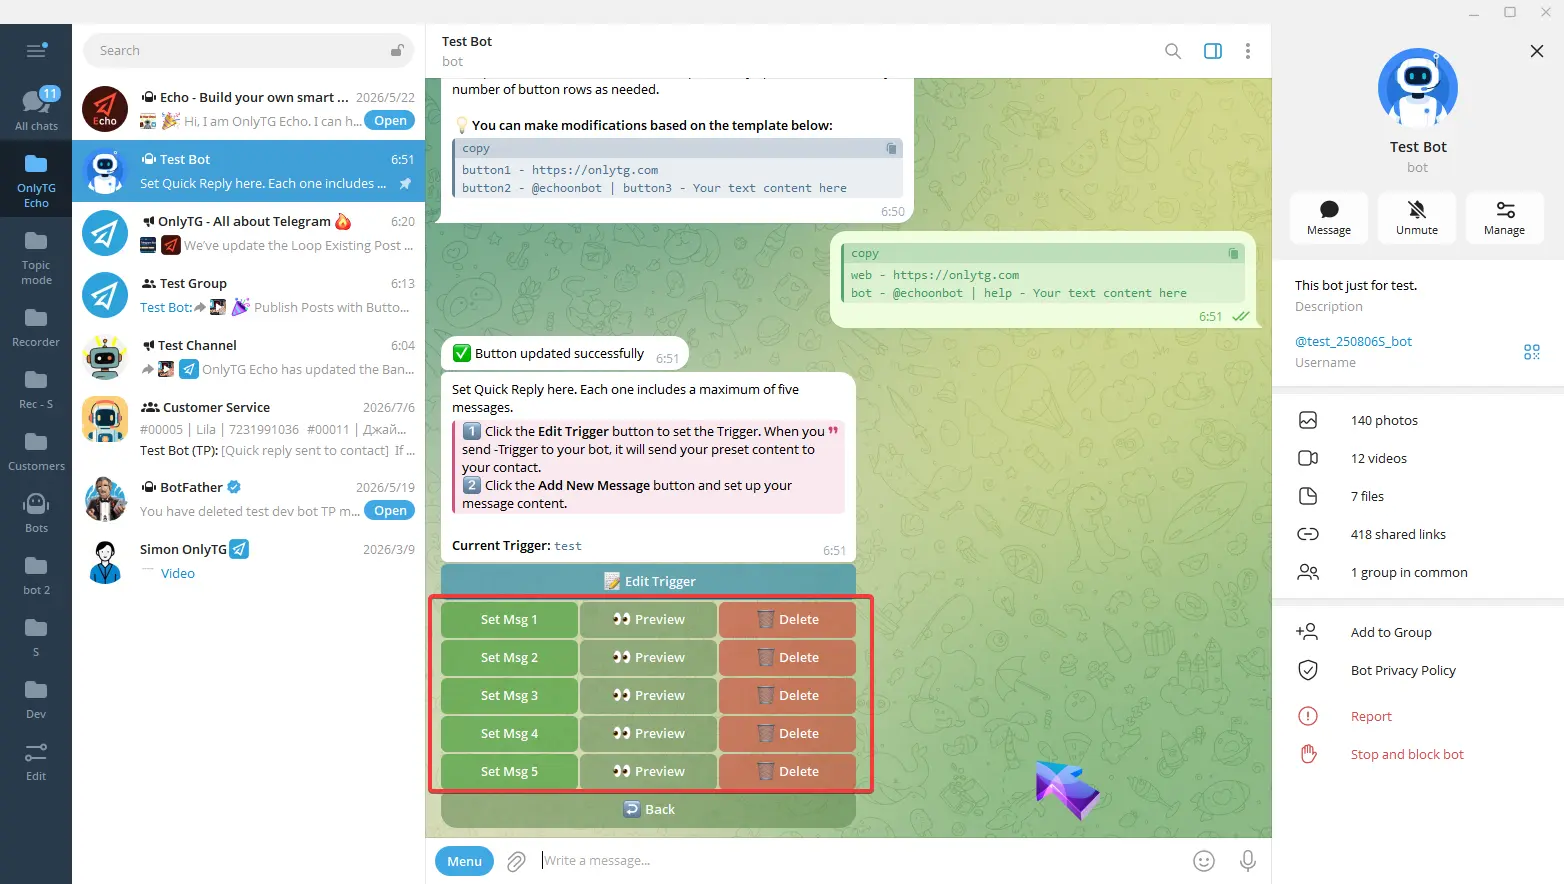
This quick reply message setup is now complete. Repeat the same process to add multiple quick reply.
How to use quick reply when chatting with contacts
There are two methods:
Method 1
Tyep hyphen in front of the trigger and send it to contacts. It’s important to note that only when the trigger is sent completely accurately will the preset content be sent.
For example:
Edit Trigger: test
Reply to contacts: -test
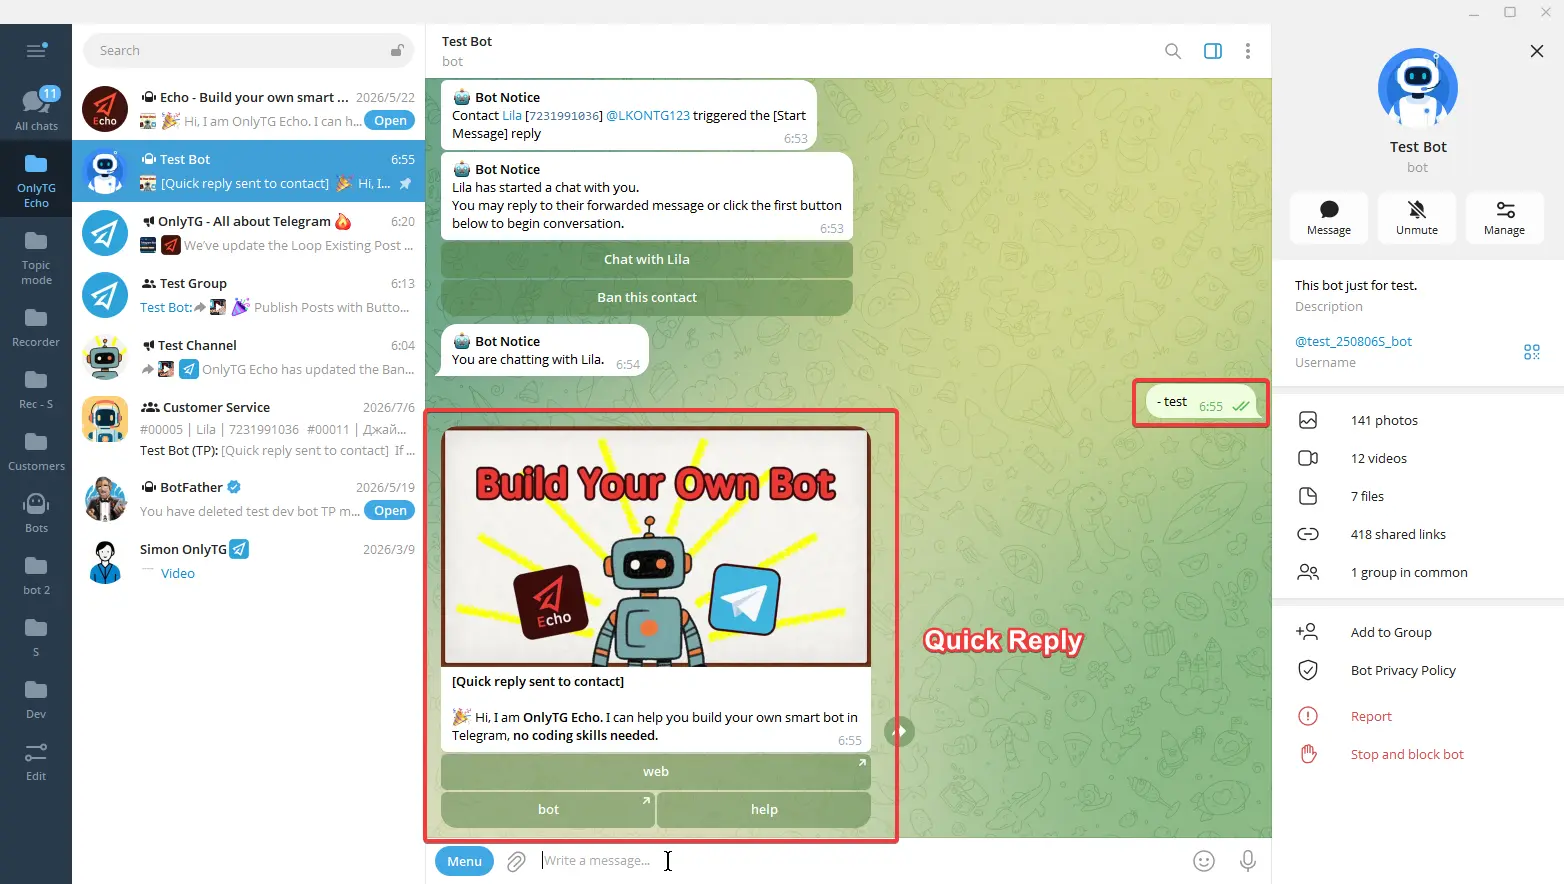
Method 2
While chatting with contacts, type a slash. A command list will pop up above the input box.
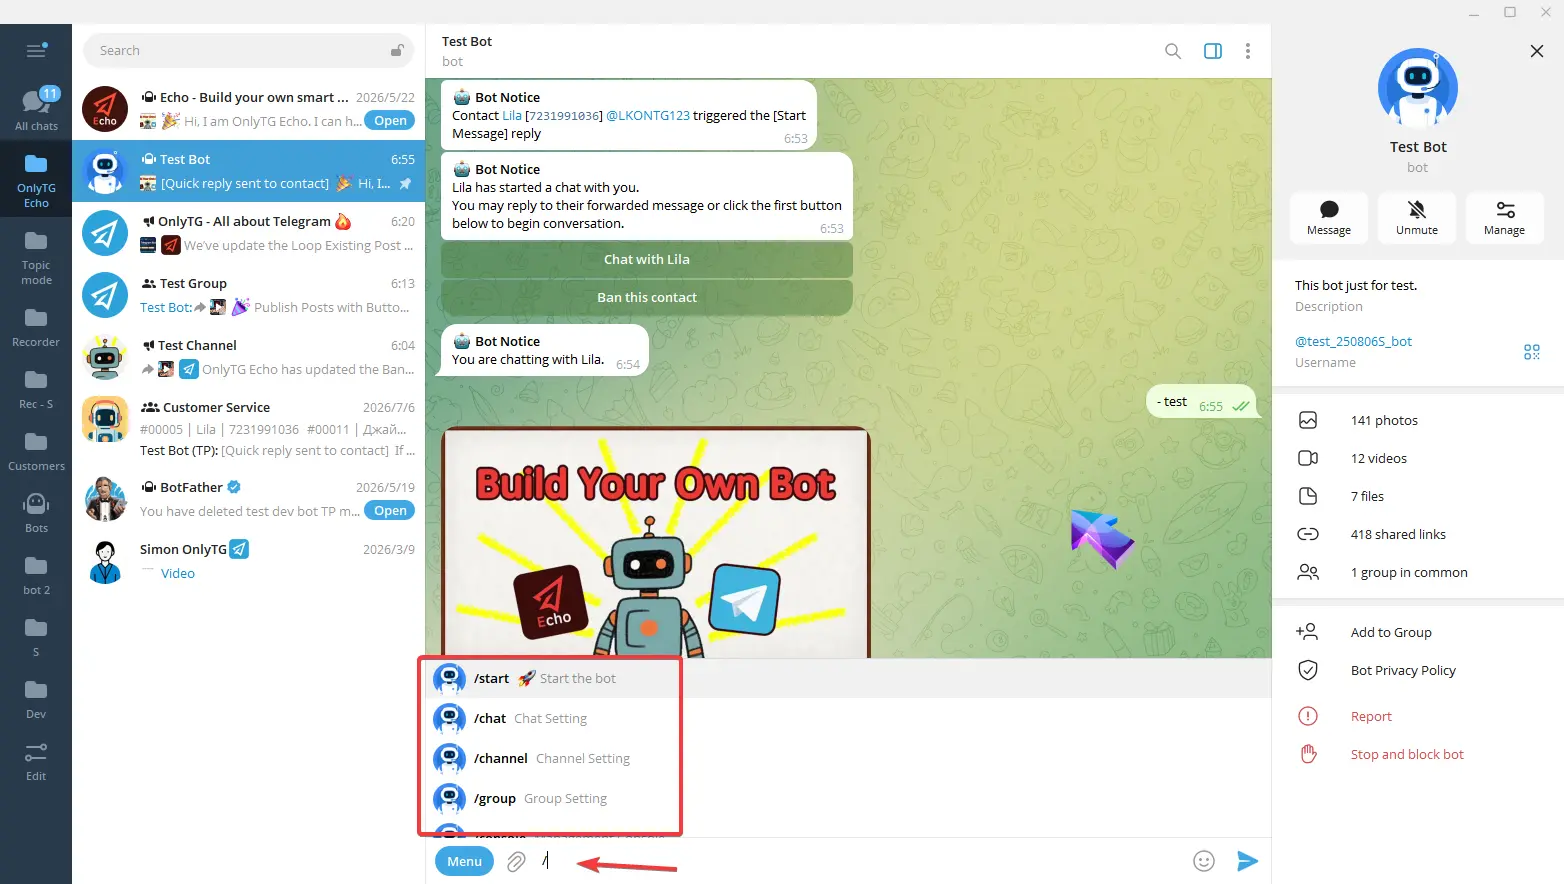
Enter q to quickly locate the quick reply command. You can either click the command to send it instantly or type out the full command manually before sending.
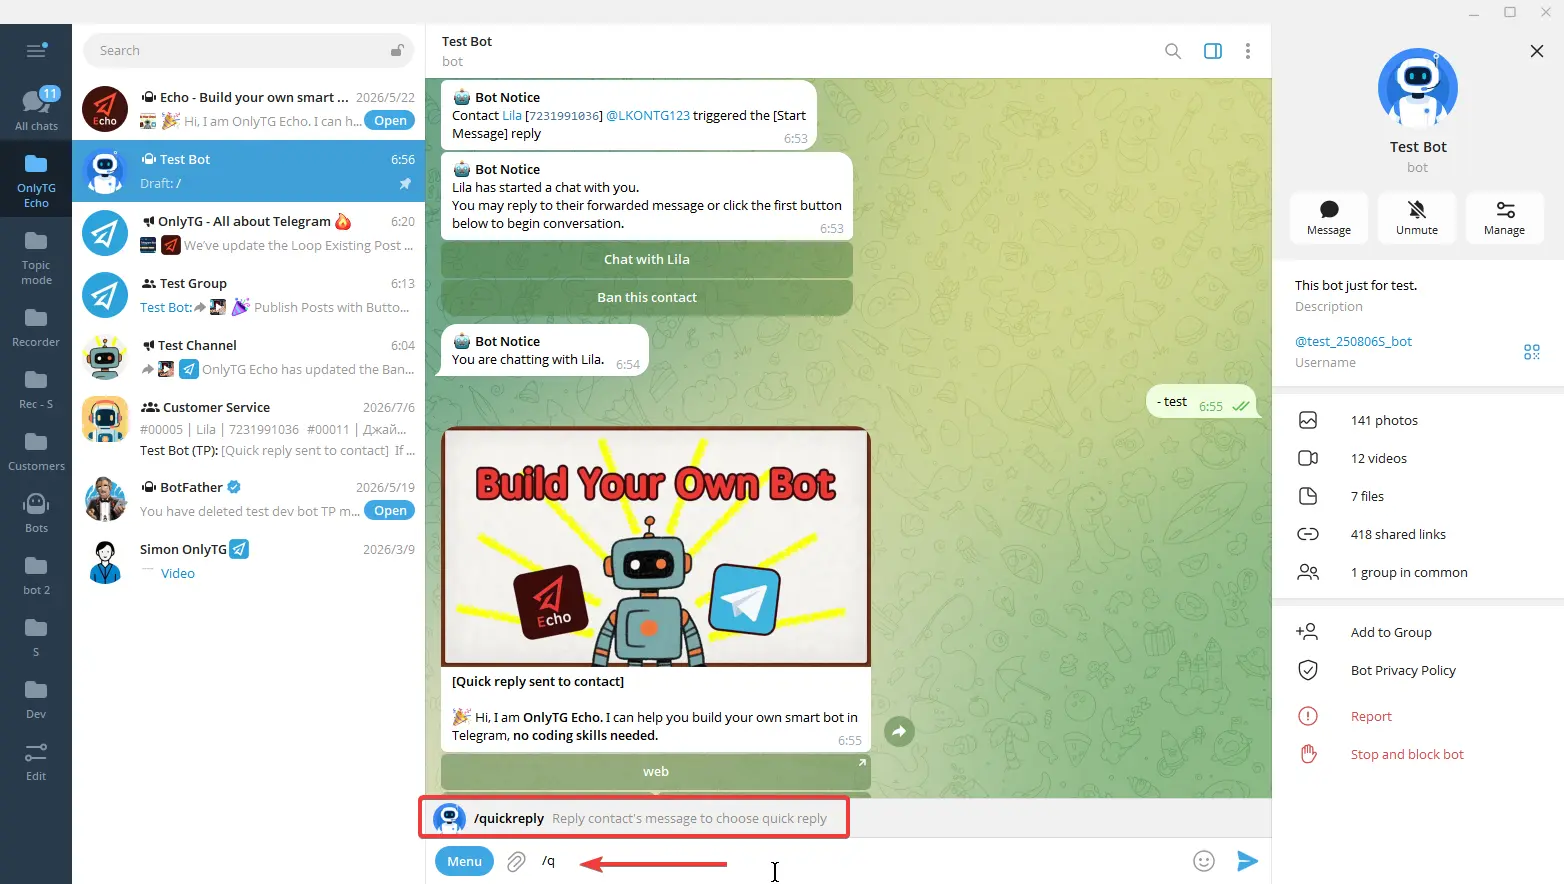
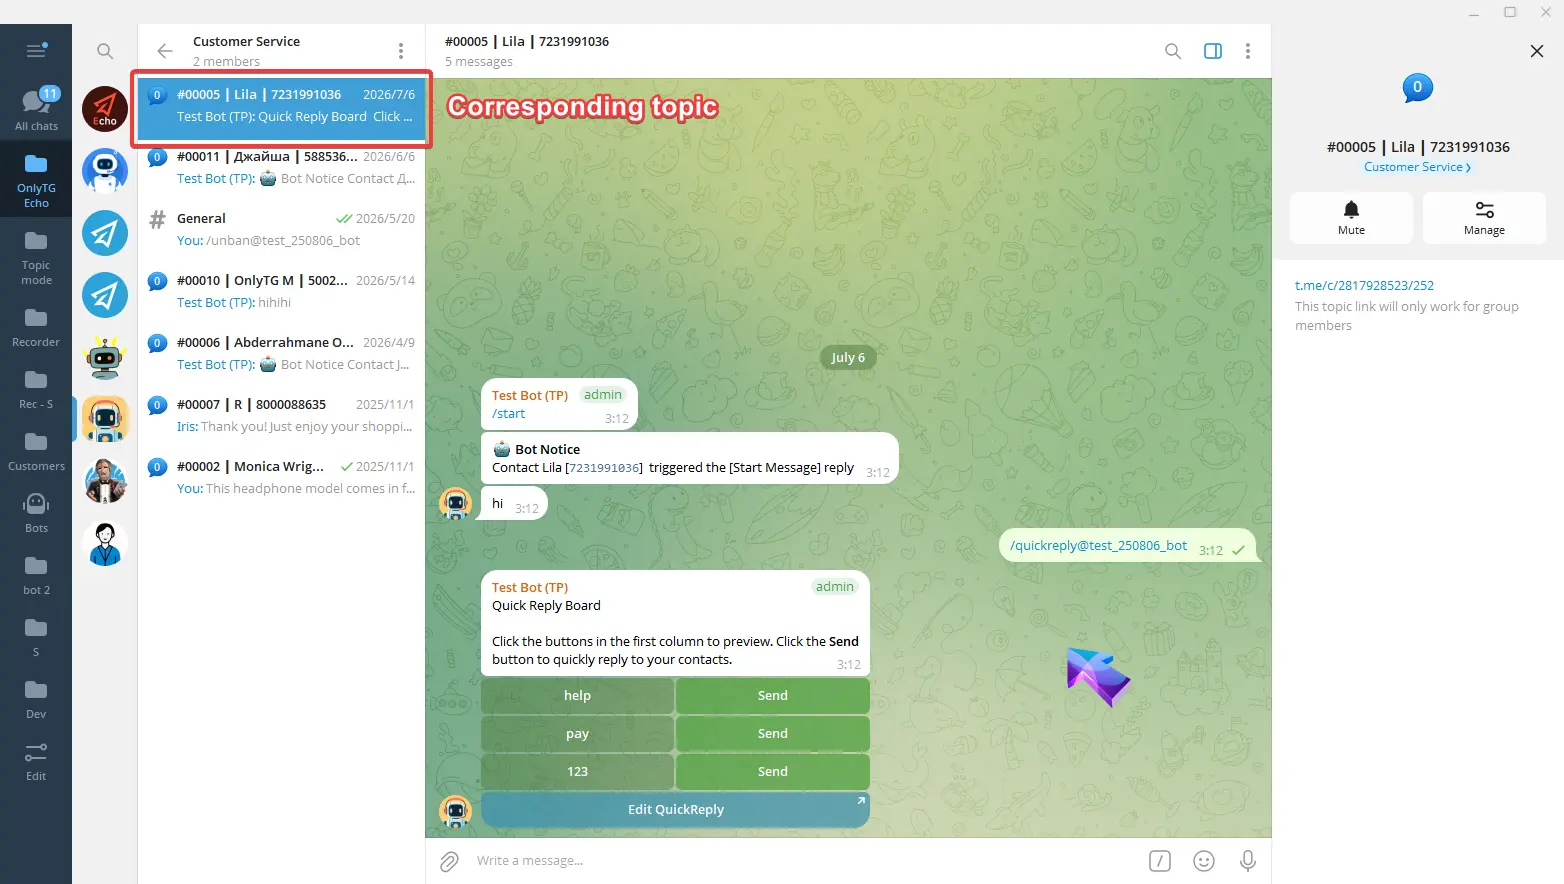
Then the bot will pop up the Quick Reply Board.
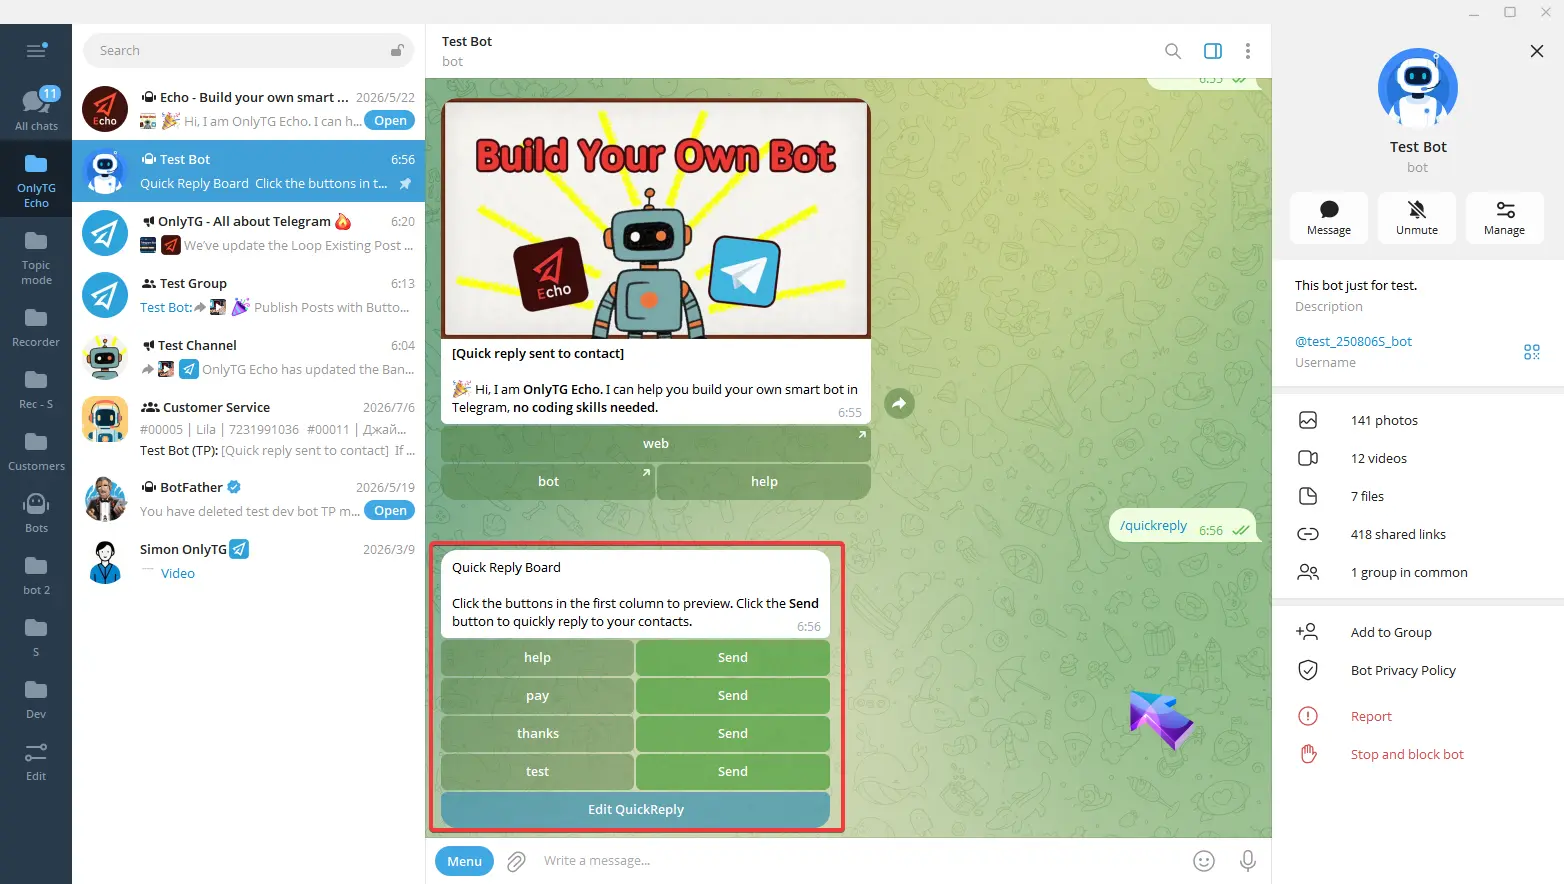
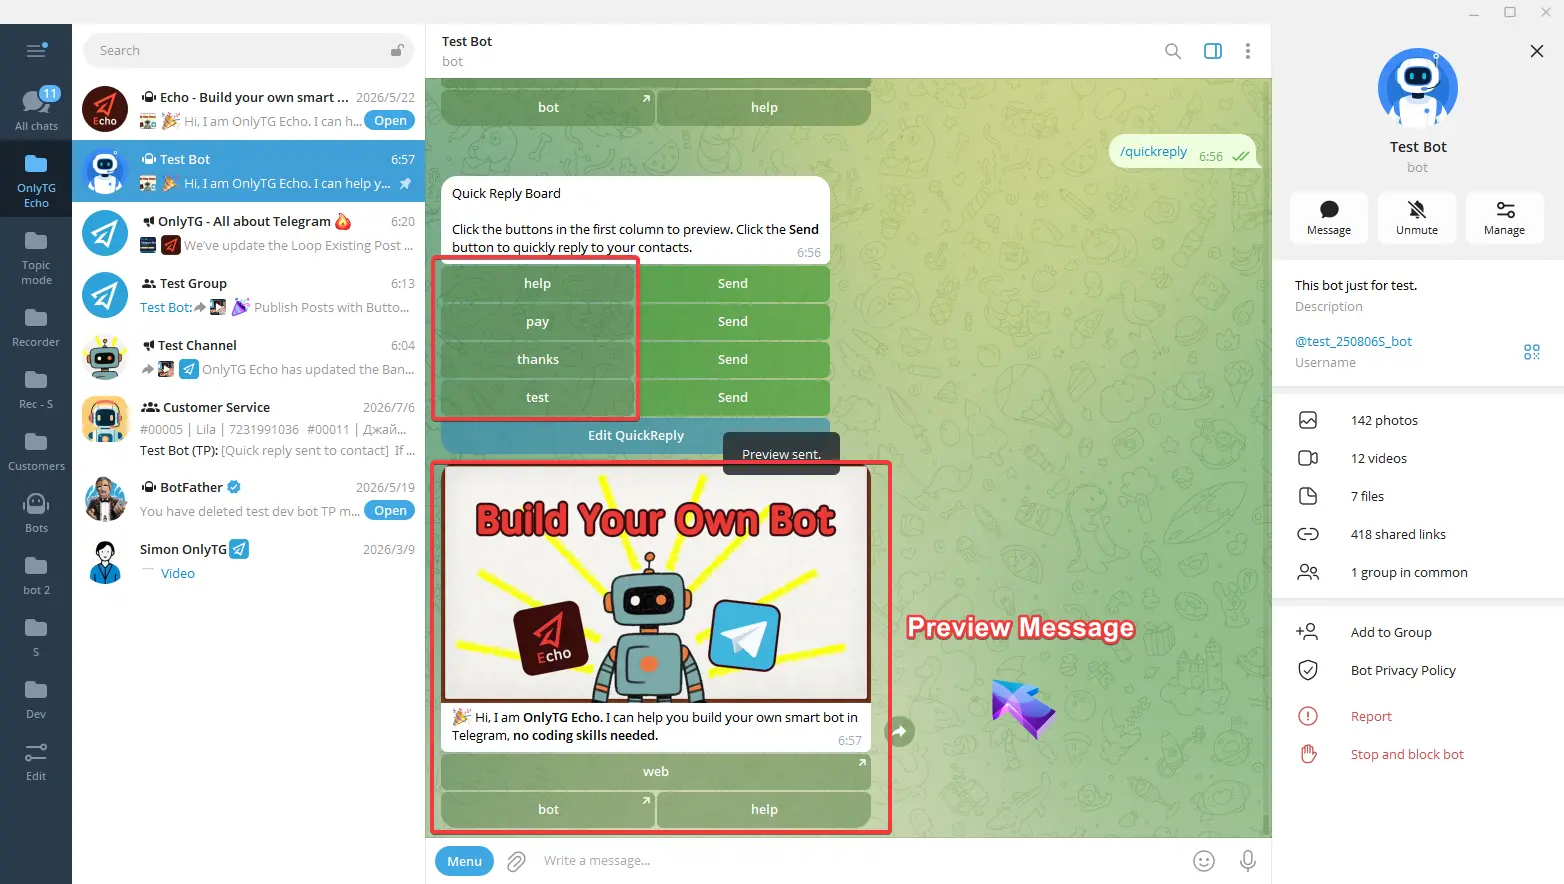
Click the buttons in the first column to preview.
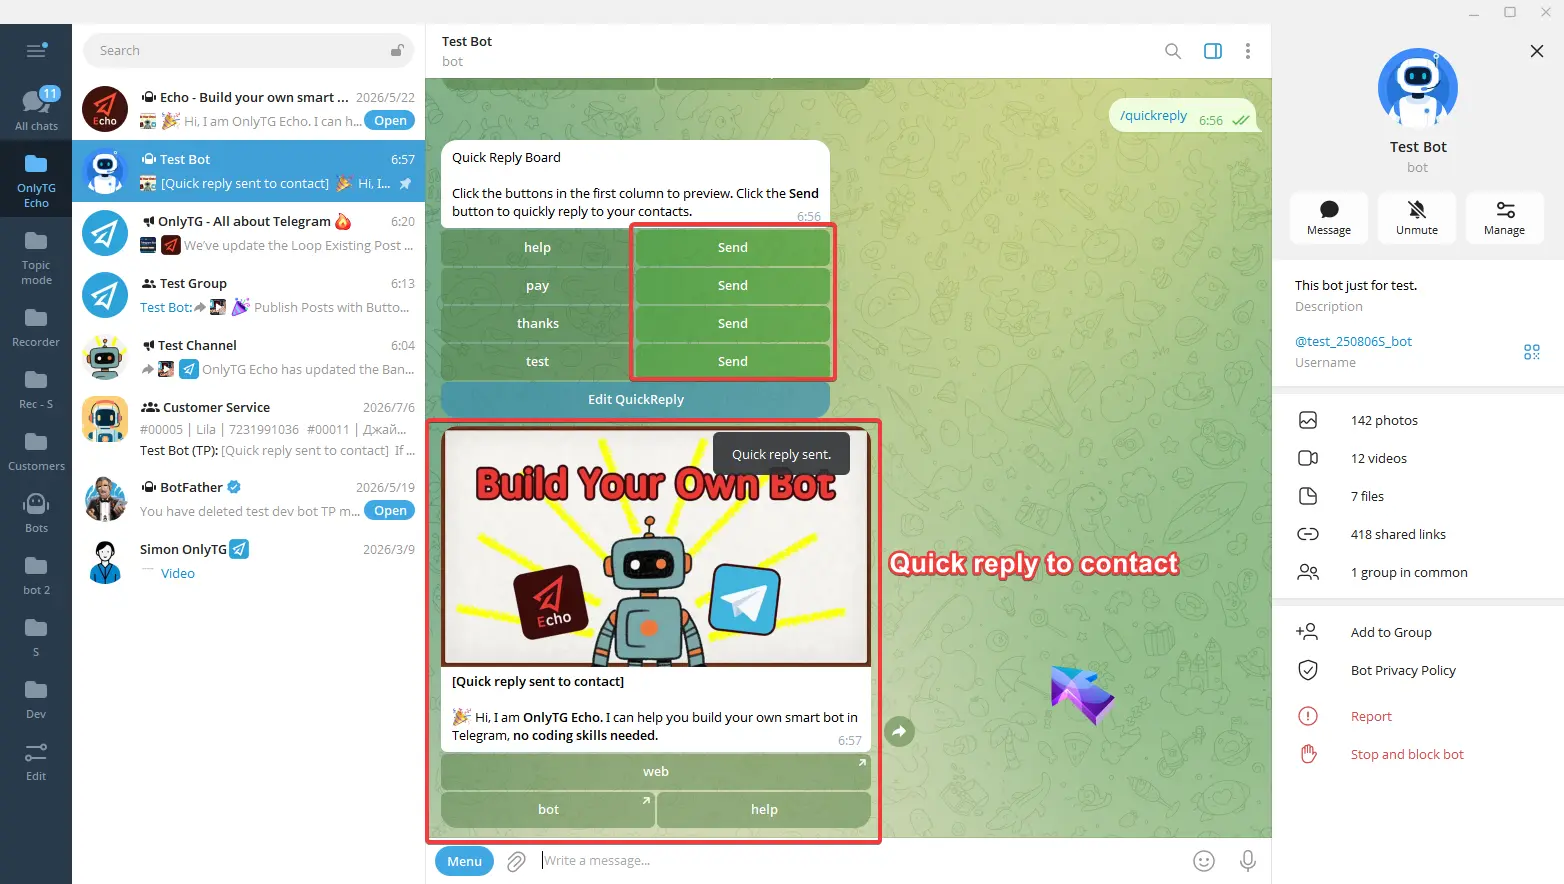
Click the Send button to quickly reply to your contacts.
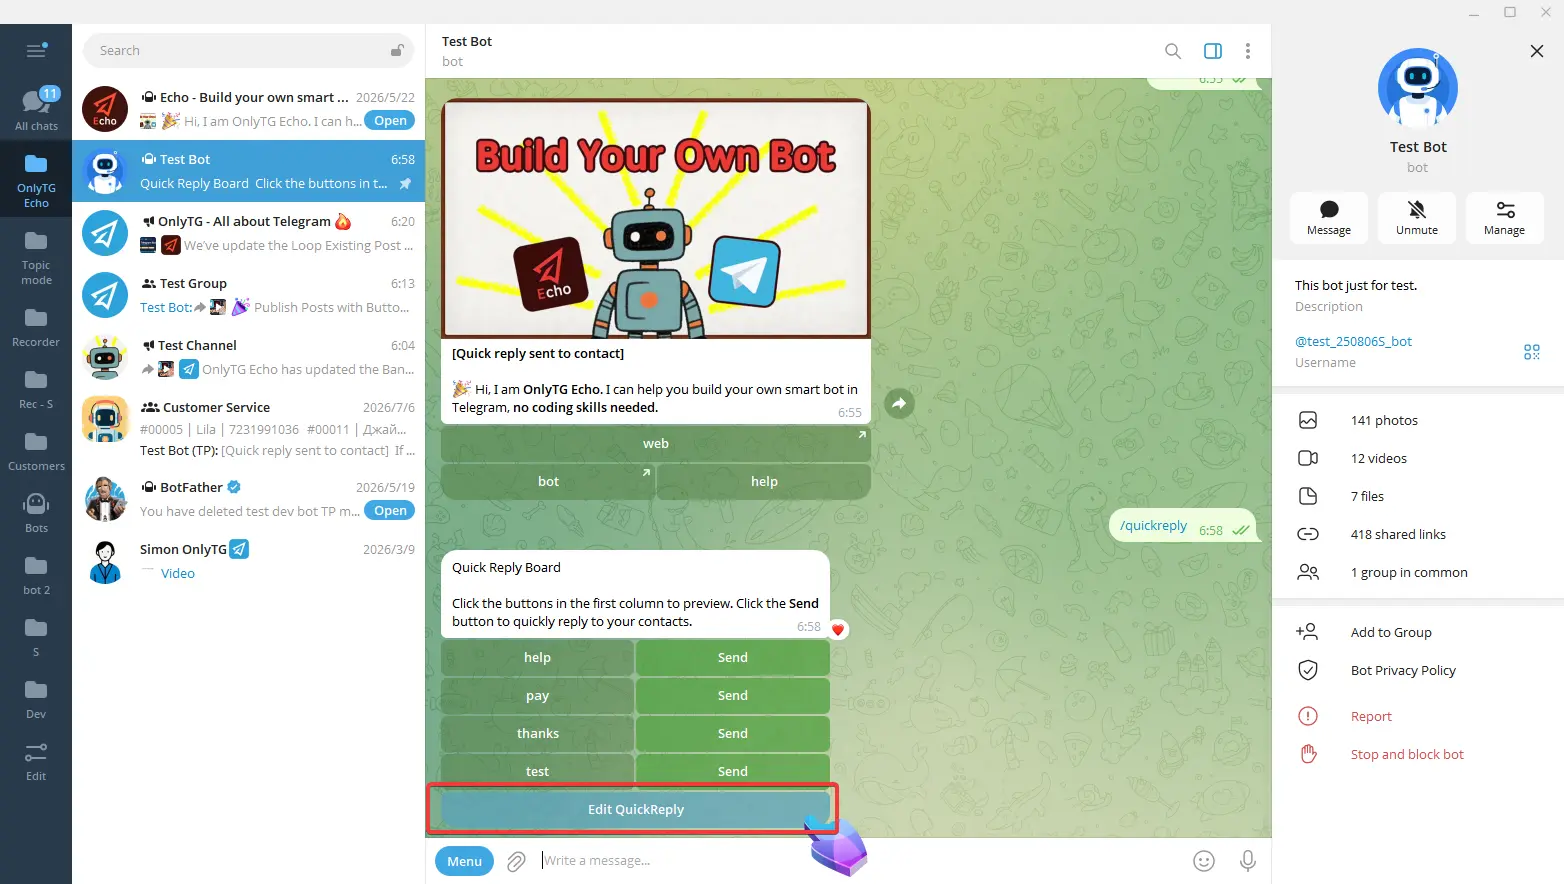
And Click Edit Quick Reply to jump directly to the quick reply configuration menu.
Note
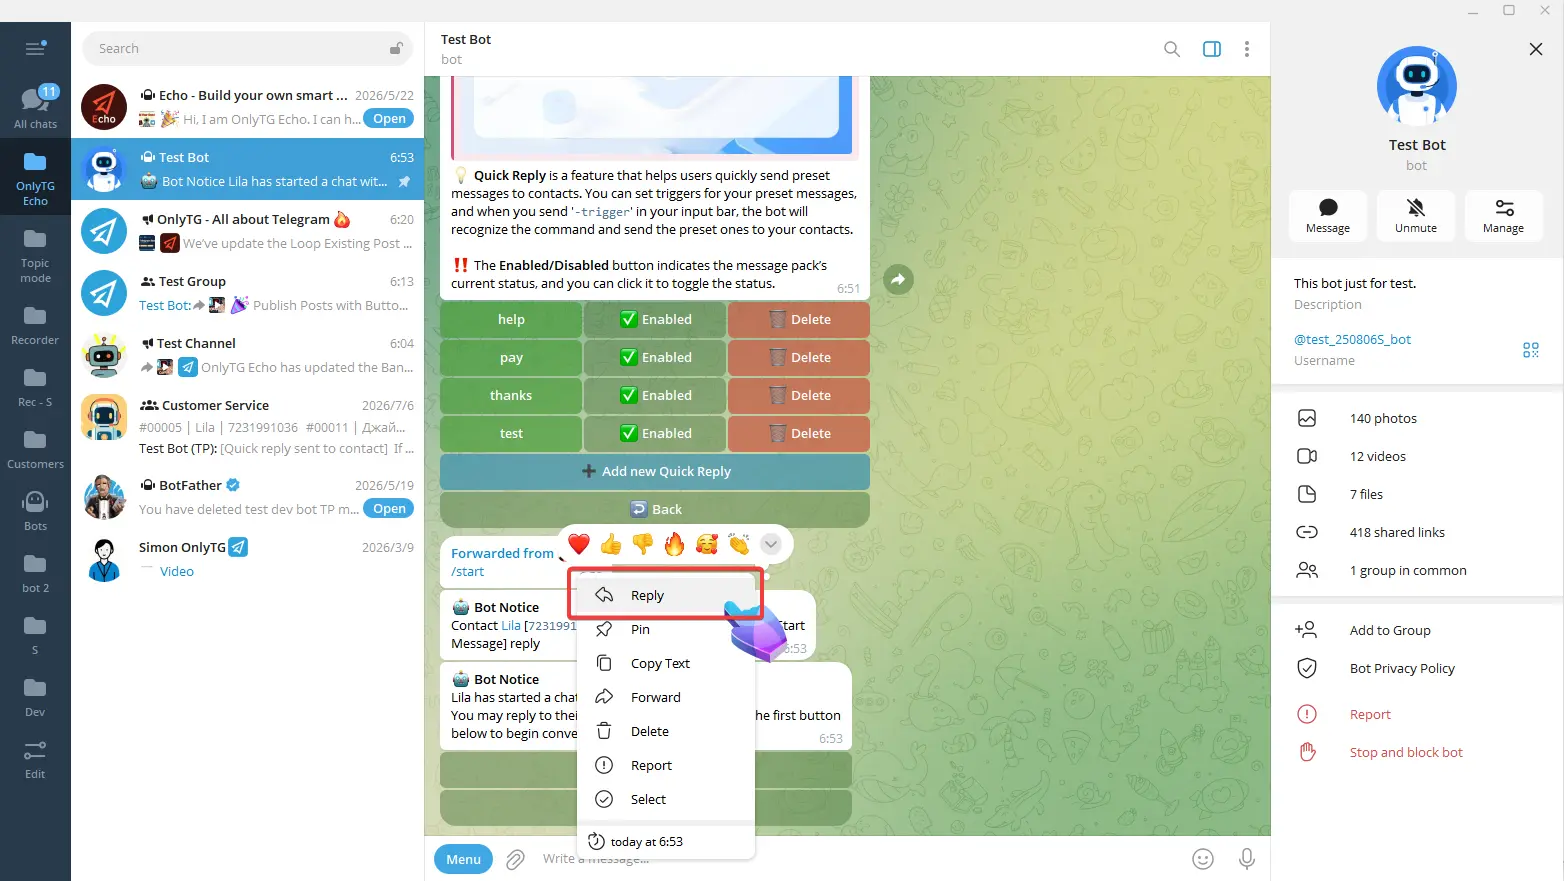
In single mode, you need to right-click the contact’s message and click reply, or hit the Chat with This Contacts button to enter a dedicated chat session with the contact before using any quick reply function.
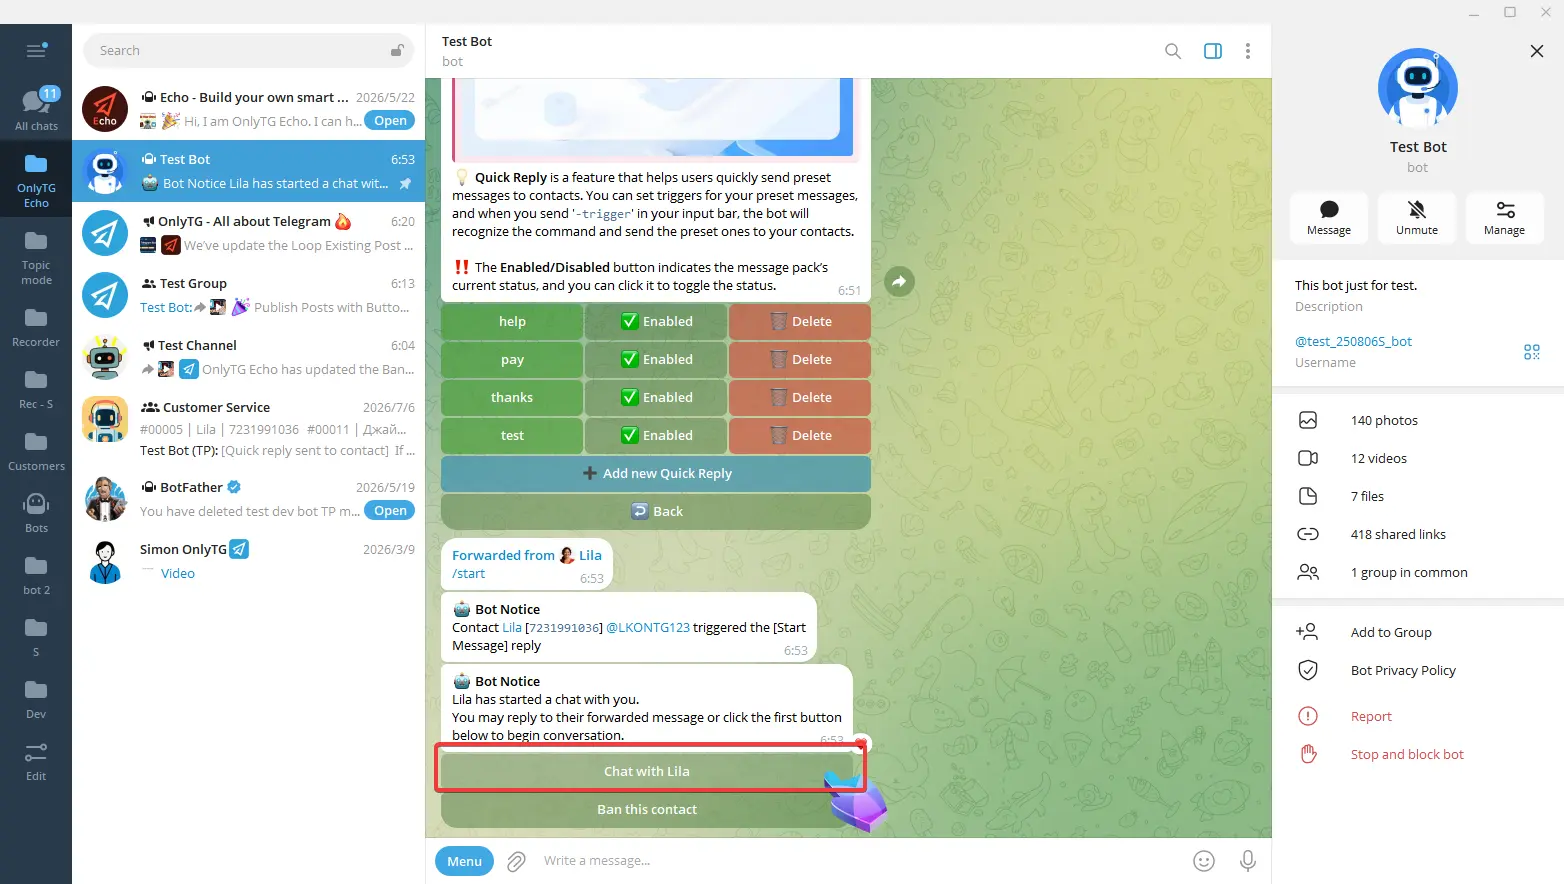
For topic mode(Change to Topic Mode), you can use quick reply function directly inside the contact’s corresponding topic.