
OnlyTG Echo provides the function to set Bot Menu Button below the bot input field.
Video Tutorial
step 1
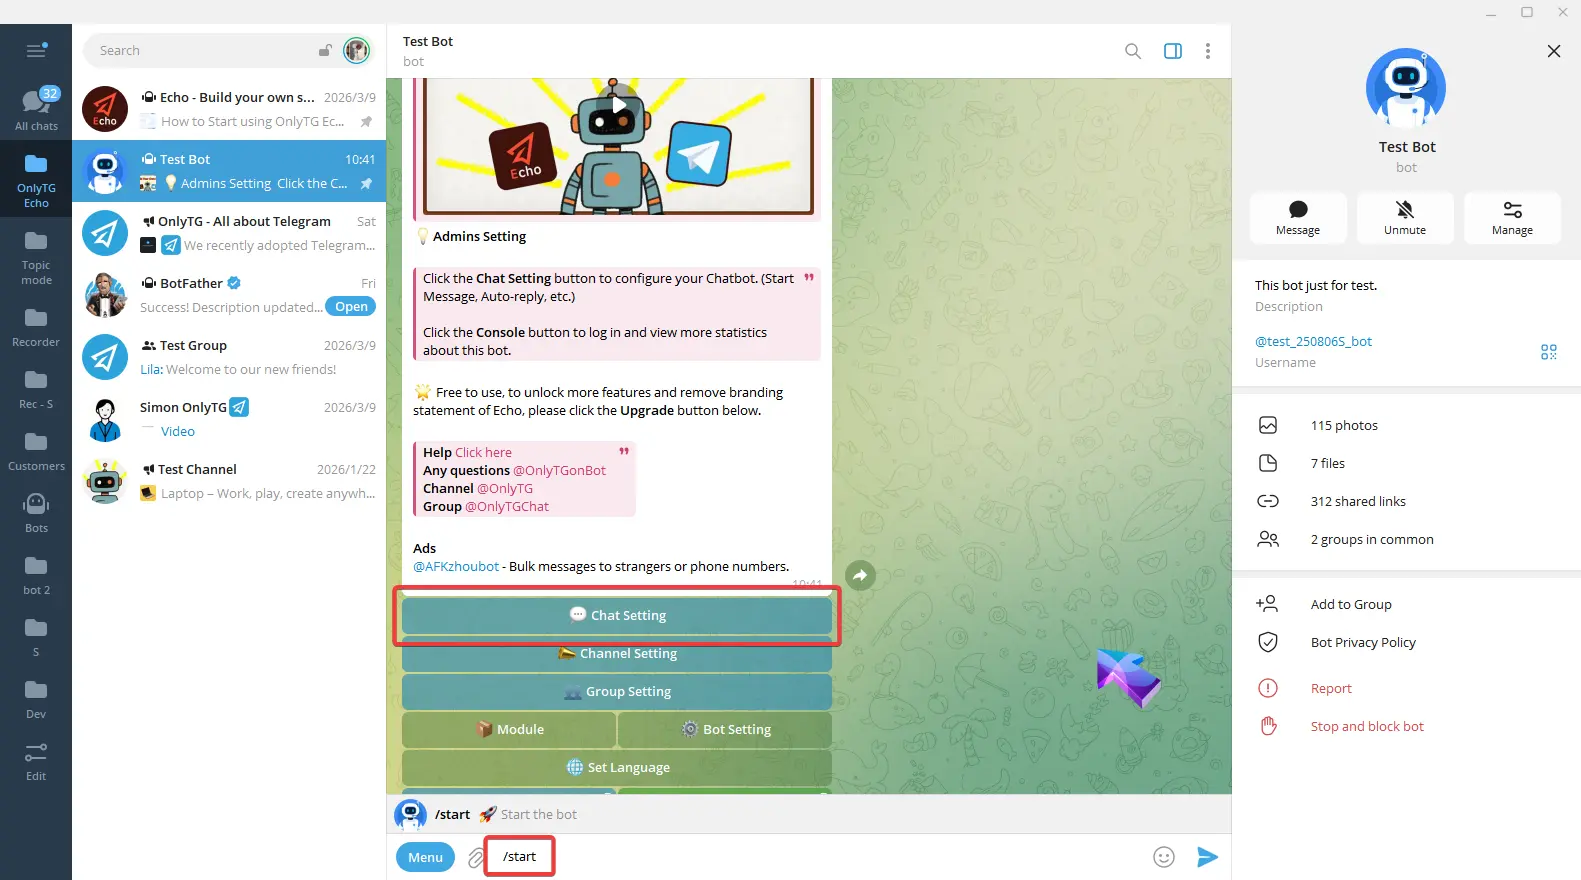
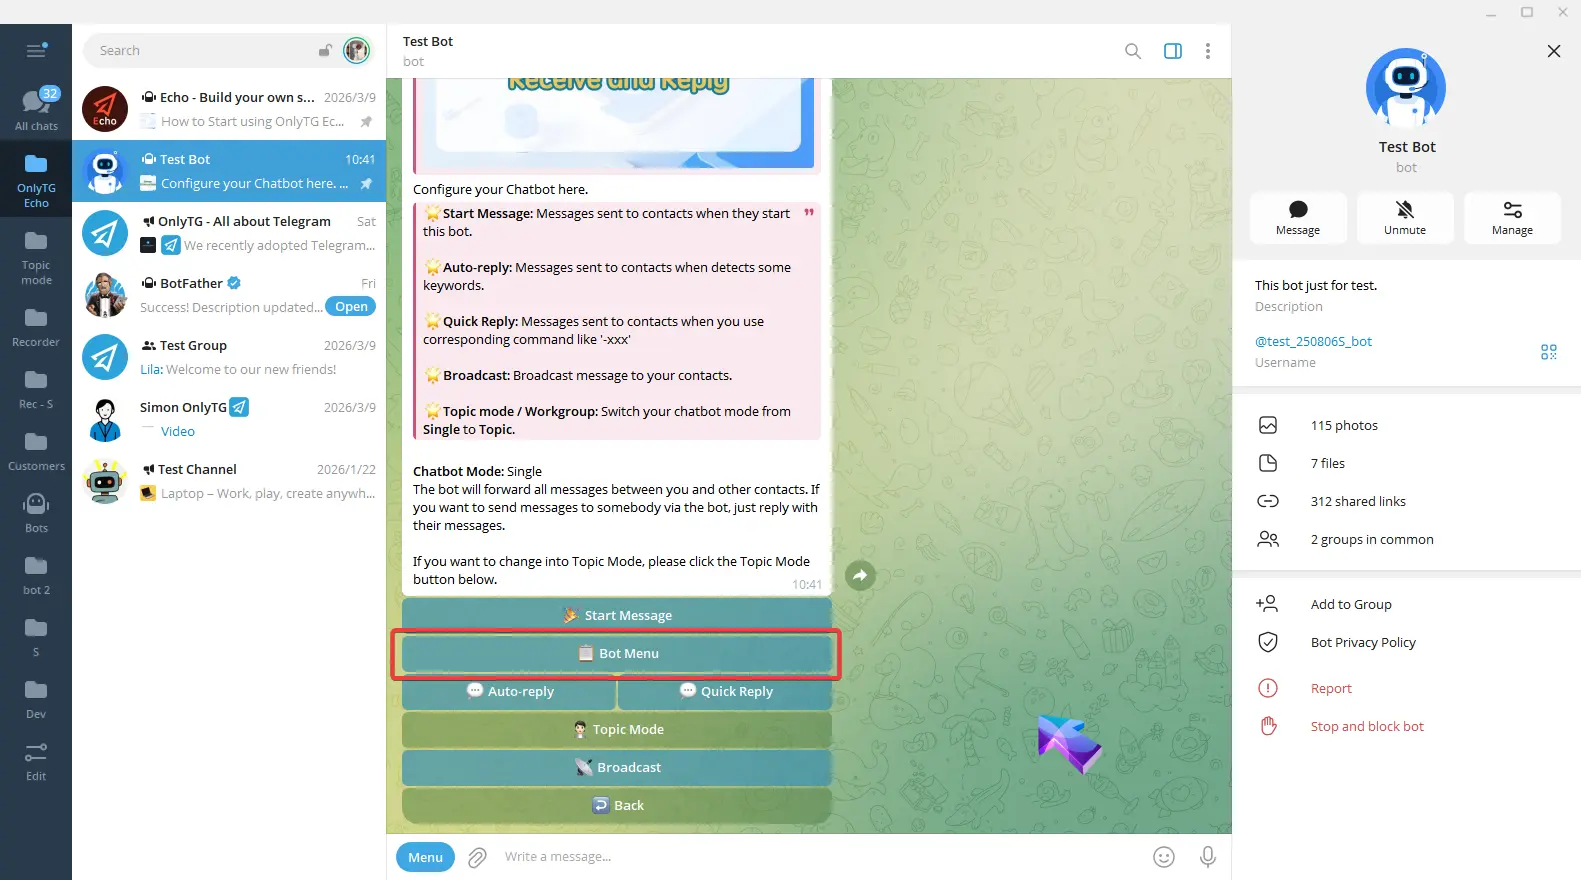
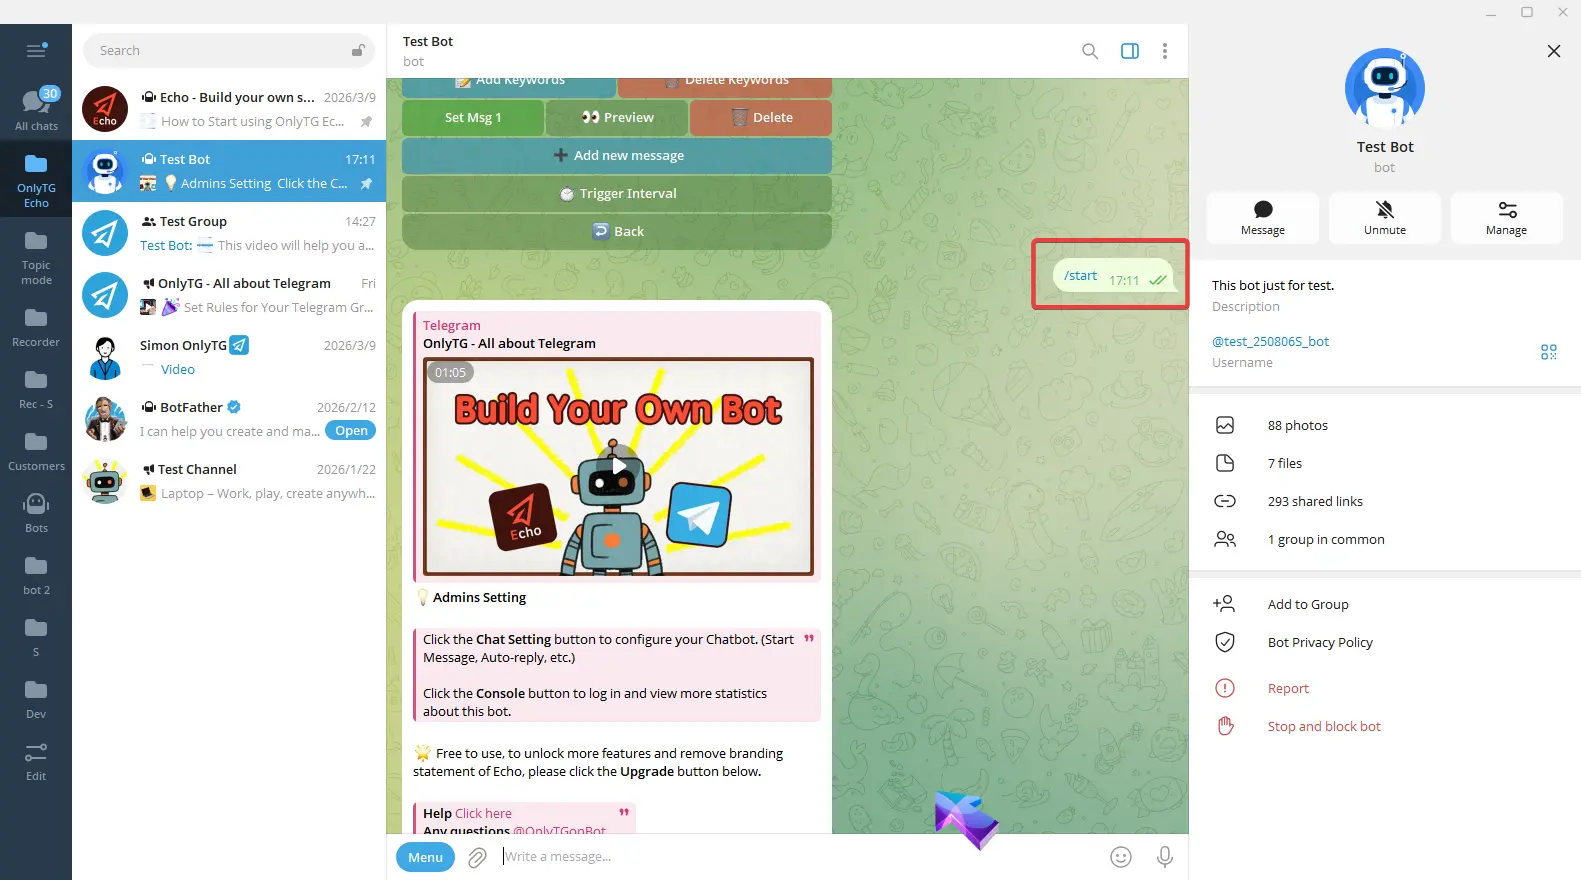
Send /start command to your Bot, select Chat Setting.
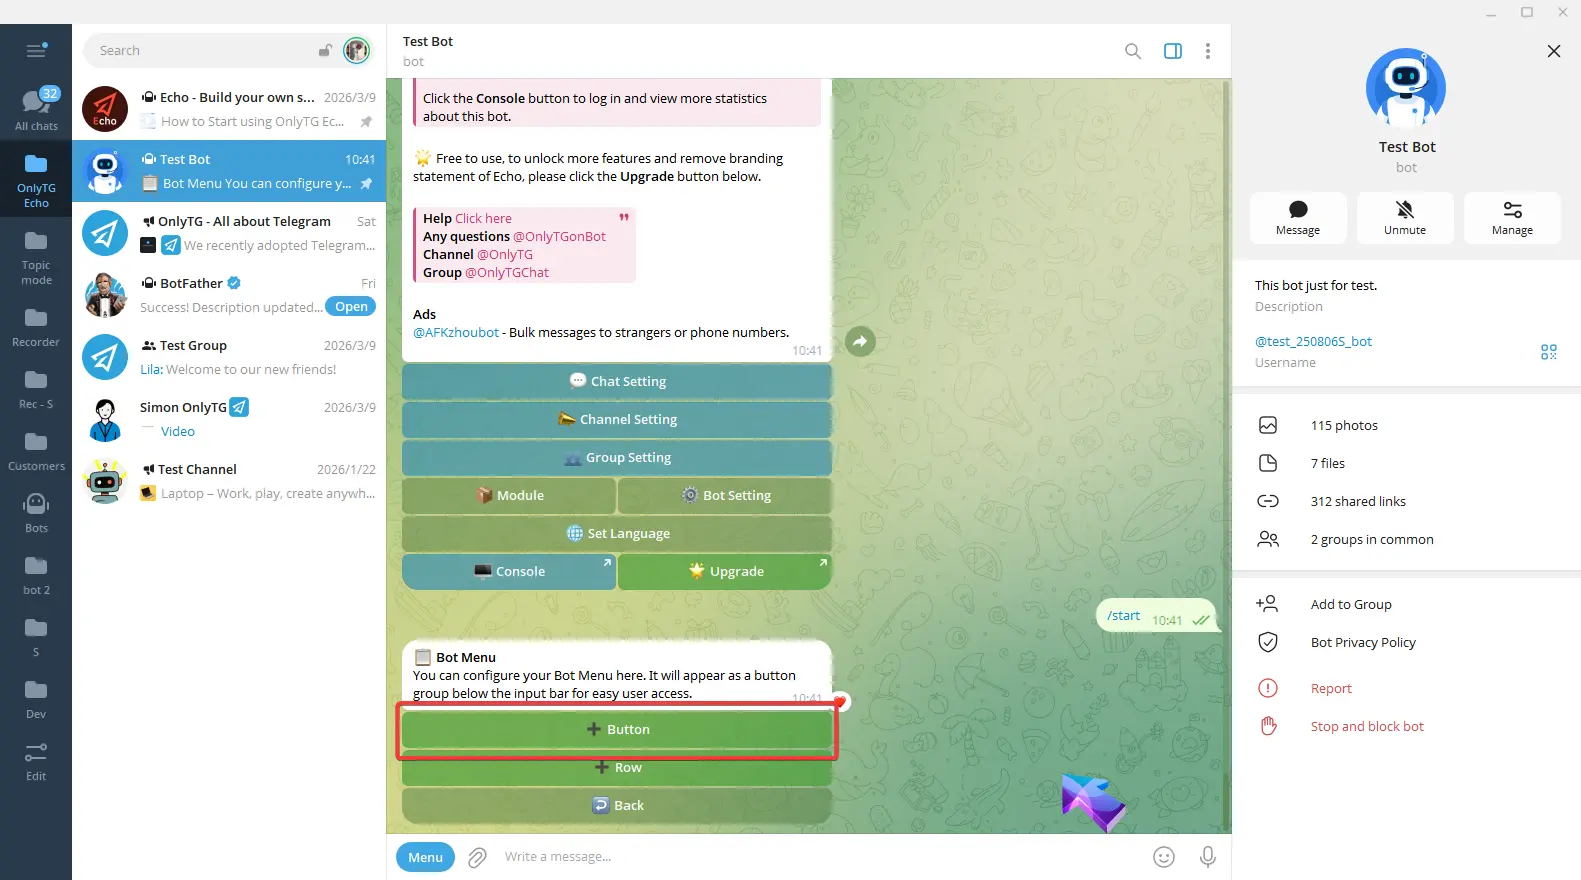
Click +Button.
Reply with the button name.
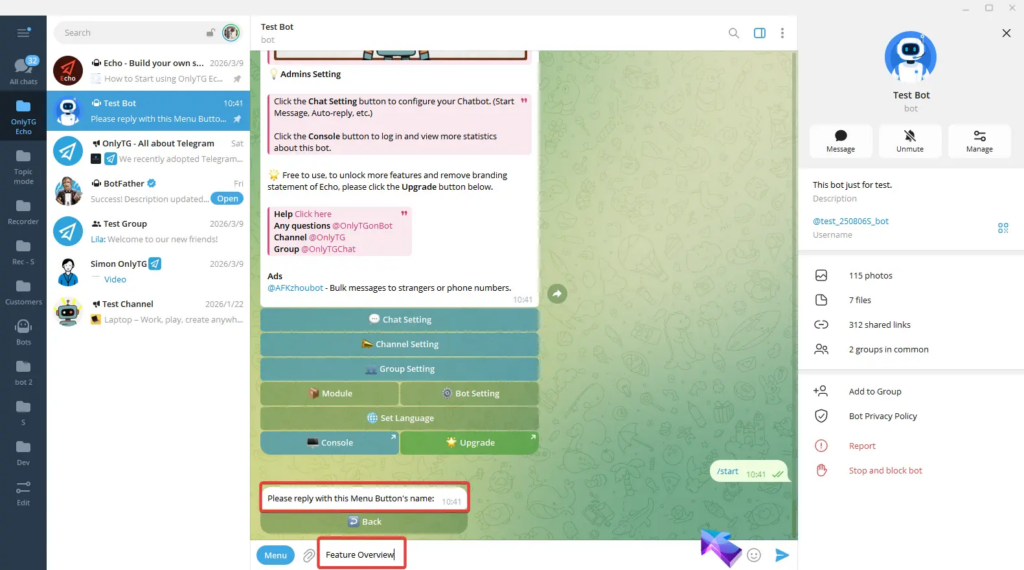
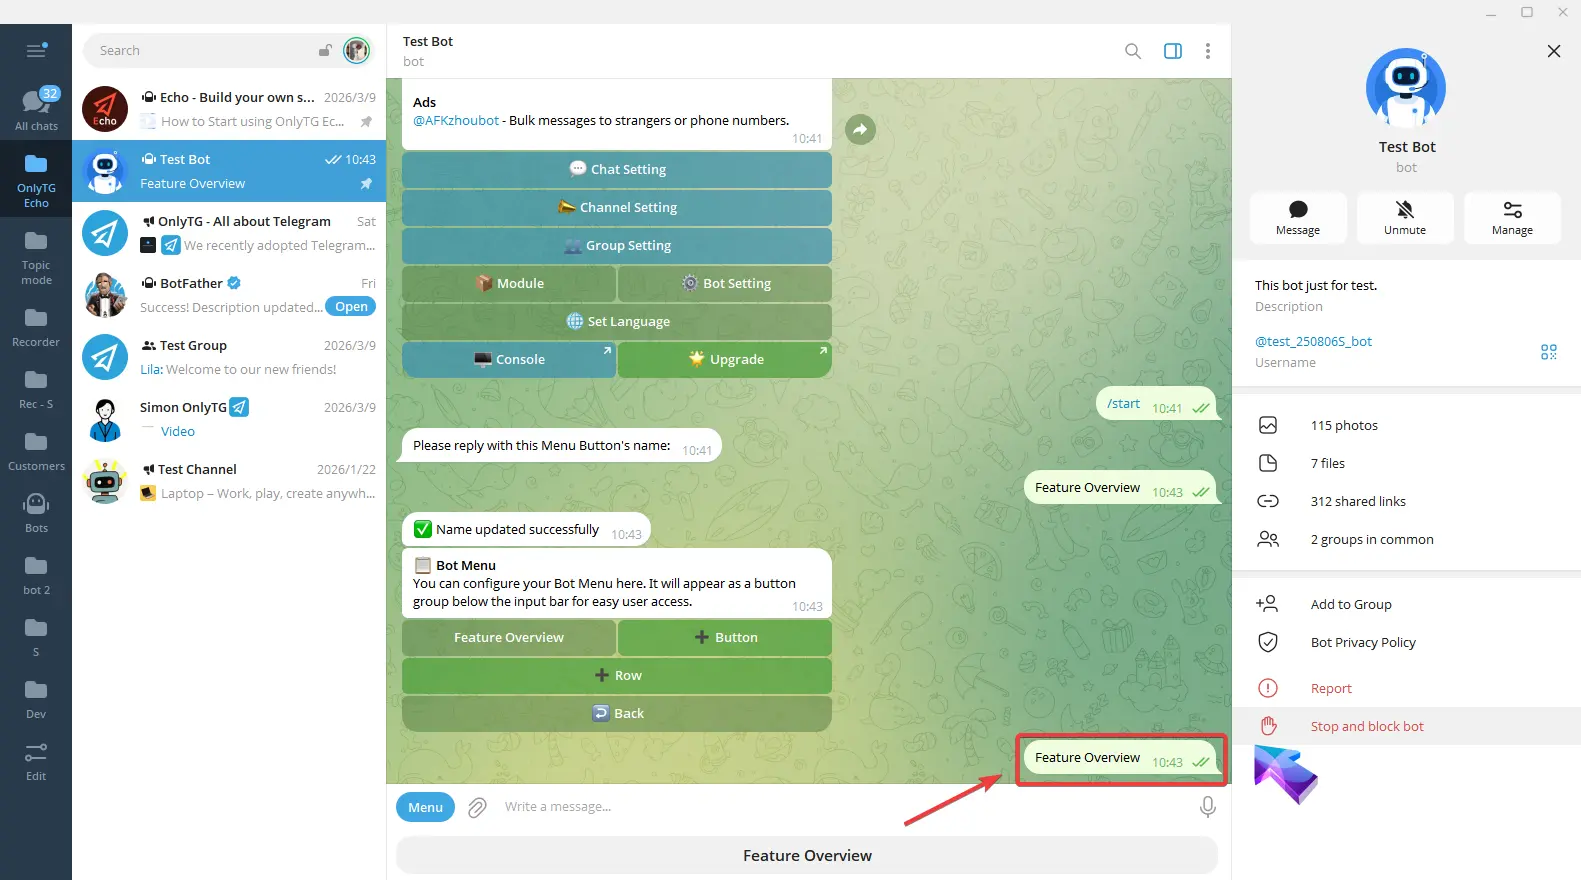
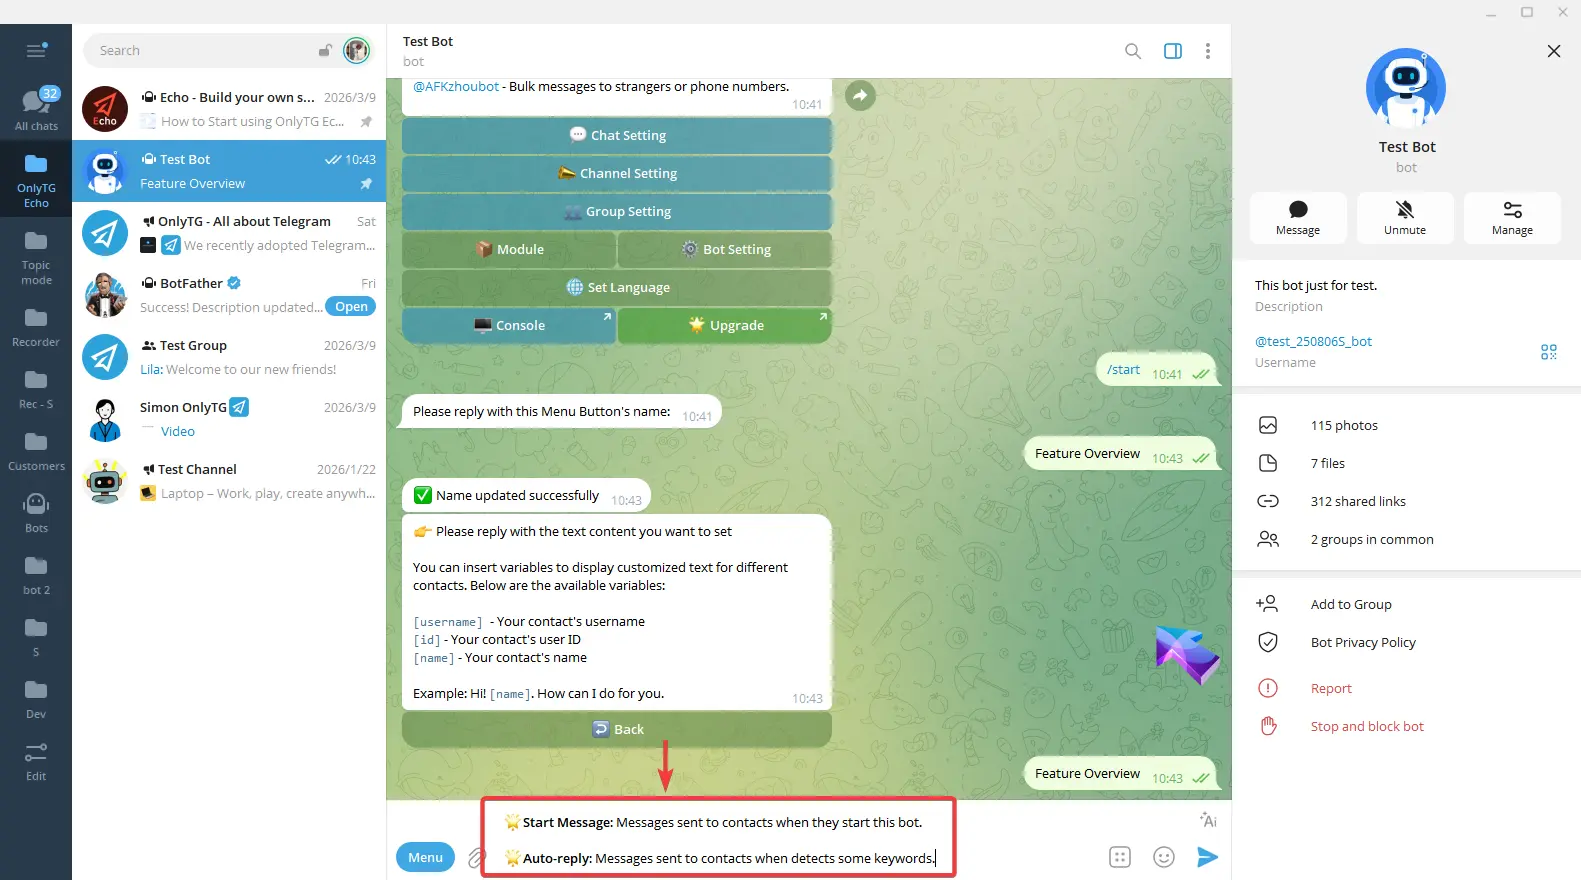
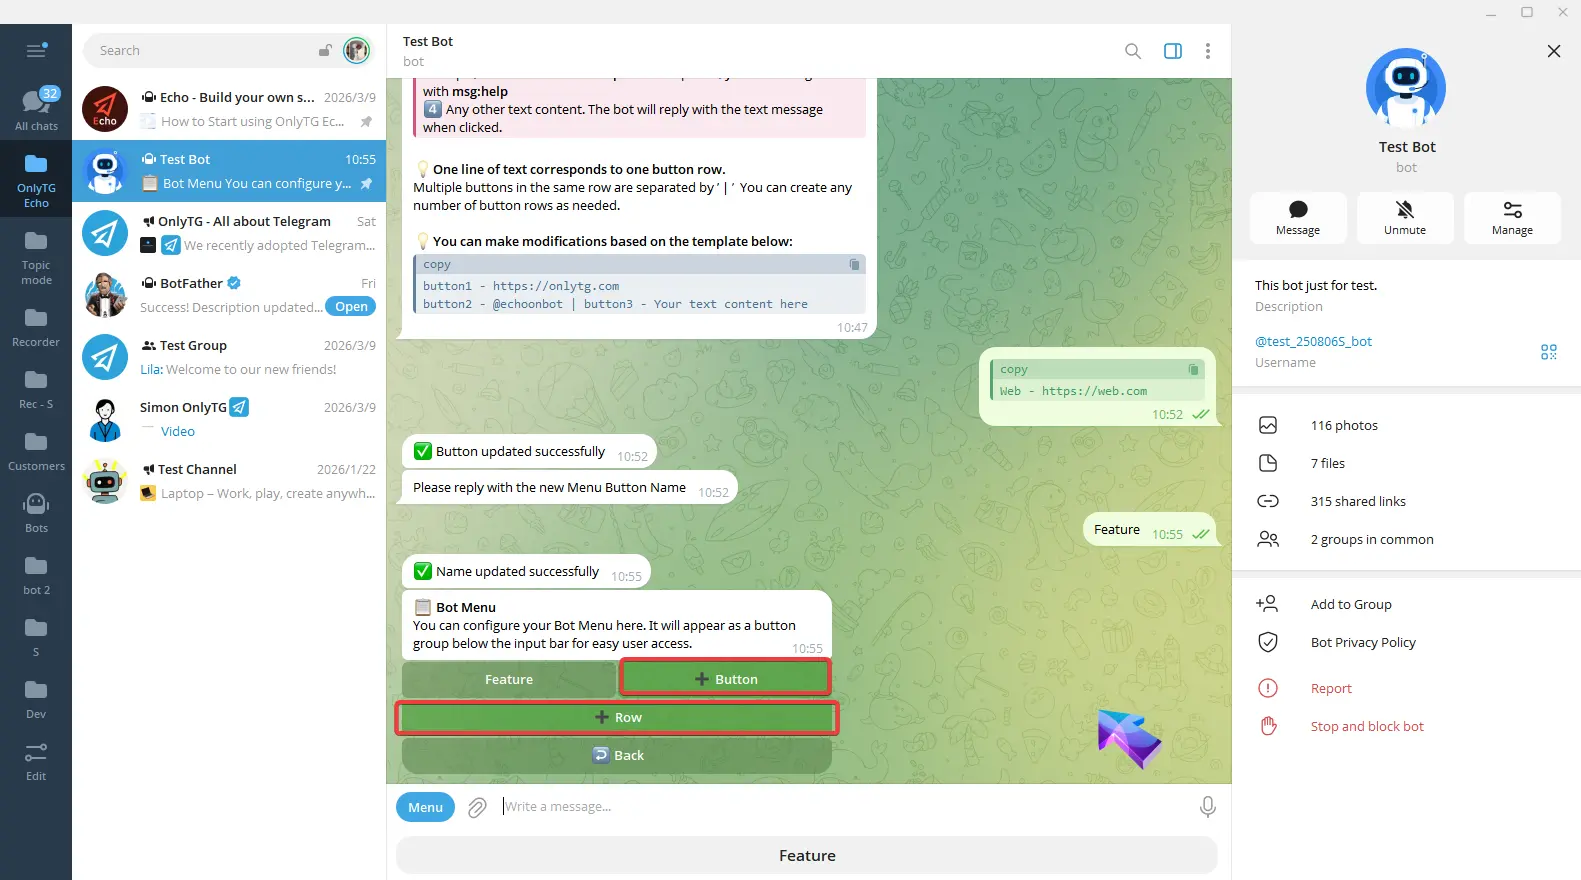
Now you will see the button appear both in the Bot Menu section and below the input field.
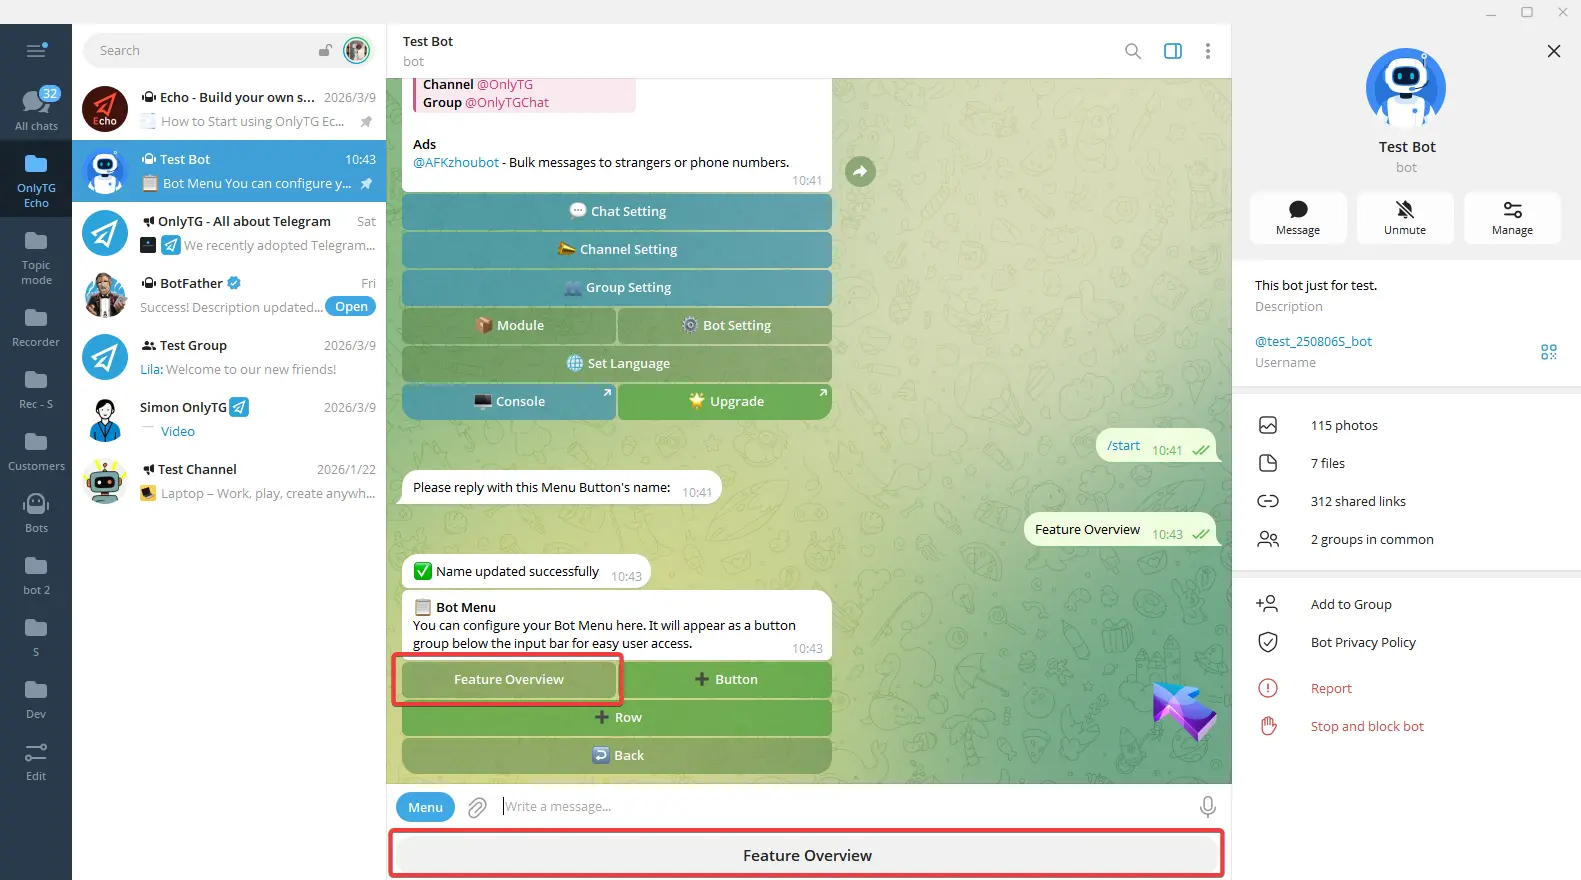
However, the button below the input field has no actual function yet — when users click it, it only automatically sends the button name.
We need to configure the corresponding React message for this button.
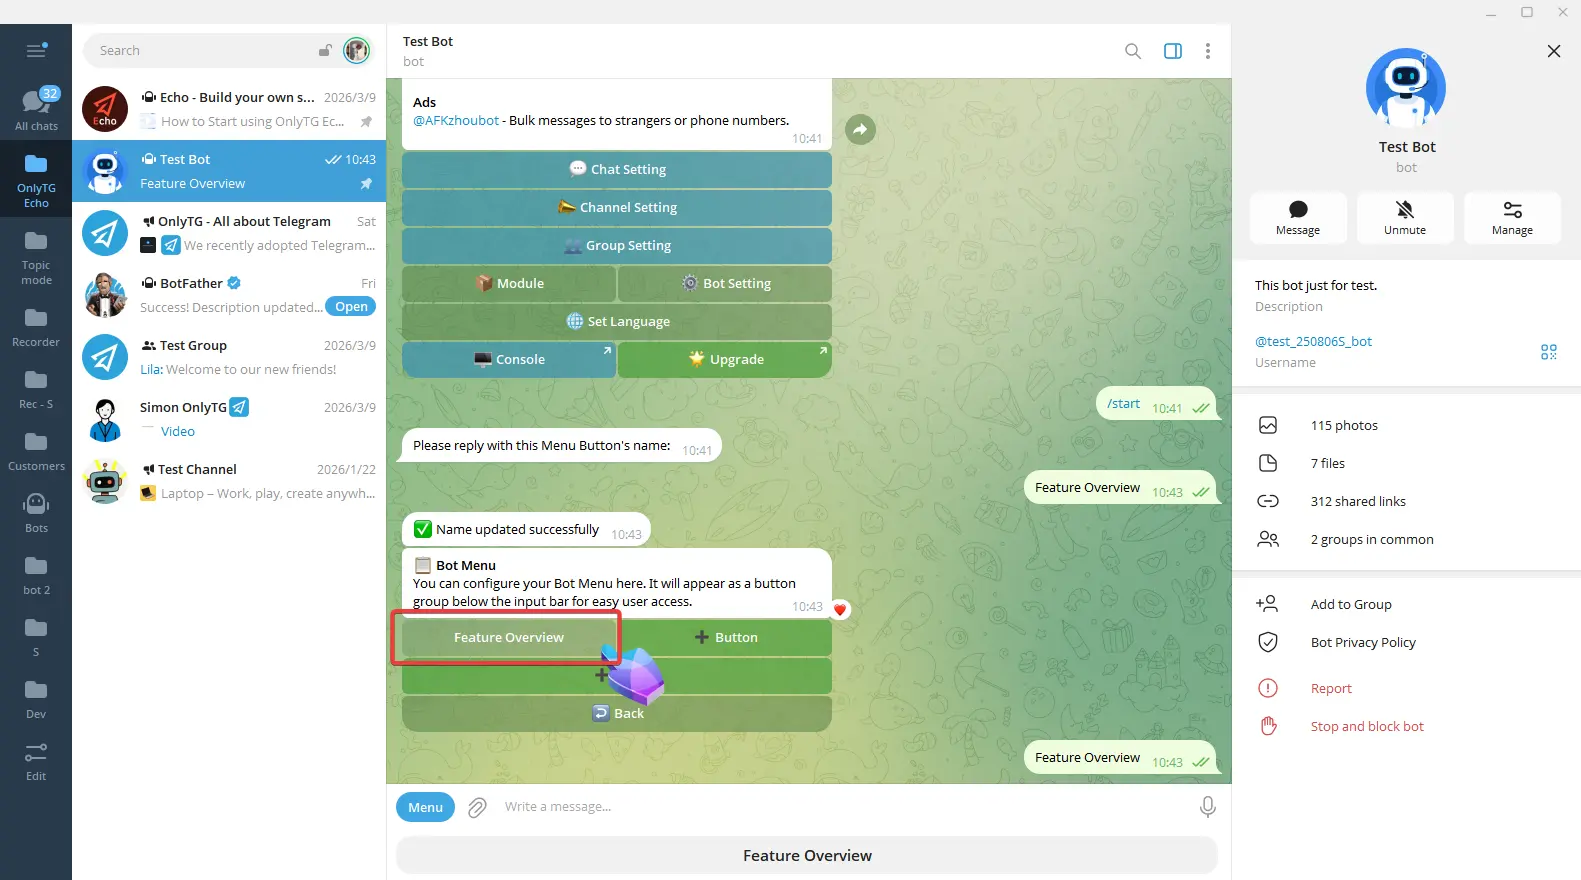
step 2
Click the button you have added in the Bot Menu section, then click Add New Message.
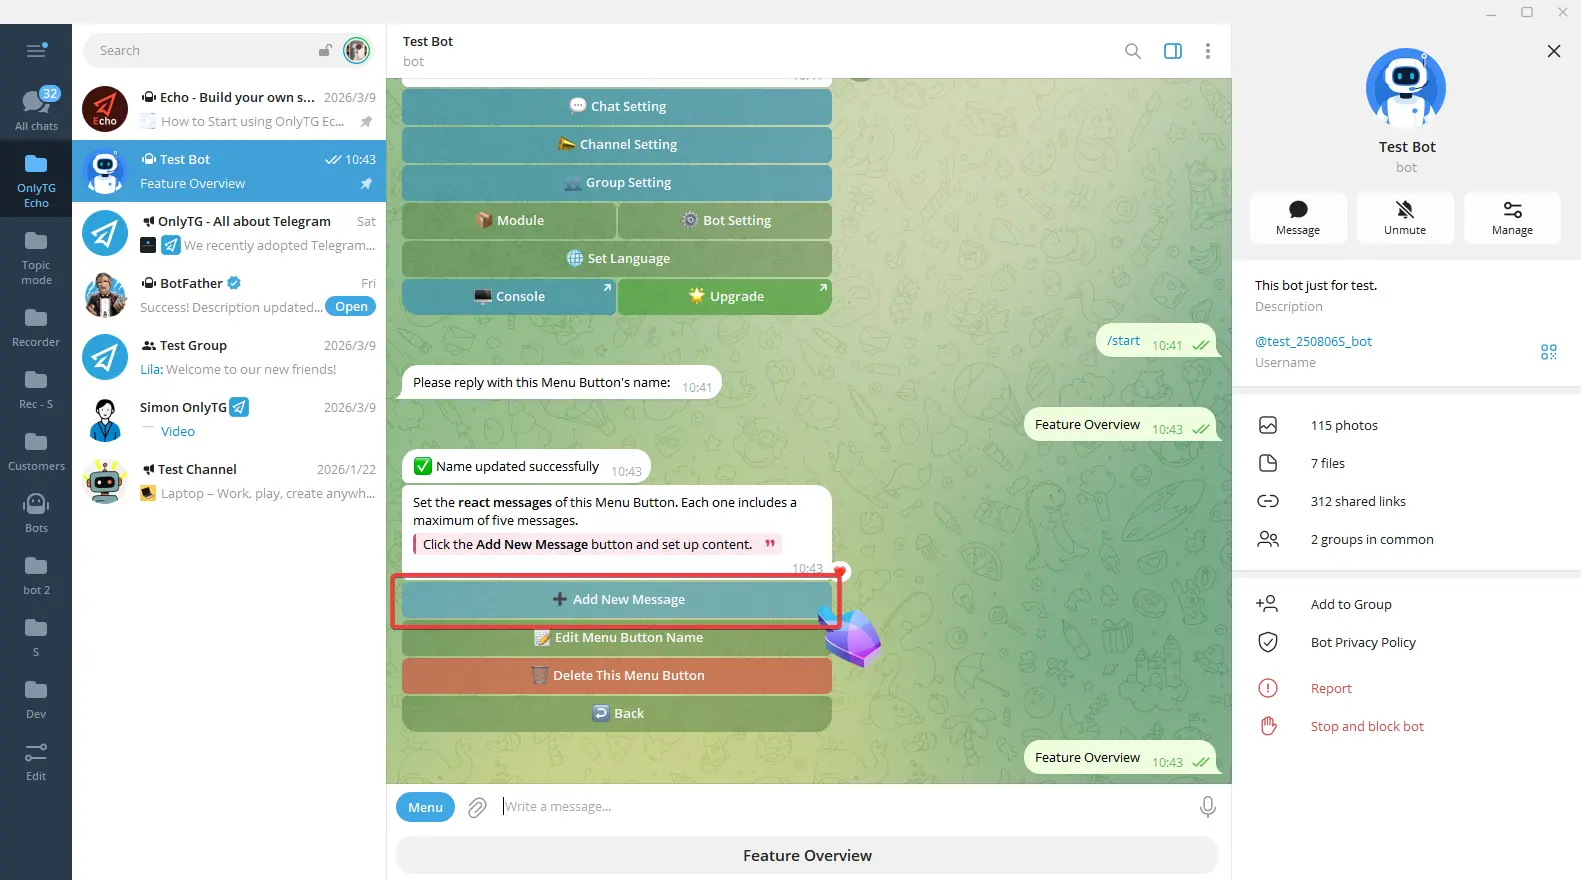
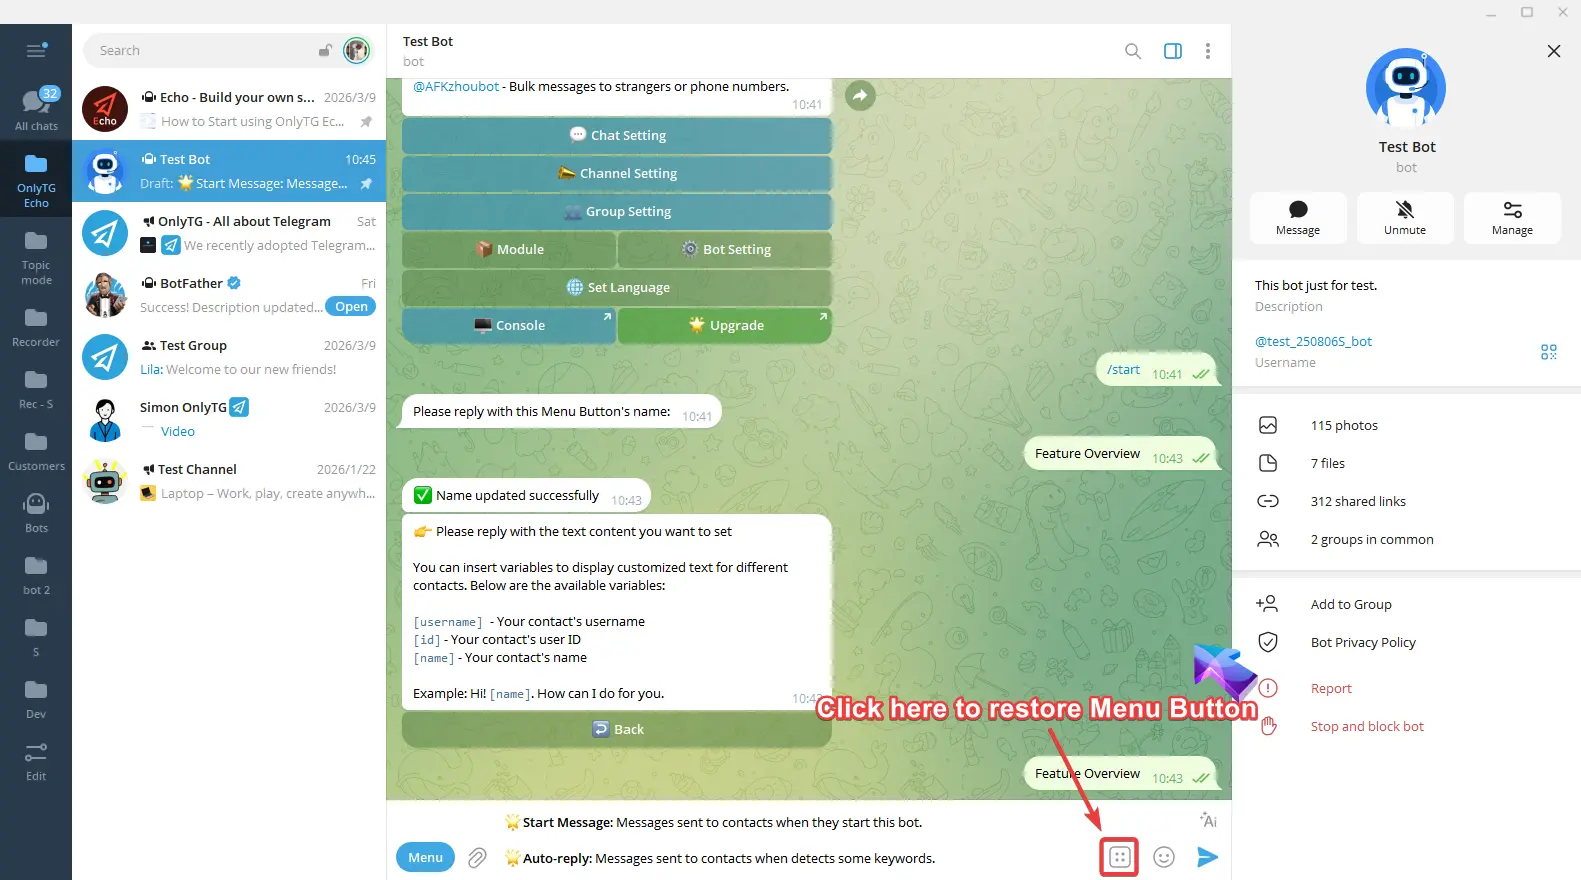
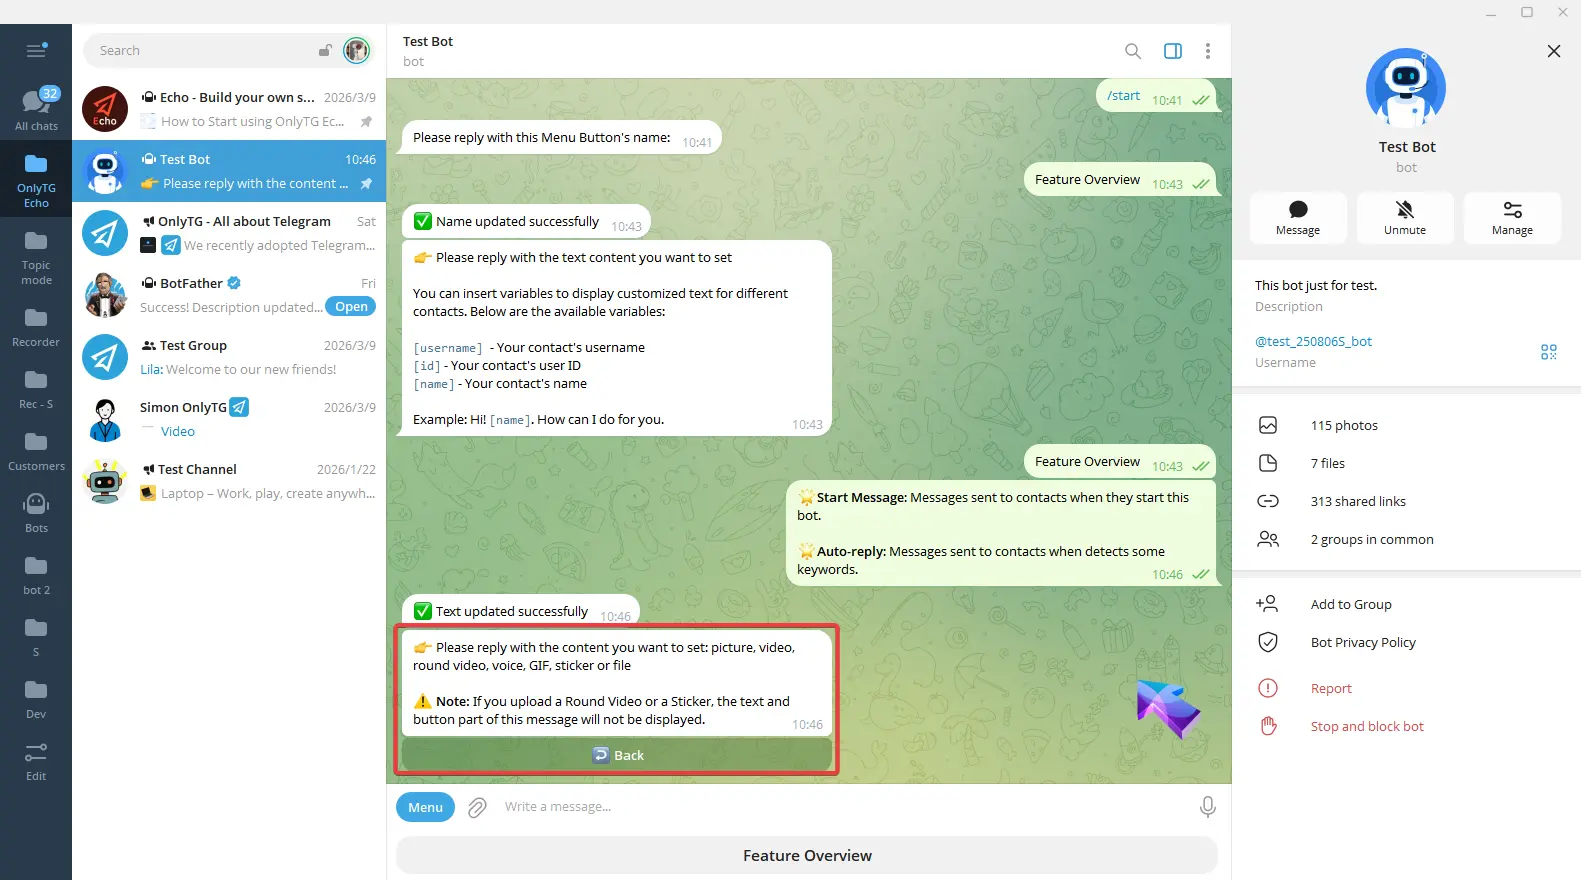
After clicking, you can directly enter the Text content.
Please note that the menu buttons will be hidden when typing in the input box. Simply click the button on the right to restore them.
Send the text, a success message will pop up. and a checkmark next to the Text button means the setup is complete.
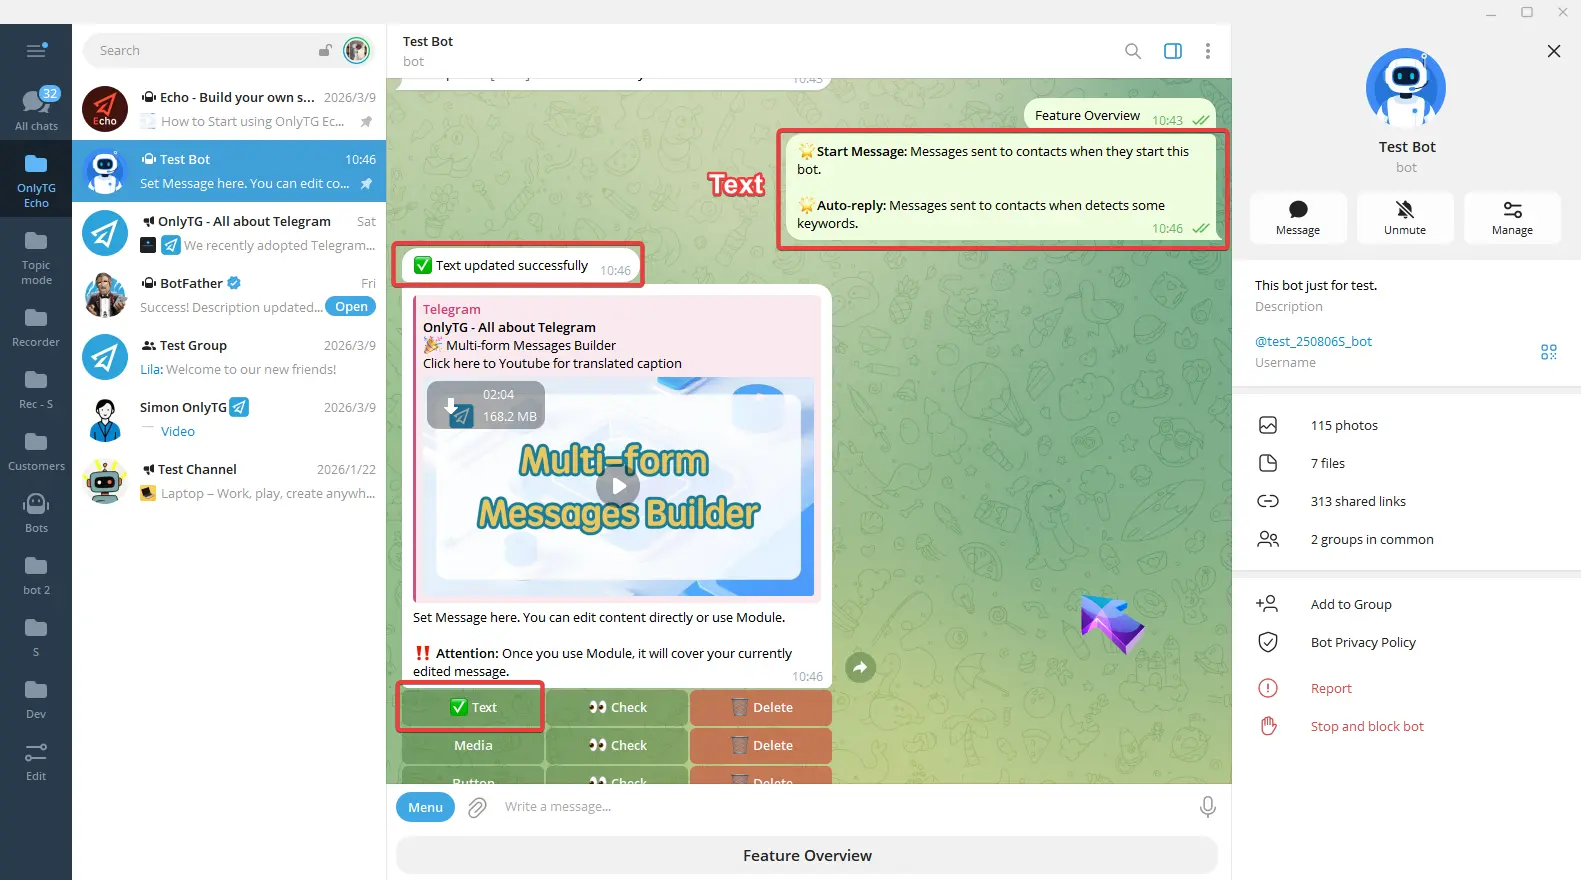
Then configure Media and Button content for the react message.
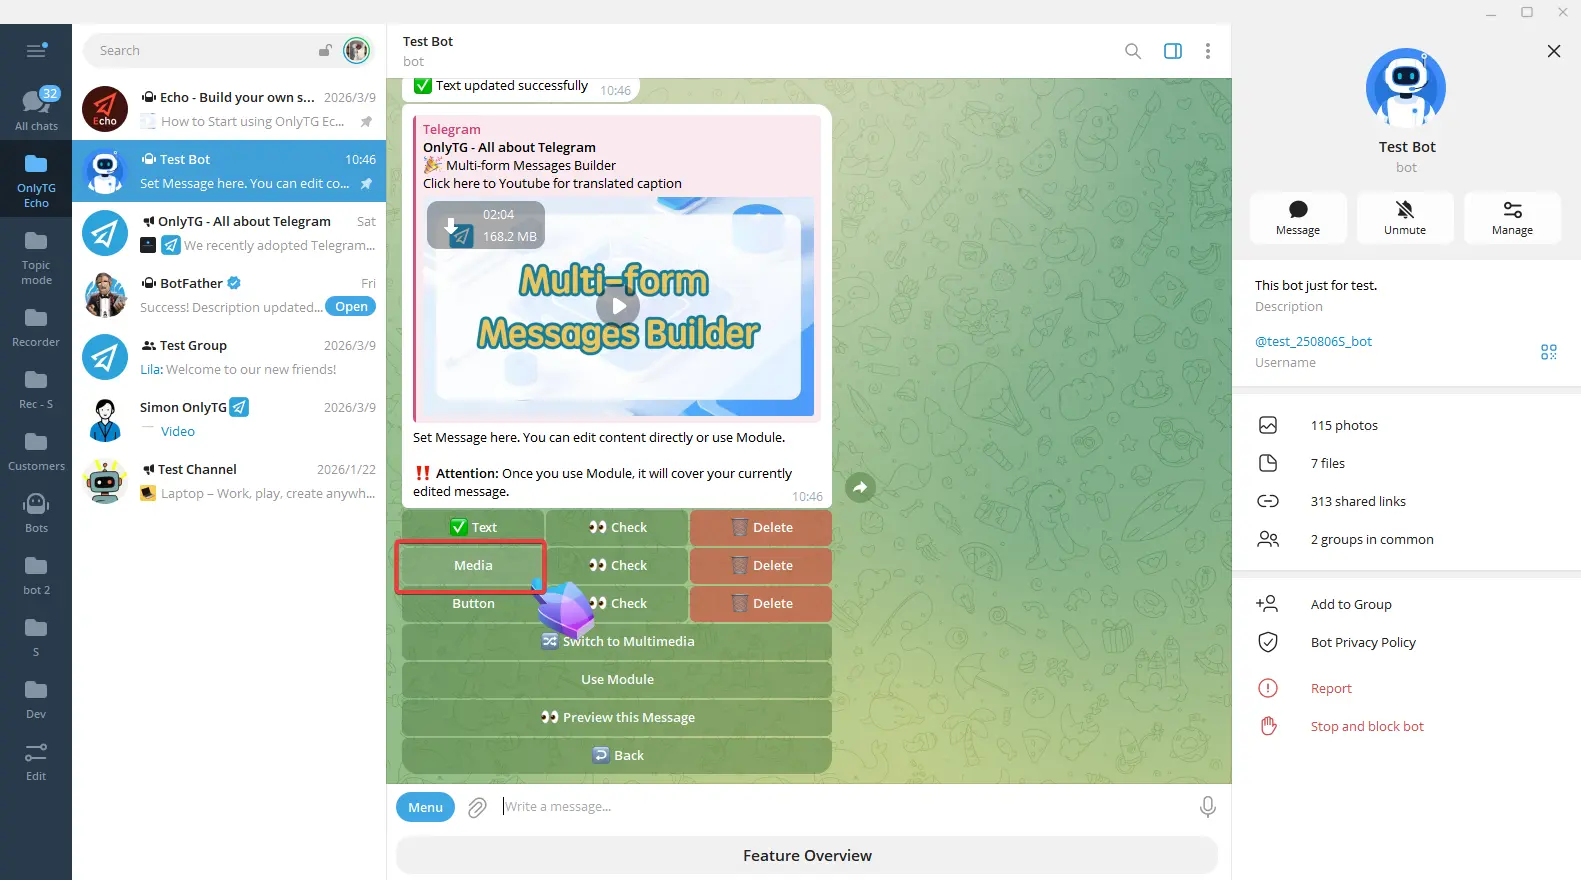
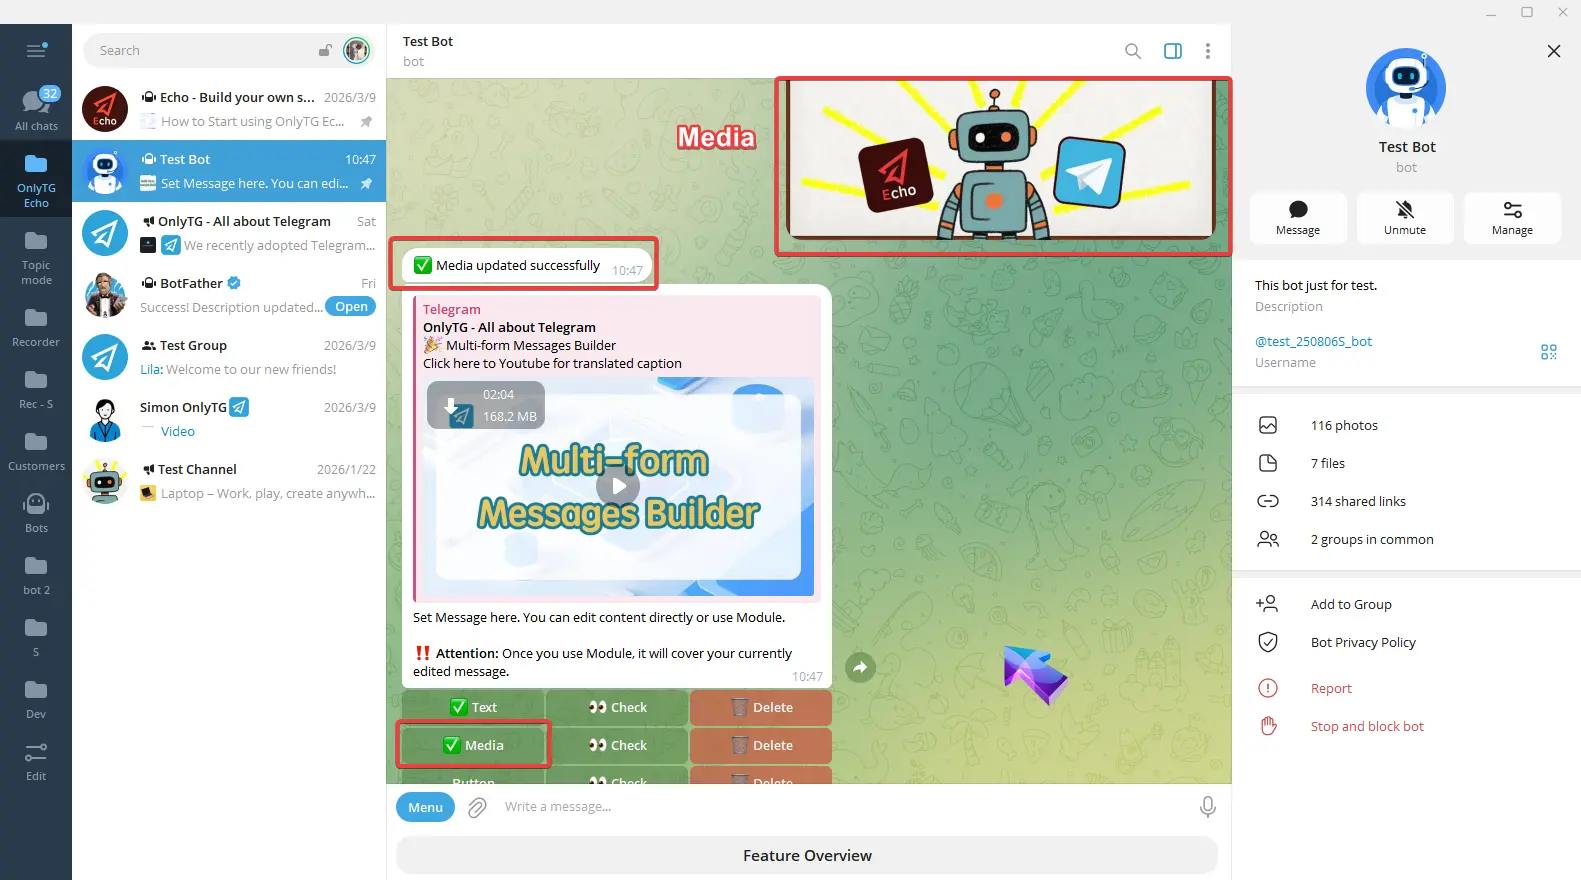
Click Media, and you can reply a picture, video, round video, voice, GIF, sticker or file.
Please note that if you upload a Round Video or a Sticker, the text and button parts of this message will not be displayed.
Once the update success message pops up, and a checkmark next to the Media button means the setup is complete.
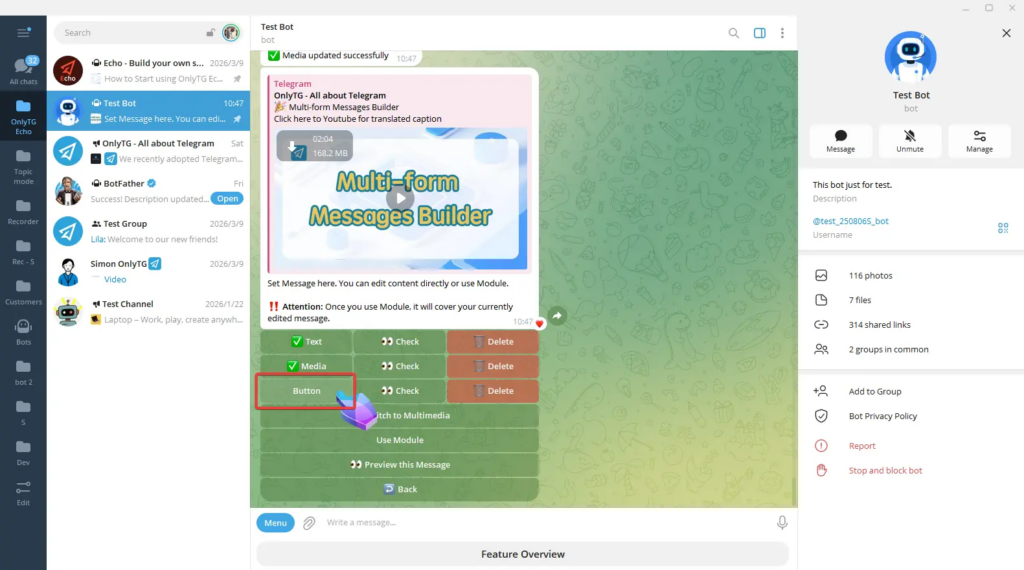
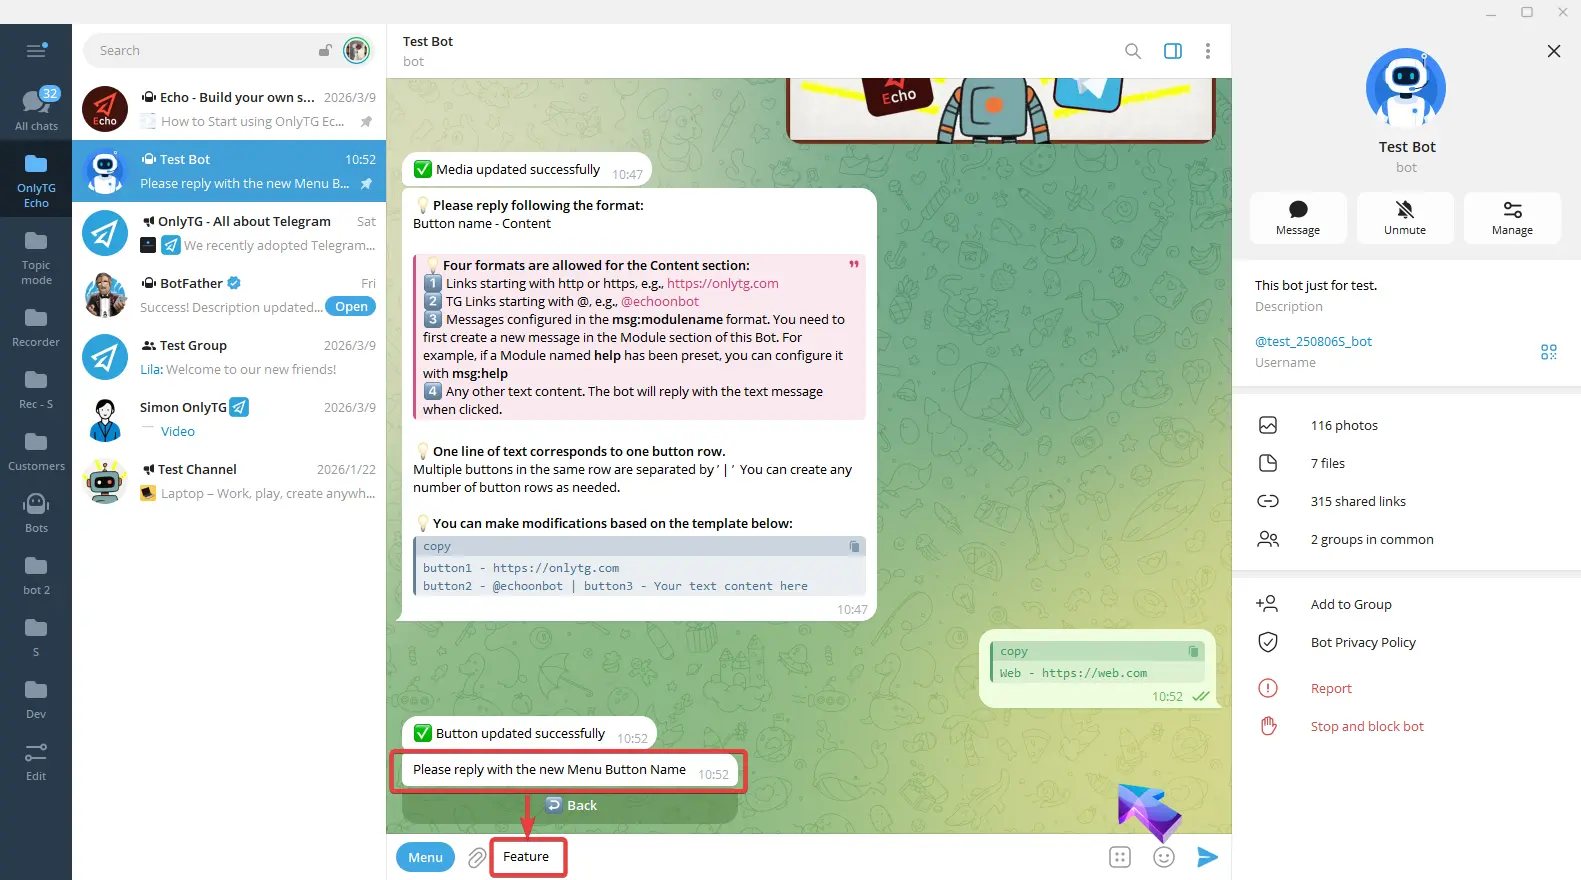
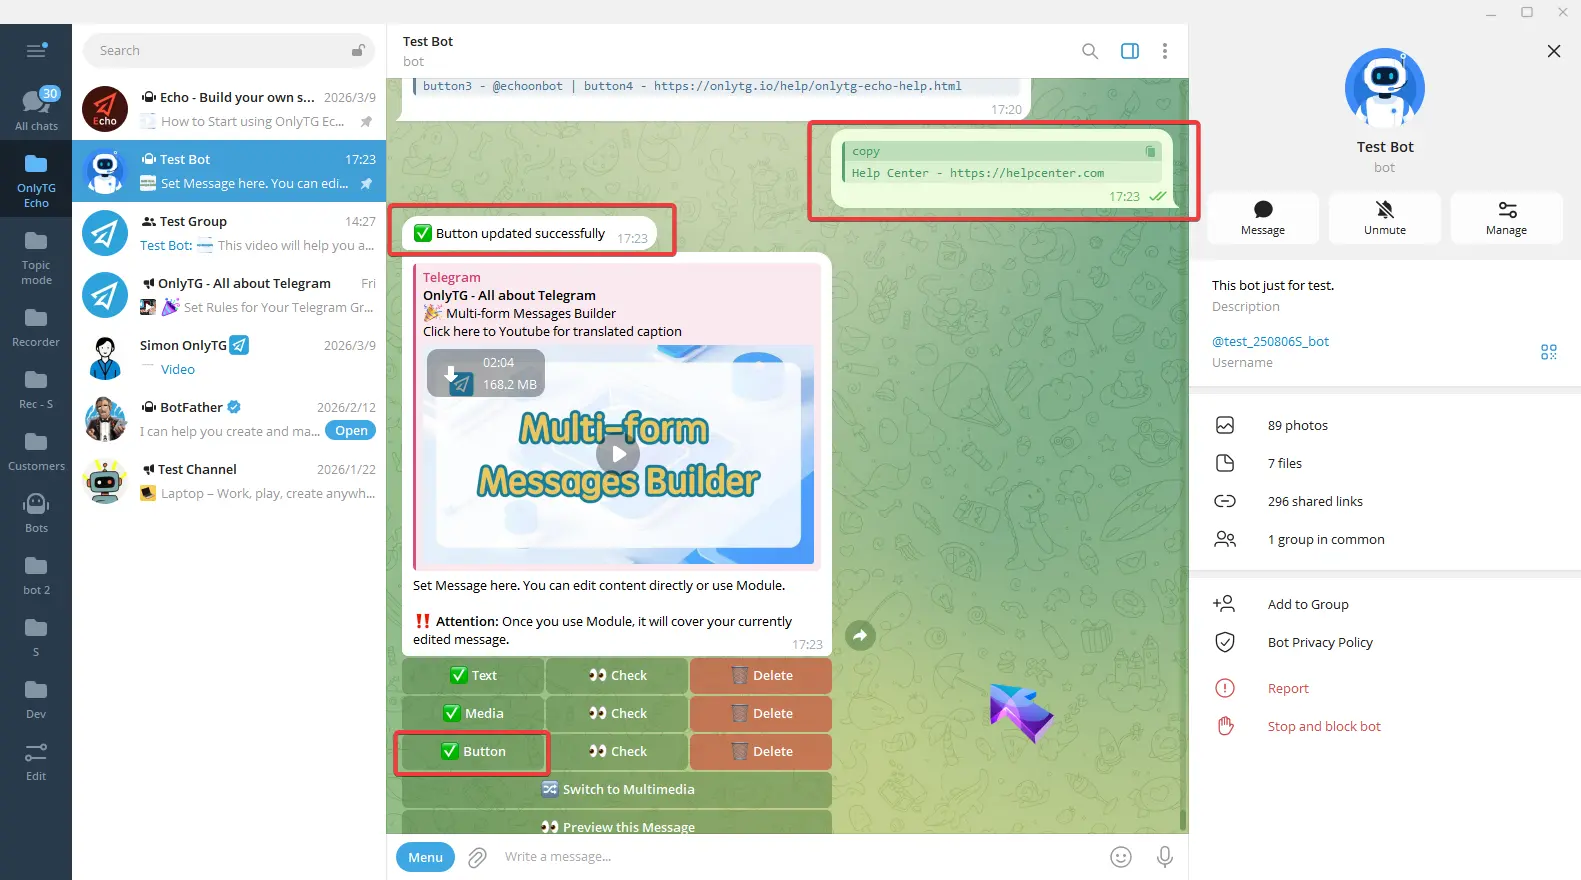
Click Button, Enter the content according to the format in the prompt.
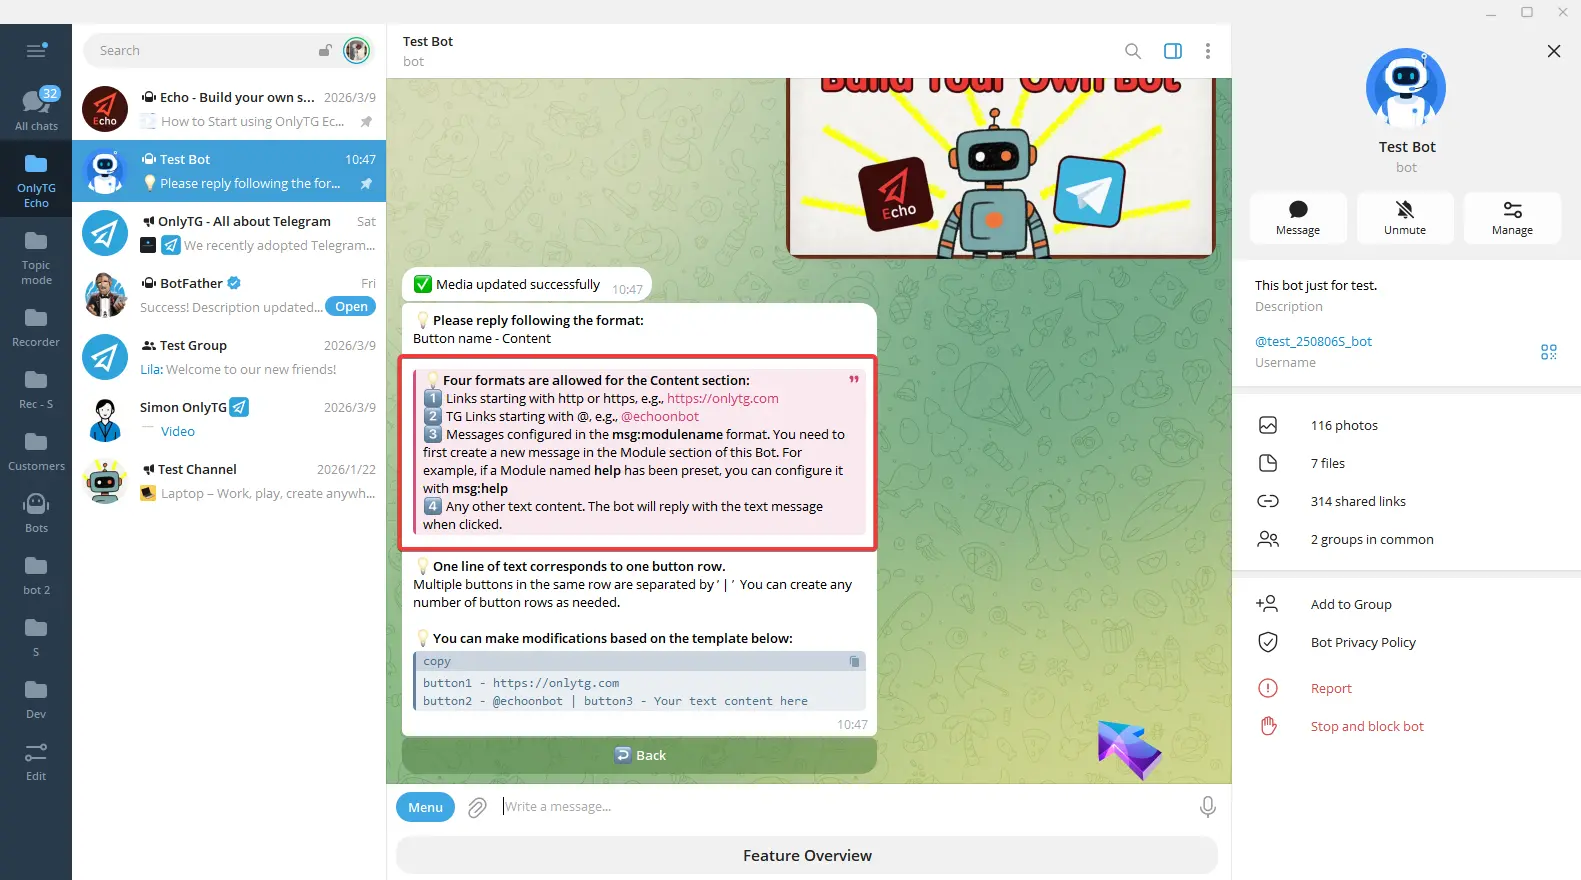
You can also copy the example to the input box and edit it.
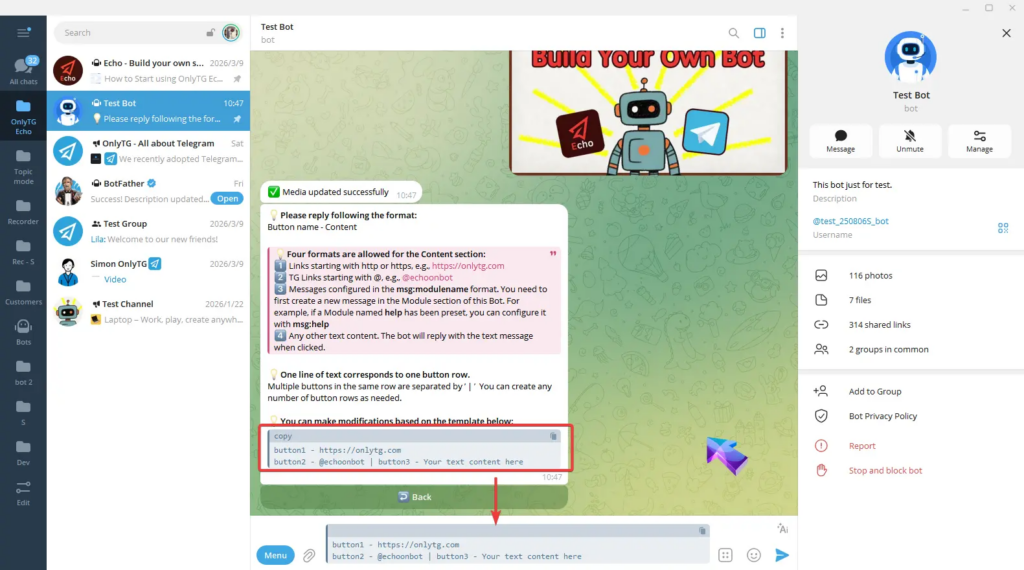
For example, if I want only one button, I will keep just one line, change button1 to my preferred button name, and replace the link with my own.

Finish editing and send. Once the update success message pops up, and a checkmark next to the Button means the setup is complete.
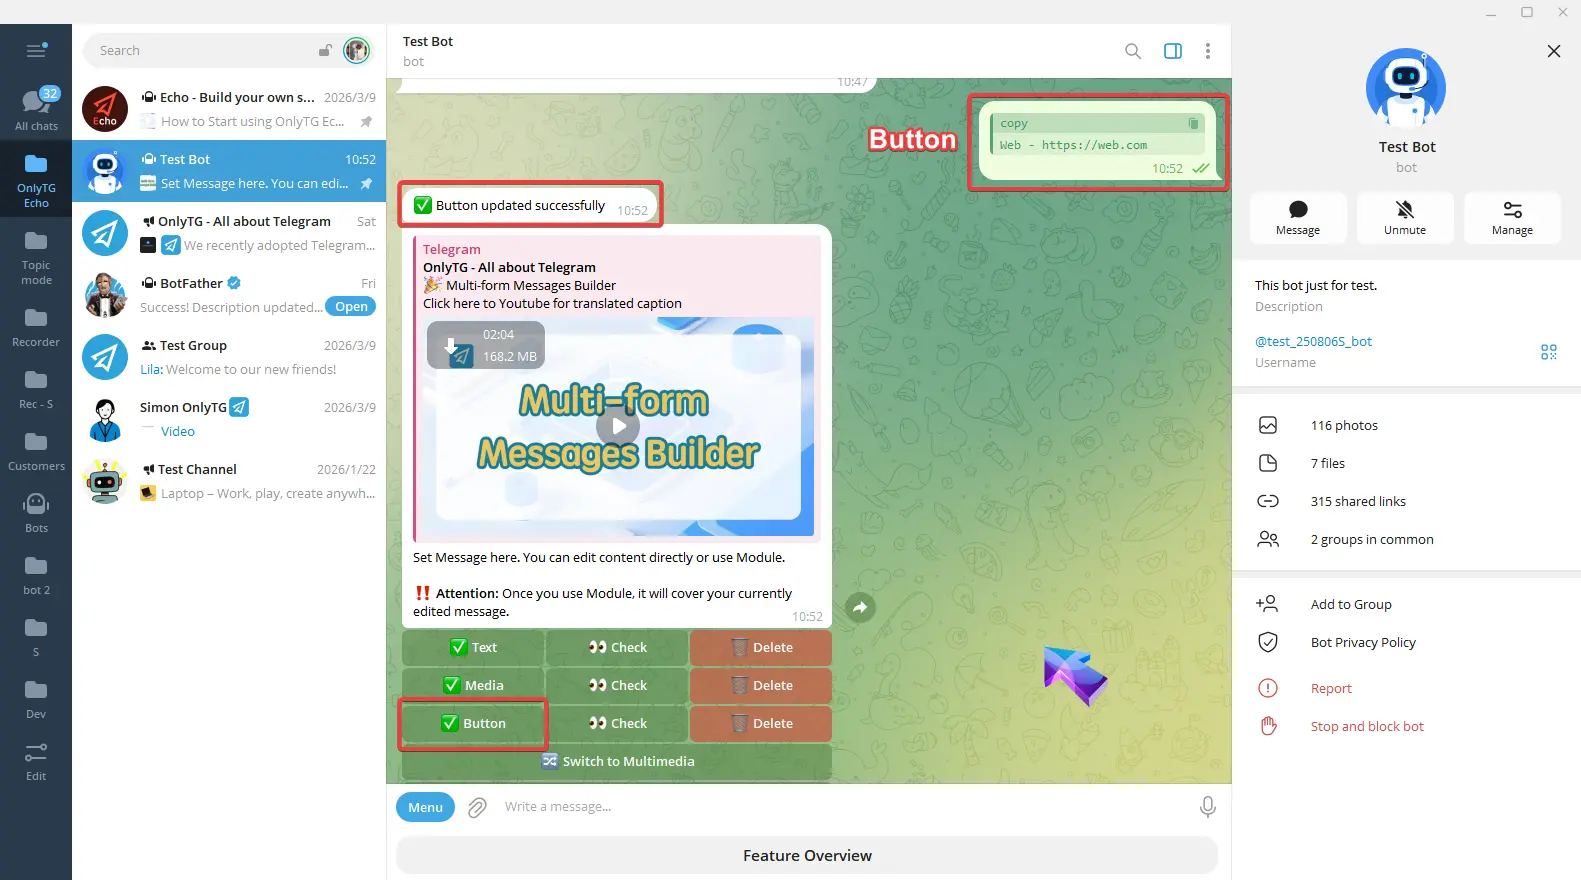
This react message content is now fully configured.
step 3
Switch to Multimedia: Convert the post to a mode which you can configure text and multiple images/videos, but files and buttons are not supported. (Click here to learn how to set multimedia messages)
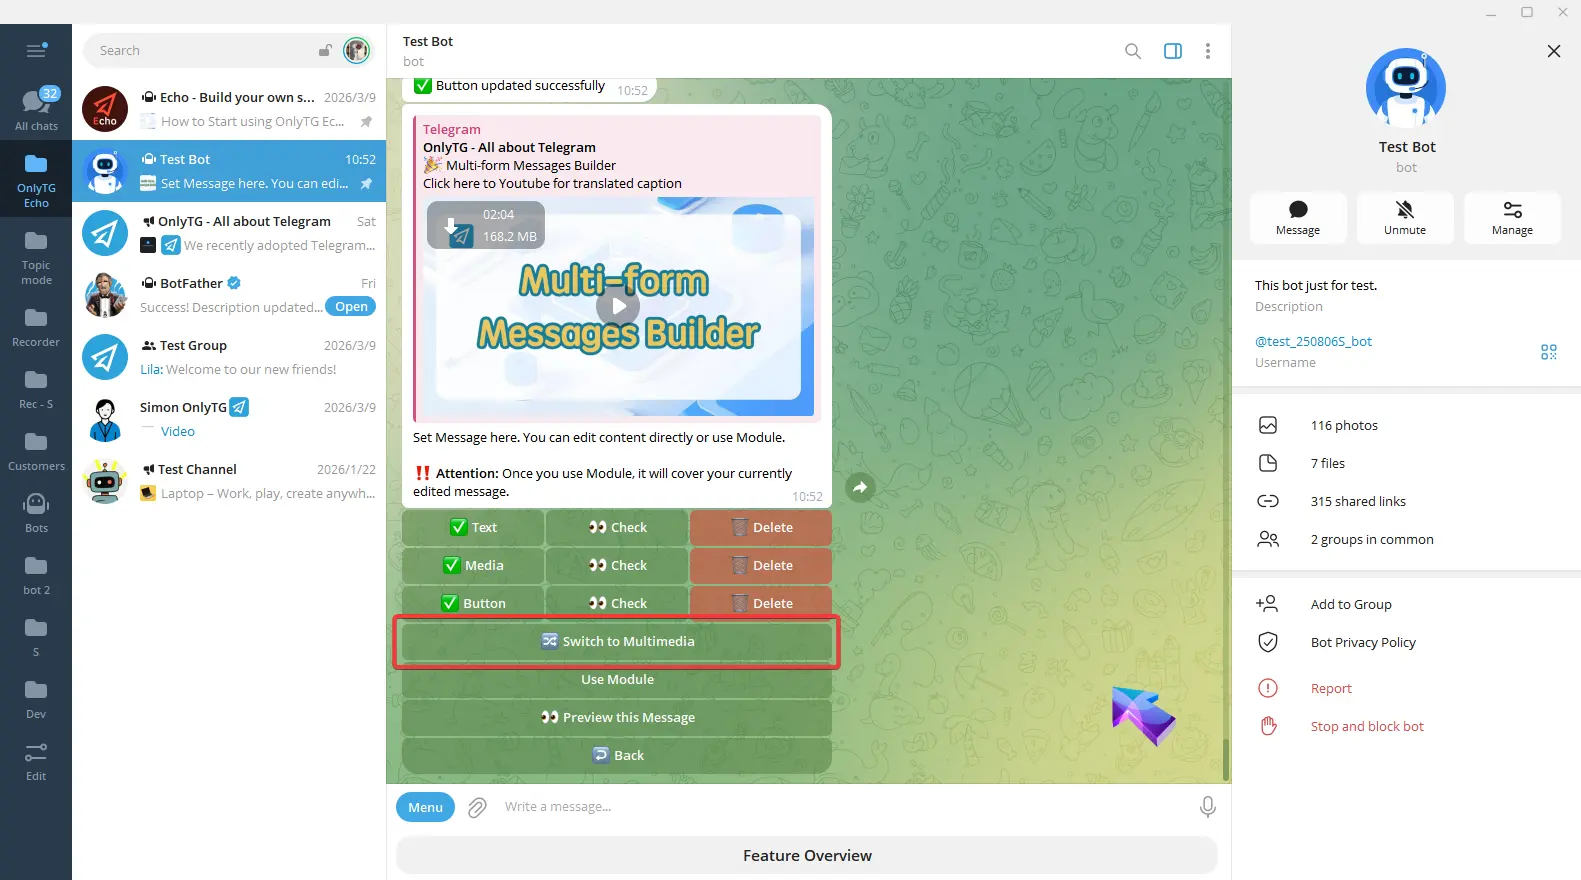
Use the Module: Modules are preset messages, you can use them when setting Start Message, Auto-reply, Quick reply, etc. (Click here to more about Module.)

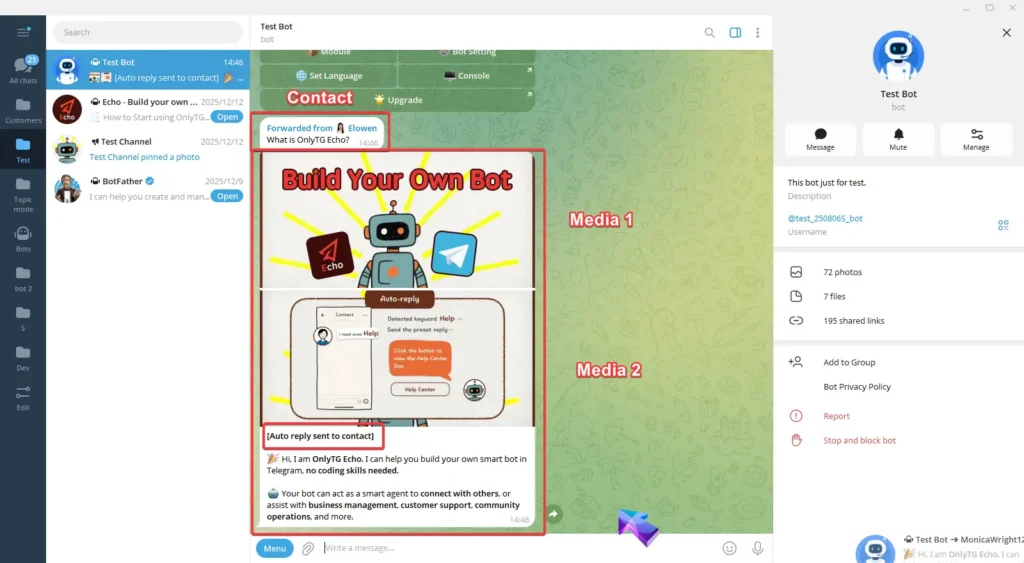
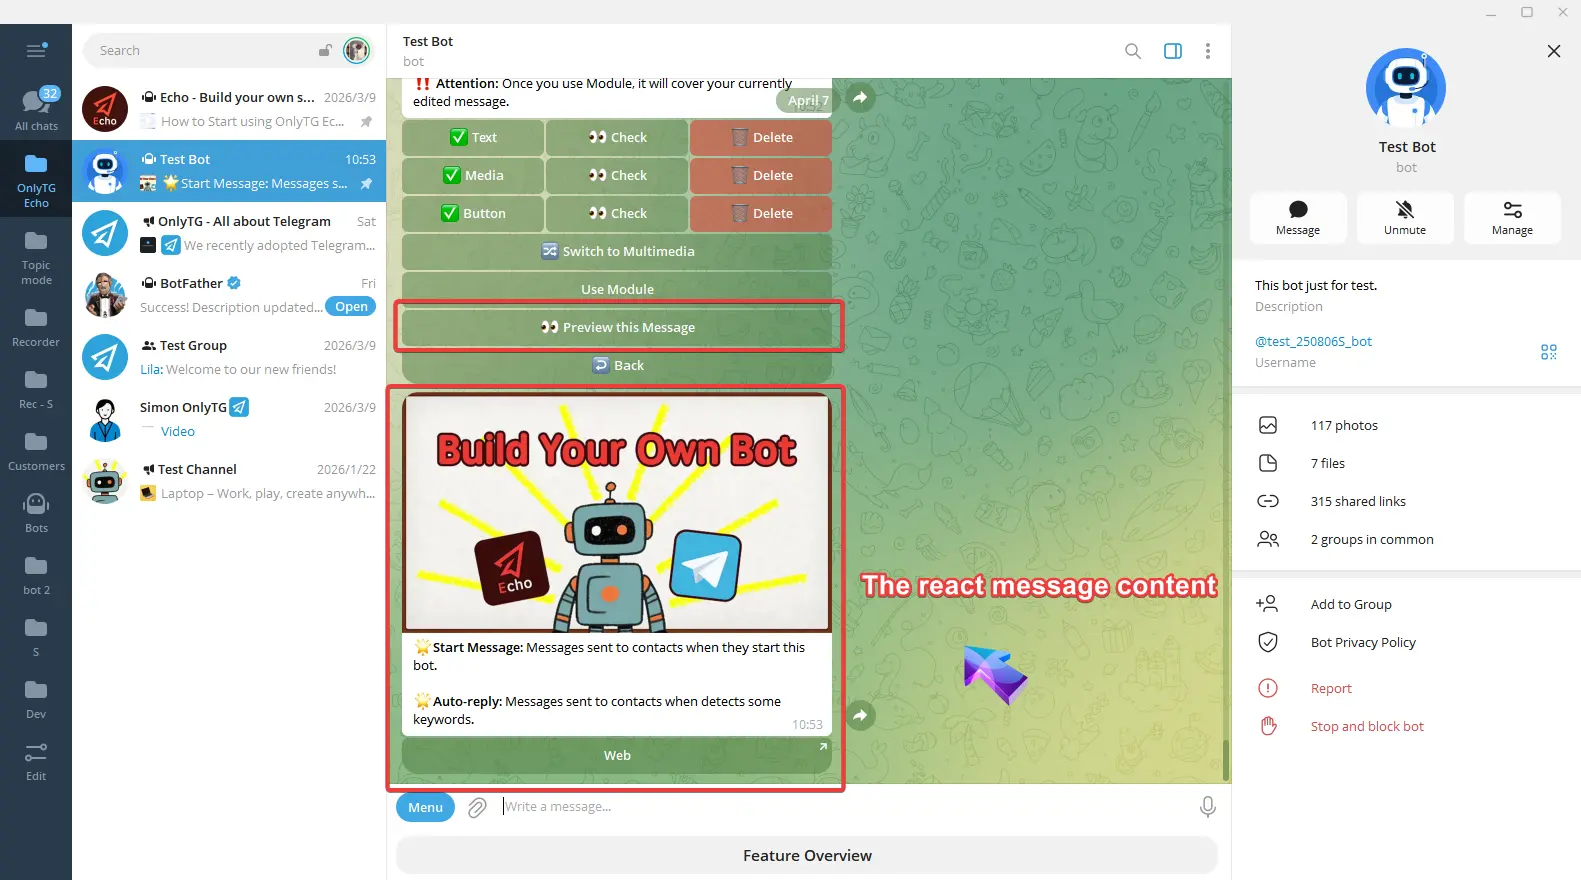
After completing all settings, click the preview this message button to preview the message.
step 4
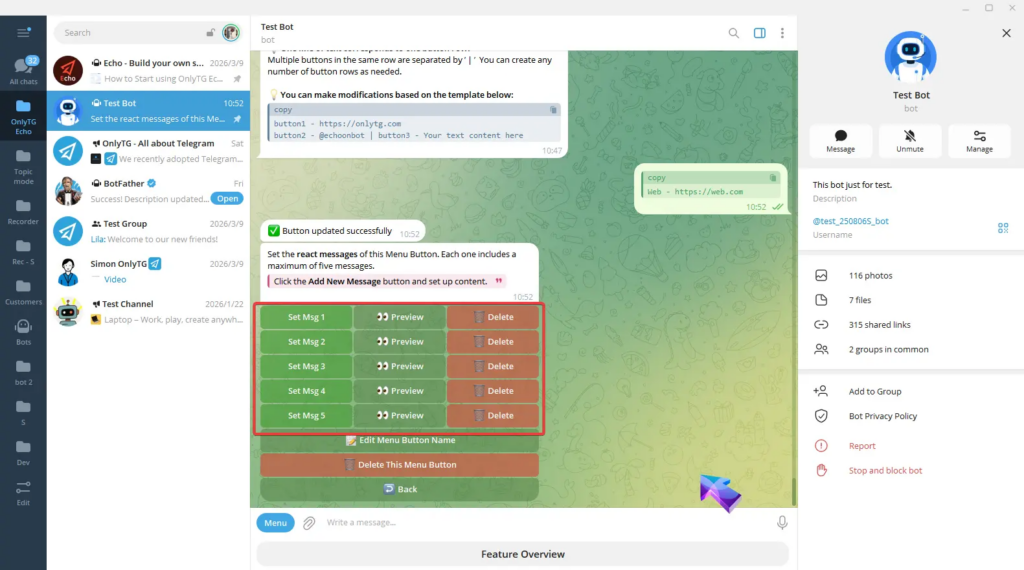
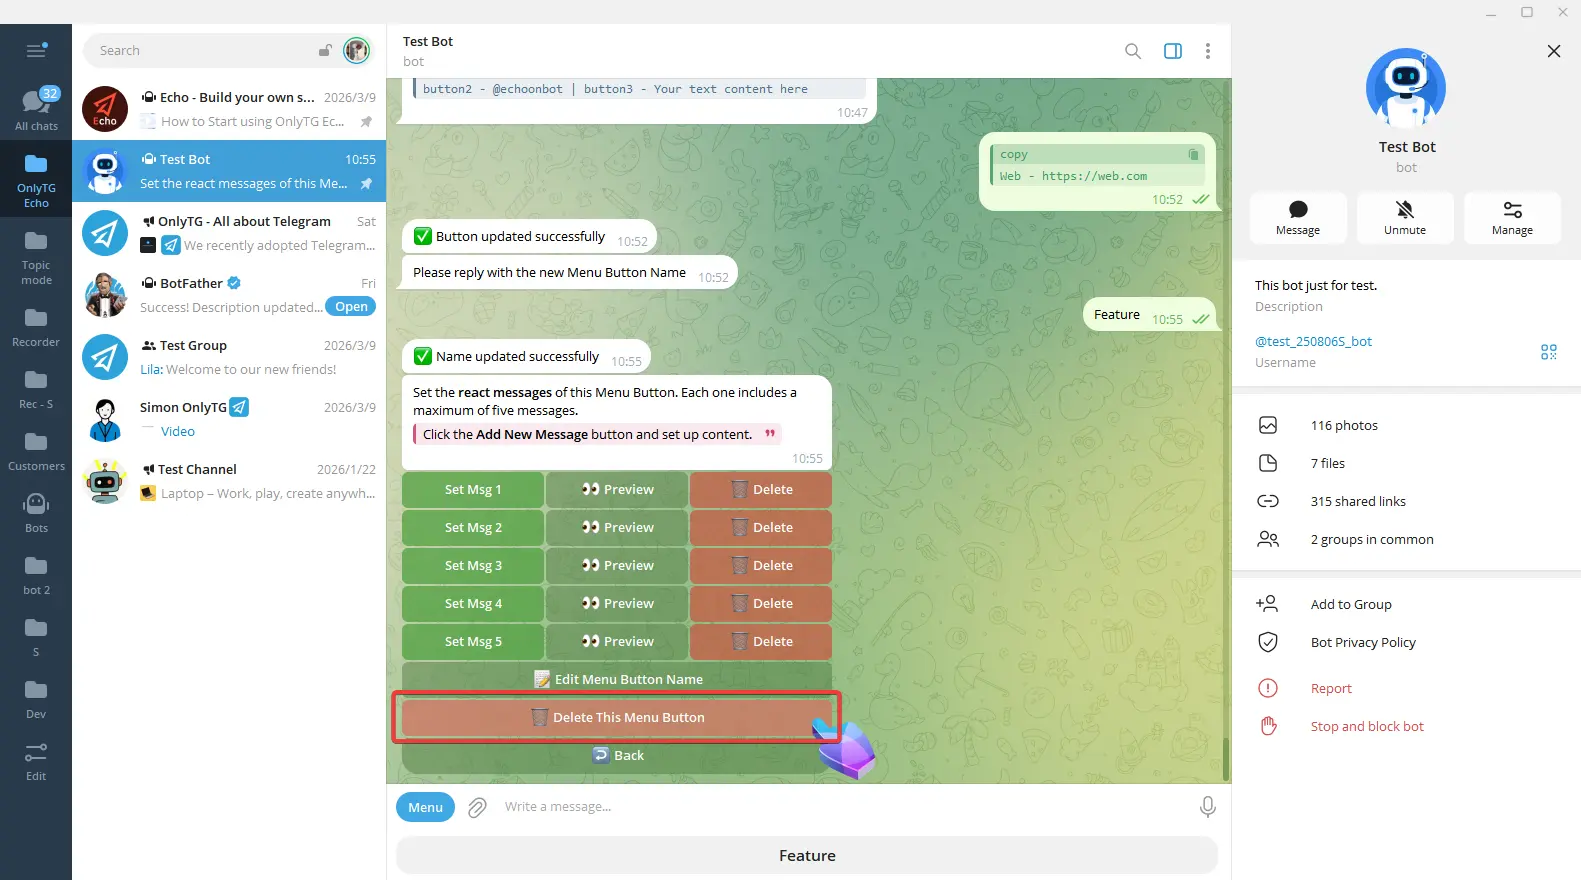
Repeat the steps above to add multiple react messages, which will be sent in sequence. Each menu button can be configured with up to 5 react messages.
When you need to change the name of the Menu Button, click the Edit Menu Button Name button and reply with the new name.
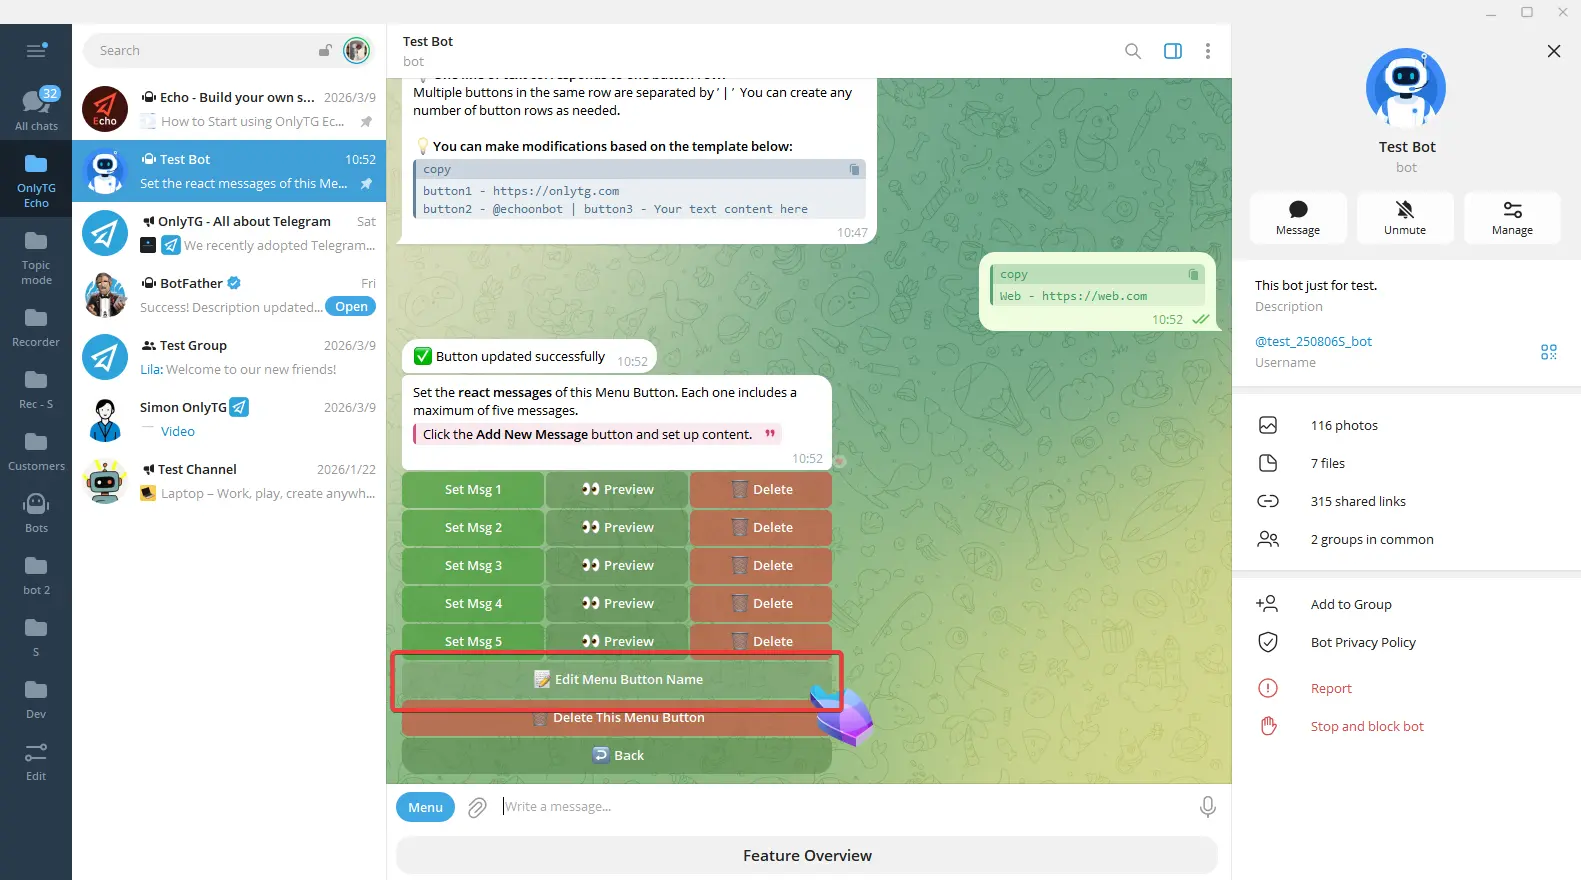
If you no longer want this menu button, click Delete this menu button.
That is the complete configuration process for a Menu Button. You can continue click +Button adding buttons on the same row, or click +Row to add a new row of buttons. Set it up any way you like!


