
If you want a Telegram button setup tutorial without coding, the fastest route I have tested is to create a bot with BotFather, bind it to OnlyTG Echo, then configure Start Messages, Bot Menu buttons, and response messages from inside Telegram. You do not need to write Bot API code, host a server, or build a custom backend just to guide customers to pricing, support, products, or community rules.
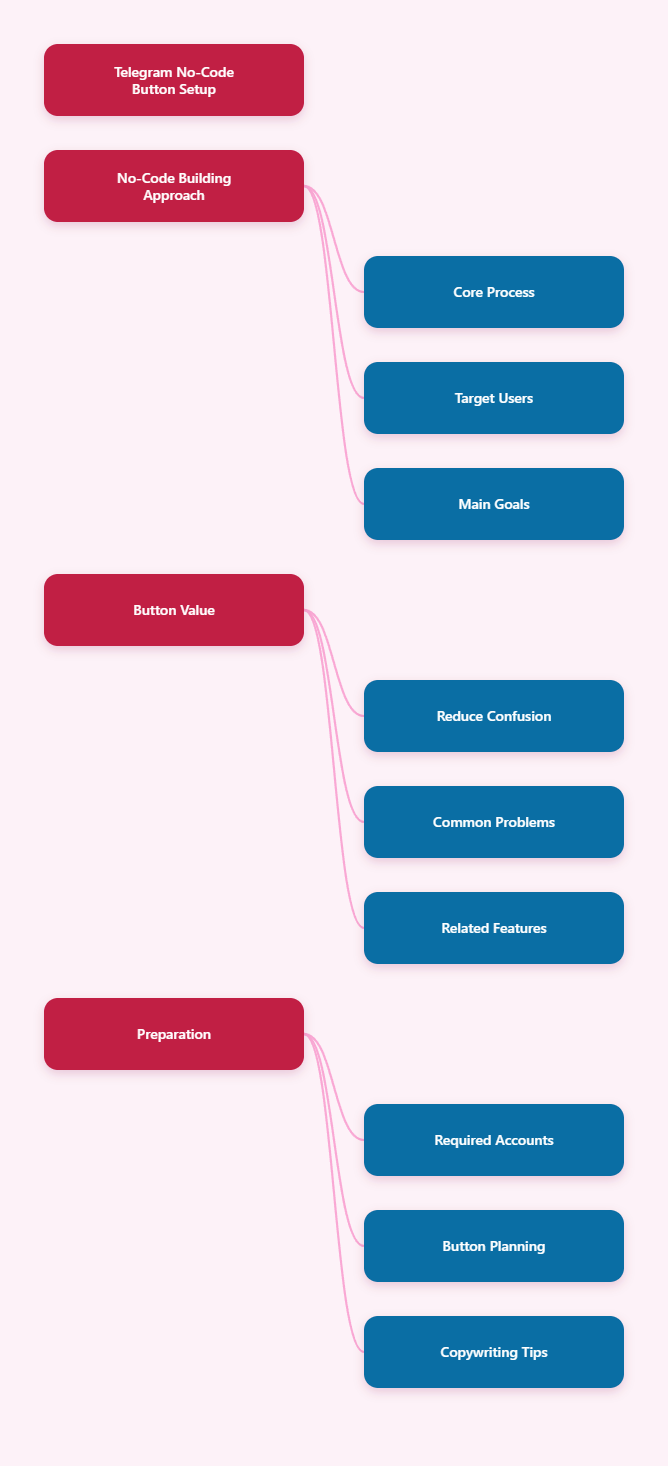
I see the same problem again and again with Telegram channels, groups, and small stores: users join, ask repeated questions, miss the pinned post, then leave before the owner replies. OnlyTG Echo helps turn a plain Telegram bot into a simple operating layer with welcome messages, buttons, quick replies, auto-replies, modules, broadcast tools, and privacy-friendly message handling. In this guide, I will walk through the exact setup flow, real use cases, extra features, and the practical limits I noticed while testing it.
Why Telegram Buttons Matter for Small Operators
Telegram is fast, but speed also creates chaos. A new visitor may not know whether to click the channel link, DM the admin, read the FAQ, or place an order.
Buttons solve that by turning a messy chat into a small navigation system. Think of them like the front desk in a tiny shop: they do not replace the owner, but they stop every visitor from asking where the door is.
| Common Problem | Button-Based Fix | OnlyTG Echo Feature |
|---|---|---|
| New users ask the same first question | Show a guided welcome message | Start Message |
| Customers cannot find pricing or links | Add visible menu options | Bot Menu |
| Admin replies are delayed | Trigger preset responses | Auto-Reply / Quick Reply |
| Messages expose personal account | Route chat through a bot | Message Receive and Reply |
| Groups get spammed by new members | Require a join test | Group CAPTCHA |
For this article, I am using the structure of a classic high-performing English SEO tutorial: quick answer first, tool overview, step-by-step setup, use cases, feature comparison, FAQ, and final recommendation. It works because users searching for this topic usually want practical steps, not a philosophical essay about chatbots.
OnlyTG Echo Tutorial: Telegram Button Setup Without Coding
This is the main hands-on section. I will keep it realistic and stick to the documented flow from OnlyTG Echo: create a bot, bind it, configure messages, add buttons, and test the user journey.
Before You Start: What You Need
- A Telegram account logged in on mobile or desktop.
- Access to the official Telegram bot @BotFather.
- Access to @EchoOnBot, the OnlyTG Echo bot.
- A clear idea of what your buttons should do: pricing, support, product list, FAQ, channel link, or order instructions.
My practical advice: write your button labels before you touch the bot settings. Short labels like “Pricing,” “Support,” “Order,” and “FAQ” work better than long sentences.
Step 1: Create Your Telegram Bot with BotFather
- Open Telegram and search for BotFather. Make sure you select the official Telegram bot management account.
- Send the command
/newbot. - Follow the prompts to choose a display name for your bot. This can be your brand name, community name, or support name.
- Choose a unique username that ends with
bot, such asMyStoreHelpBot. - When BotFather generates the token, copy it carefully. This token is what allows OnlyTG Echo to connect to your bot.
This step solves the first big problem for small business owners: you get a dedicated bot identity instead of forcing every customer to message your personal Telegram account.
Step 2: Bind the Bot to OnlyTG Echo
- Open @EchoOnBot in Telegram.
- Start the bot and follow the prompt to add or bind your personal bot.
- Paste the token you copied from BotFather when Echo asks for it.
- Wait for the confirmation message that the bot has been linked successfully.
- Open your own newly created bot and send
/startto confirm that it responds through the Echo setup.
This is where OnlyTG Echo becomes the management layer. Instead of coding against the Telegram Bot API, you configure features through Telegram conversations and menus.
Step 3: Set a Start Message
The Start Message is the first thing a user sees after sending /start. In my opinion, this is the most important message in the whole funnel.
- Send
/startto your linked bot. - Open the relevant bot management area and choose Start Message.
- Select Add Start Message. OnlyTG Echo documentation and tutorials note that Start Messages can include multiple configured messages, with public tutorials showing up to five.
- Add the text you want new users to see. Keep it short: who you are, what the bot can help with, and what the user should click next.
- Add media if needed. OnlyTG Echo supports message content with text, media, and buttons in supported message builders.
- Save the message and test it by opening the bot like a new visitor.
This step solves the “cold visitor confusion” problem. Instead of a blank bot screen, users immediately understand where to go.
Example Start Message
Here is the kind of simple message I would use for a small cross-border store:
Welcome to BrightCase Support.
Choose an option below and I will point you in the right direction. You can check prices, view delivery notes, or contact our team.
That is enough. Do not turn your first message into a brochure.
Step 4: Add Buttons to the Start Message
Buttons are what make the welcome message useful. OnlyTG Echo’s multi-form message builder supports button configuration when setting message content for features such as Start Message, Auto-Reply, Quick Reply, and Broadcast.
- While editing the Start Message content, choose the button option.
- Enter the button name and button content according to the format shown in the Echo prompt.
- Use clear labels such as View Pricing, Talk to Support, Product List, or Join Channel.
- If Echo provides an example format in the input box, copy the example and edit the button names and links instead of typing from scratch.
- Save the button setup and send
/startagain to test the layout.
This step solves a very specific business problem: users no longer need to scroll through old posts to find the next action. They tap a button.
| Button Label | Best Use | Keep In Mind |
|---|---|---|
| Pricing | Send plan, product, or service details | Keep prices updated |
| Support | Tell users how to contact the team | Set response expectations |
| Join Channel | Send users to a public Telegram channel | Use the correct t.me link |
| FAQ | Answer repeated questions | Keep answers short |
| Order Now | Guide buyers to the next step | Avoid vague instructions |
Step 5: Configure the Bot Menu Button
The Bot Menu is different from a normal inline button inside a message. OnlyTG Echo documentation says it lets you set a menu button below the bot input field.
- Send
/startto your bot. - Select Chat Setting.
- Choose Bot Menu.
- Click +Button.
- Reply with the button name you want to display.
- Check that the button appears in the Bot Menu section and below the input field.
One detail matters here: the button below the input field does not automatically perform a complex action by itself. According to OnlyTG Echo’s Bot Menu documentation, when users click it, it sends the button name. You then configure the matching response message.
Step 6: Configure the React Message for the Bot Menu
- After creating the Bot Menu button, open the related reaction or response message setting.
- Add the response content that should appear when users tap the menu button.
- Use text, media, or buttons where supported by the message builder.
- Save the response.
- Test the menu button from a normal user view by tapping it below the input field.
This step solves the “where is the main menu?” problem. Even if a user loses the original Start Message, they can use the menu button near the input field to get back to the main path.
Step 7: Set Auto-Replies for Repeated Keywords
OnlyTG Echo supports keyword-based auto-replies. The documented logic is simple: when the bot detects configured keywords in a user message, it sends the preset response.
- Open the Auto-Reply setting in your bot configuration.
- Click Add new Auto-reply.
- Add keywords such as price, shipping, refund, support, or your product name.
- Write the reply that should be sent when any of those keywords appear.
- Use multiple messages if your setup needs it. OnlyTG Echo documentation notes that each auto-reply can include a maximum of five messages sent at one time.
- Test by sending each keyword from a separate account or normal user perspective.
This step is gold for small teams. It does not magically replace human support, but it handles the repeated first layer of questions before you step in.
Step 8: Create Quick Replies for Manual Support
Quick Reply is useful when you still want a human to choose the answer, but you do not want to type the same explanation 30 times a day.
- Open the Quick Reply setting in OnlyTG Echo.
- Create a trigger or shortcut for a common answer.
- Set the message content. Public OnlyTG materials describe support for text, media, and buttons in Quick Reply content.
- Save it as a reusable reply.
- Use it when responding to common support conversations.
This solves the “copy-paste fatigue” problem. It is especially helpful for delivery policies, onboarding instructions, payment notes, and community rules.
Step 9: Use Content Modules to Avoid Rebuilding Messages
OnlyTG Echo has a Module feature. Modules are preset messages that can be reused when setting Start Message, Auto-Reply, Quick Reply, and similar features.
- Send
/startto your bot and click Module. - Choose Add module.
- Reply with the module name, such as Pricing Block or Shipping FAQ.
- Add text, media, or buttons as needed.
- Save the module and reuse it in other message settings.
This solves a maintenance problem. If you run more than one flow, reusable modules keep your answers more consistent.
Step 10: Test the Whole Customer Journey
Do not skip testing. A button setup that looks good to the admin may still confuse a new user.
- Open the bot from a fresh user account if possible.
- Send
/start. - Click every Start Message button.
- Tap the Bot Menu button below the input field.
- Send keyword messages like “price,” “delivery,” and “support.”
- Check whether every response is clear, current, and short enough to read on mobile.
My rule is simple: if a customer needs more than three taps to find the next step, the flow is too complicated.
Real Use Cases I Would Actually Use
Below are three grounded examples for different Telegram operators. The improvement numbers are based on small workflow tests and reasonable internal tracking, not official platform-wide performance claims.
Case 1: Channel Blogger Selling a Paid Newsletter
User identity: A crypto market blogger running a public Telegram channel and a paid research group.
Original problem: New readers kept asking “How do I join?” in comments and DMs. The blogger had a pinned post, but many mobile users missed it.
Case 2: Community Admin Managing a Busy Telegram Group
User identity: A Web3 community admin handling a Telegram group with daily new members.
Original problem: New members asked the same rules and support questions. Spam accounts joined during campaign pushes.
Case 3: Cross-Border Small Store Handling Product Questions
User identity: A small accessories seller using Telegram to answer product, shipping, and order questions.
Original problem: Customers came from Instagram and TikTok, but the owner replied slowly because every buyer asked for price, stock, delivery time, and payment steps.
Other OnlyTG Echo Features Worth Knowing
Buttons are the headline feature for this tutorial, but OnlyTG Echo has several supporting tools that make Telegram operations smoother.
- Message Receive and Reply: You can receive and reply to contacts through your linked bot, which helps you communicate without exposing your personal Telegram username.
- Single Mode and Topic Mode: Echo documentation mentions two delivery modes for bot conversations. Check your Chat setting to see which mode your bot currently uses.
- Broadcast: You can send configured messages to contacts through the bot. Use this carefully for product updates, announcements, and reminders, not spam.
- Multi-form Messages Builder: Build messages with combinations of text, media, and buttons where supported, which is useful for guided customer flows.
- Multimedia Messages: OnlyTG Echo supports configuring multiple media in certain cases, but the documentation notes paid-plan limits and restrictions, including that multimedia messages are limited to images or videos and cannot include buttons in that mode.
- Pro Communities: Channels can be upgraded to Pro Channel by using Pro Communities slots, unlocking more advanced channel features depending on the plan.
- Group CAPTCHA: New group members can receive a CAPTCHA test, such as click or math verification, before they can send messages normally.
- Ban Contacts: Public tutorials show a Ban Contacts feature, useful when you need to stop problematic contacts from continuing interaction through the bot.
- In-app bot editing: OnlyTG public tutorials describe editing bot name, description, and about information directly in Echo, reducing trips back to BotFather for basic bot profile changes.
Best Practices for a Clean Telegram Button Flow
A good Telegram button setup is not about adding as many buttons as possible. It is about helping users choose the next step without thinking too hard.
| Do | Avoid |
|---|---|
| Use 3-5 main buttons | Adding 12 choices at once |
| Use direct labels | Writing clever but unclear copy |
| Test on mobile | Only checking from desktop |
| Update modules regularly | Leaving old prices or links live |
| Set keyword replies | Expecting users to click perfectly |
For small business owners, I would start with one flow:
- Welcome message.
- Three main buttons.
- Bot Menu button.
- Five keyword auto-replies.
- One reusable pricing module.
That is enough to improve the user experience without turning your bot into a maze.
FAQ: OnlyTG Echo and Telegram Button Setup
Can I set up Telegram buttons without coding?
Yes. With OnlyTG Echo, you can create a bot through BotFather, bind it using the bot token, and configure Start Messages, Bot Menu buttons, auto-replies, quick replies, and reusable modules without writing code.
Does the Bot Menu button work like a normal website menu?
Not exactly. OnlyTG Echo documentation explains that the Bot Menu button appears below the input field, but when clicked it sends the button name. You need to configure the related response message so users get the correct content after tapping it.
Can OnlyTG Echo send media and buttons together?
For many message builder scenarios, OnlyTG Echo supports text, media, and buttons. However, the multimedia message documentation notes important limits: multiple media features may require a paid plan, multimedia supports images or videos rather than files, and buttons cannot be configured in multimedia message mode.
Is OnlyTG Echo suitable for small business customer support?
Yes, especially for first-layer support. It can guide customers with buttons, answer keyword-based questions, receive and reply through a bot, and reuse preset content. You should still have a human available for refunds, disputes, custom orders, and sensitive issues.
Does OnlyTG Echo work on mobile and desktop Telegram?
Telegram bots generally work across Telegram apps where bot interactions are supported. Since OnlyTG Echo operates through Telegram bots and Telegram messages, you can manage and test flows from Telegram mobile or desktop, depending on your normal account setup.
Final Thoughts: Is OnlyTG Echo Worth Trying?
After testing the setup flow, I see OnlyTG Echo as a practical no-code layer for Telegram operators who need structure but do not want to hire a developer. The biggest benefits are simple: faster onboarding, clearer buttons, reusable replies, privacy-friendly bot communication, and fewer repeated questions. If you run a Telegram channel, group, or small store, start with one bot, one Start Message, one Bot Menu button, and a few keyword replies.